
A color-coded document filing system using a plastic envelope with zipper offers an exceptionally efficient, highly visible, and durable way to organize physical paperwork. Unlike traditional paper folders that deteriorate quickly under daily handling, this system relies on resilient plastic envelopes to categorize documents by color, seal them securely against environmental hazards, and keep them instantly identifiable. By assigning specific colors to broad categories—such as financial, personal, or medical records—and labeling each envelope clearly, you can transform a chaotic pile of loose papers into a streamlined, accessible archive. Setting up this system requires a systematic approach of purging, sorting, assigning visual codes, and establishing a regular maintenance routine to ensure your documents remain safe and easy to retrieve.
The Benefits of Using a Plastic Envelope with Zipper for Filing
Physical document storage presents unique challenges, particularly in tropical climates like the Philippines where high humidity, seasonal rains, and dust can rapidly degrade paper. Traditional paper-based storage tools, such as standard manila folders or cardboard expanding files, readily absorb moisture from the air. Over time, this moisture absorption leads to soft, sagging folders, musty odors, and even mold growth that can permanently ruin irreplaceable documents. Paper folders are also prone to tearing along the creases and edges when pulled frequently from tight drawers.
Using a high-quality plastic envelope with zipper solves these environmental and durability concerns. Plastic materials, typically made from flexible polypropylene, are inherently water-resistant and act as a reliable barrier against spills, dust, and ambient humidity. The zipper closure—whether a sliding plastic tab or a zip-lock track—seals the contents securely inside, preventing loose sheets from slipping out during transport or storage. This protective seal is invaluable for safeguarding critical papers like land titles, birth certificates, and tax records from unexpected household leaks or high humidity.
Products mentioned in this guide
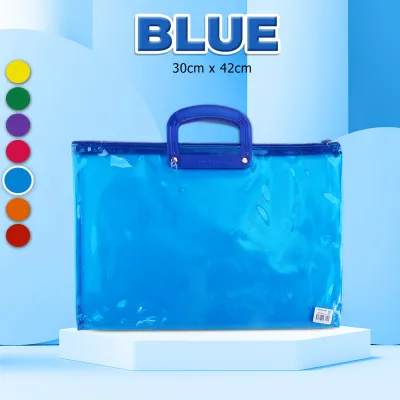
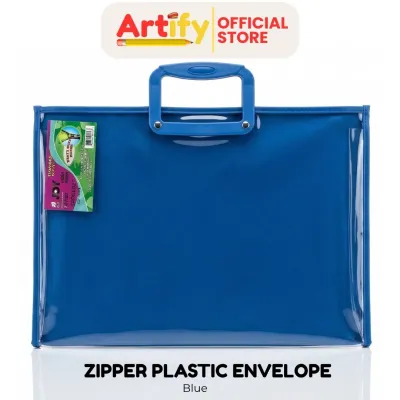
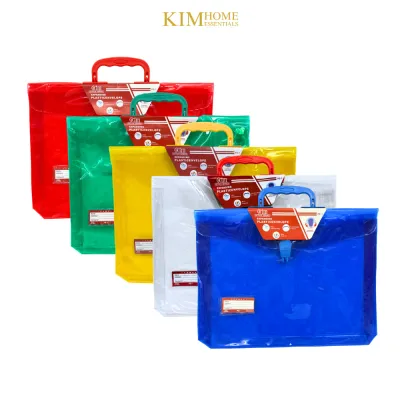
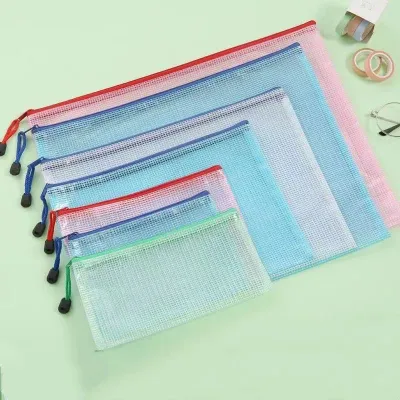
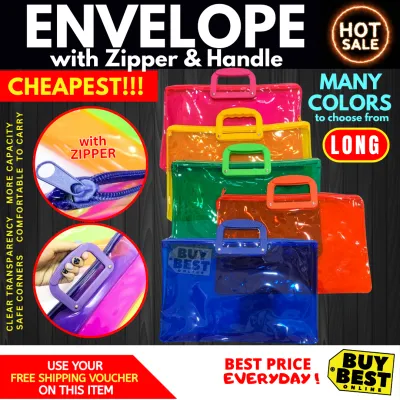
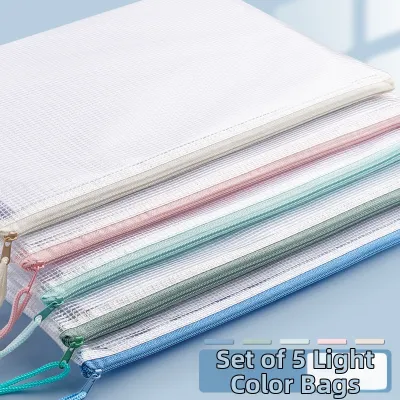
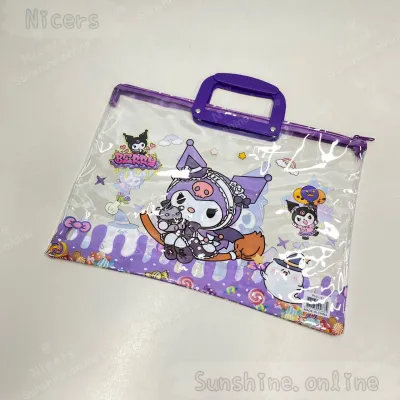
Prices are valid at publication and may change. Please refer to the product page for the latest price.
Another distinct advantage of plastic zipper envelopes is visibility. Many of these envelopes feature transparent or semi-transparent mesh designs. This transparency allows you to quickly verify the contents of an envelope without unzipping it, dramatically reducing the time spent searching through files. Furthermore, because these envelopes are reusable and highly durable, they represent a long-term, cost-effective investment. Instead of replacing worn-out paper folders every few years, you can simply swap out the labels on your plastic envelopes as your filing needs evolve.
Essential Materials and Tools for Your Filing System
Before beginning the organization process, gathering the right materials will ensure your filing system is cohesive, functional, and easy to scale. Having all your tools prepared beforehand prevents interruptions and helps you maintain momentum as you sort through years of accumulated paperwork.

- Plastic envelopes with zipper: Select standard sizes that match your most common document formats. In most office and home settings, A4 and Letter sizes are the standard mediums. However, in the Philippines, "long" bond paper (8.5 x 13 inches or F4) is also widely used for legal and government documents. Always verify the exact dimensions of your envelopes before purchasing to ensure your specific paper standard fits comfortably without needing to be folded. Purchasing a multi-color pack is highly recommended, as this instantly provides the visual variety needed for color-coding. These packs are highly affordable, typically falling into a broad price band of ₱20 to ₱50 per envelope depending on size and material thickness.
- Labeling tools: Clear labeling is the backbone of quick document retrieval. A dedicated electronic label maker is ideal for creating neat, uniform, and water-resistant adhesive labels. Alternatively, you can use printable adhesive label sheets or high-quality permanent markers to write directly on the envelope's designated white index strip or write-on panel.
- Storage solutions: You need a dedicated space to house your filled envelopes. Depending on your available space and aesthetic preferences, compatible options include vertical plastic magazine holders, deep filing cabinet drawers, or stackable plastic storage boxes with lids. Ensure the dimensions of your storage containers can comfortably accommodate the slightly wider margins of zipped plastic envelopes compared to standard paper sheets.
- Preparation and sorting tools: Keep a supply of paperclips or binder clips on hand to group related documents before placing them into the envelopes. A heavy-duty hole punch can be useful if you plan to integrate certain envelopes into ring binders. Finally, place a paper shredder or a dedicated recycling bin nearby to immediately dispose of sensitive, outdated documents during the purging phase.
Step-by-Step Guide to Building Your Color-Coded System
Building an organized filing system requires a structured workflow to ensure that documents are not just stored, but are intuitively categorized for future access. By following a logical progression—from initial sorting to physical storage—you can establish a system that remains easy to navigate for anyone in your household or office.
Step 1: Sort and Purge Your Existing Documents
The first step is to gather all loose papers, files, and documents from around your space and consolidate them in one large workspace, such as a clean dining table or desk. Before placing anything into a new plastic envelope, you must evaluate what is truly worth keeping. Sort the papers into broad, logical piles based on their general function, such as Financial, Medical, Educational, Personal Identification, and Property or Housing.
As you sort, ruthlessly purge unnecessary clutter. Discard outdated drafts, expired product warranties, duplicate copies, and documents that you have already securely digitized and backed up. For sensitive items containing personal identifiable information, utilize your paper shredder to protect your privacy. Once you have finalized your piles of essential papers, use temporary paperclips or binder clips to keep each group intact and organized. This prevents loose sheets from mixing back together before they are assigned to their final color-coded envelopes.
Step 2: Assign a Color Code to Each Category
With your documents neatly sorted into broad categories, you can now establish your visual color-coding scheme. Color-coding works because the human brain processes color much faster than text, allowing you to locate the correct category at a glance. Assign highly intuitive color associations to your main document categories to make the system as natural to use as possible.
For example, you might assign red or orange to urgent matters, tax documents, or active bills. Green is a natural fit for financial records, bank statements, and investment papers. Blue can represent medical records, health insurance policies, and clinical receipts. Yellow or white can be reserved for property leases, vehicle registrations, and home utility contracts. Once you establish these associations, create a “Color Legend” on an index card or a printed sheet. Place this legend in a highly visible spot, such as on the front of your storage box or taped to the inside of your filing drawer, to serve as a quick reference guide. Avoid using too many similar shades of the same color, as subtle differences can be difficult to distinguish in dim lighting.
Step 3: Load and Label the Plastic Envelopes
Now you are ready to transfer your sorted document groups into the corresponding colored envelopes. Slide the papers gently into the envelopes, ensuring they lie flat and do not fold at the corners. It is crucial to avoid overstuffing each envelope. Packing too many sheets into a single plastic envelope puts excessive stress on the zipper track and the heat-sealed side seams, which can lead to splitting or zipper failure over time. If a single category contains too many documents, split them across multiple envelopes of the same color and label them sequentially (e.g., “Bank Statements 2025 – Part 1” and “Bank Statements 2025 – Part 2”).
Apply your labels carefully to maintain clean visibility. If your plastic envelopes feature a built-in white index card slot, slide a neatly written or printed label inside. If not, apply your adhesive labels to the bottom right corner or the designated labeling area, ensuring they do not block or interfere with the zipper mechanism. On each label, write both the broad category and a specific sub-category or date range. For instance, instead of just writing “Financial,” use “Financial: Bank Statements (2025-2026)” to make future searches highly specific and efficient.
Step 4: Arrange and Store the Envelopes
The physical arrangement of your labeled envelopes determines how easily you can retrieve them. Depending on your storage setup, arrange the envelopes vertically in magazine holders or horizontally in drawers. Vertical storage is generally preferred because it allows you to flip through the envelopes like books on a shelf, preventing the bottom envelopes from being crushed or forgotten under the weight of others.
Within each color-coded category, arrange the envelopes in a logical order. You can sort them alphabetically by sub-category or chronologically if tracking dates is your priority. For example, your green financial envelopes can be lined up chronologically from oldest to newest. When positioning your storage containers, choose a cool, dry location away from direct sunlight. Prolonged exposure to ultraviolet rays can cause plastic materials to yellow, become brittle, and crack over time, which compromises the physical protection of your documents.
Maintaining Your Filing System for Long-Term Use
An organization system is only as good as its maintenance. Without regular upkeep, even the most meticulously planned color-coded system will eventually succumb to clutter as new documents arrive and old ones become obsolete. Establishing simple, consistent habits will keep your filing system functional, clean, and physically intact for years to come.
Schedule routine reviews of your filing system at least once or twice a year. During these sessions, go through each envelope to identify documents that are no longer needed. Archive older, inactive documents that must be kept for legal or tax purposes by moving them to long-term storage boxes, freeing up your active, easy-access envelopes for current paperwork. When introducing new papers to your files, practice a “one-in, one-out” rule where possible, or commit to filing new documents immediately rather than letting them pile up on your desk.
In addition to managing the paperwork, perform a quick physical inspection of your plastic envelopes during your routine reviews. Check the zipper tracks for dust, lint, or debris that might cause the slider to stick. If a zipper feels stiff, gently slide it back and forth to clear any minor obstructions. Inspect the plastic body for signs of cloudiness, cracking, or wear along the seams. Replace any envelopes that show significant wear before they fail and risk dropping or damaging your documents.
Special precautions must be taken regarding moisture and ink compatibility within sealed plastic environments. Never store documents with wet ink, freshly printed thermal receipts, or damp papers inside a zipped plastic envelope. The sealed, airtight nature of plastic can trap moisture and chemical vapors, causing fresh ink to smudge or transfer onto the plastic walls. Thermal paper, commonly used for store receipts, is highly sensitive to heat and plasticizers found in some synthetic materials, which can cause the printed text to fade rapidly. To prevent this, ensure all standard ink is completely dry before zipping, and place thermal receipts in protective paper sleeves or digitize them before filing.
Adapting the System for Home and Office Environments
While the core principles of sorting, color-coding, and labeling remain the same, the specific application of this system can be customized to suit the distinct demands of home and professional office environments.
In a household setting, the filing system should focus on managing family-centric documents that affect daily life. These typically include children’s school report cards, immunization records, appliance warranties, birth certificates, and vehicle registration papers. Because home documents are often needed on the go—such as taking medical records to a clinic or vehicle papers to a registration office—portability is a key consideration. Consider storing your home-use plastic envelopes inside a portable, multi-slot accordion folder with a carrying handle. This setup keeps your color-coded envelopes organized while allowing you to easily grab the entire system or individual envelopes during emergencies or travel.
In a professional office environment, the focus shifts to business-centric records, client management, and regulatory compliance. Here, the system must handle high volumes of client contracts, vendor invoices, tax filings, and project deliverables. To manage this scale, integrate your physical plastic envelopes into a broader indexing system. You can pair your physical color-coded files with a digital tracking spreadsheet that lists the exact location, envelope color, and contents of every file. This hybrid approach ensures that multiple team members can search the digital index first, minimizing physical disruption to the filing cabinets and keeping document retrieval fast and accurate.
Frequently Asked Questions (FAQ)
Adapting plastic zipper envelopes to your specific storage needs may raise practical questions about customization and physical care. Below are solutions to common scenarios encountered when building and maintaining this filing system.
Can I use a hole punch on plastic zipper envelopes for binder storage?
Yes, you can use a hole punch on plastic zipper envelopes to integrate them into standard ring binders, but you must proceed with caution to avoid damaging the envelope’s structure. Only punch holes along the extended, non-zippered edge of the envelope. Ensure that your punch holes do not intersect with the heat-sealed side seams or the zipper track itself, as cutting into these areas will cause the plastic to tear and ruin the envelope’s seal.
To achieve a clean cut, use a heavy-duty hole punch designed specifically for thick plastic or cardstock, as standard paper punches may chew or stretch the plastic instead of cutting it cleanly. If you plan to flip through the binder frequently, reinforce the punched holes with self-adhesive reinforcement eyelets. This extra step prevents the holes from stretching or tearing under the weight of the enclosed documents.
How do I remove sticky residue from plastic envelopes if I change labels?
When updating your filing categories, removing old adhesive labels can sometimes leave behind a sticky, unsightly residue on the plastic surface. To clean this residue safely without damaging the envelope, apply a small amount of mild solvent, such as isopropyl alcohol or a dedicated commercial adhesive remover, to a soft microfiber cloth.
Before applying the solvent to the sticky area, always perform a spot test on a small, inconspicuous corner of the plastic envelope. This ensures that the chemical does not cloud, discolor, or melt the specific type of plastic. Gently wipe the residue in a circular motion until the adhesive lifts. Never use harsh chemicals like acetone, nail polish remover, or highly abrasive scrubbing pads, as these will permanently melt the plastic, destroy its transparency, and ruin the structural integrity of your envelope.
Community discussion
Share your experience or ask a question. Comments are reviewed before publication.