
Integrating a 3D pen printer into art class projects offers students a unique way to bridge 2D sketches and 3D sculptures. By drawing physical lines directly into the air or tracing over templates, students can explore spatial relationships, structural engineering, and tactile design in ways that traditional mediums cannot replicate. However, selecting the right device for a classroom environment requires balancing safety, ease of handling, and material compatibility. This guide outlines the essential evaluation criteria to help educators and parents identify suitable options that support student creativity while maintaining a safe and manageable learning space.
When introducing this technology to a classroom, the primary goal is to minimize frustration while maximizing safety. A device that is too heavy, runs too hot, or clogs constantly will quickly derail a lesson plan and discourage students. By understanding the mechanical and material differences between various models, you can make an informed decision that fits your curriculum, budget, and student age group.
Key Safety and Usability Features for Classroom Use
Thermal safety is the most critical factor when selecting a 3D pen printer for school environments. Because these devices melt plastic to create structures, internal heating elements can reach high temperatures. To prevent accidental burns, look for pens equipped with ceramic nozzles rather than metal ones. Ceramic components dissipate heat much faster and are less likely to cause severe burns if accidentally touched. Additionally, some models feature insulated tips or protective silicone nozzle covers that provide an extra physical barrier between hot components and young fingers.
Products mentioned in this guide
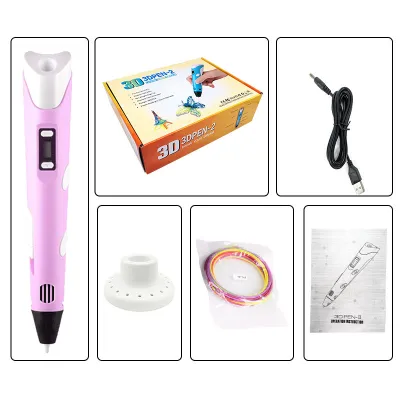
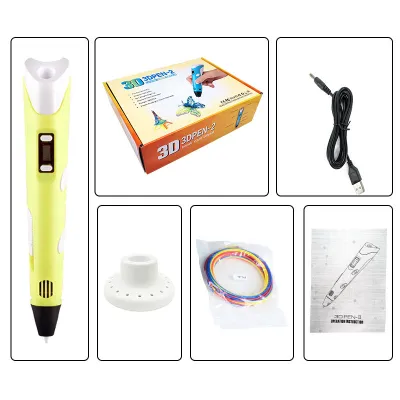
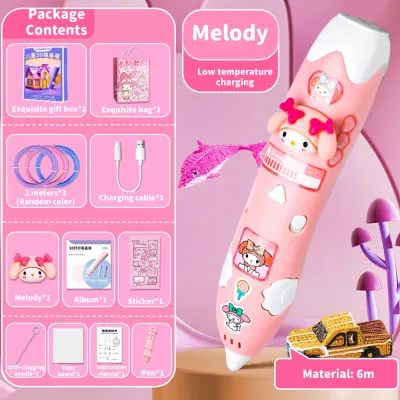
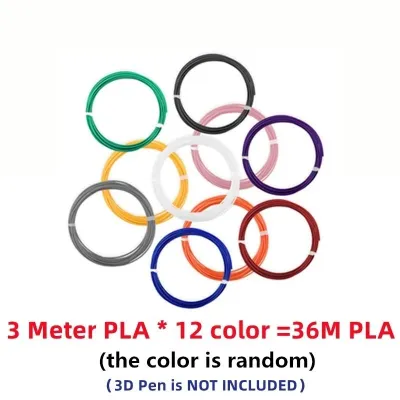
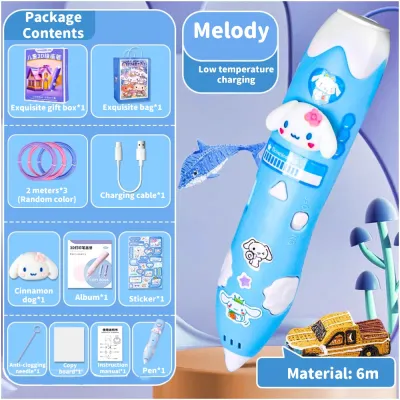
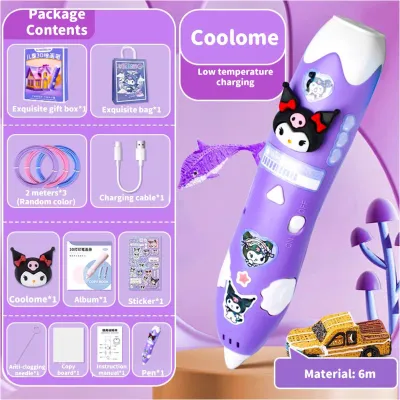
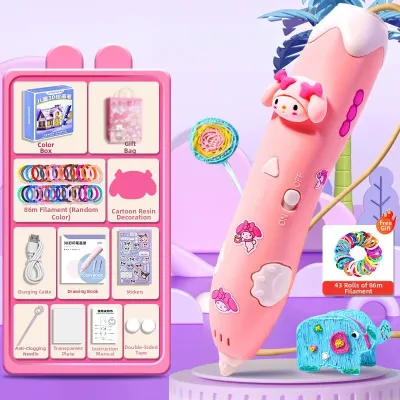
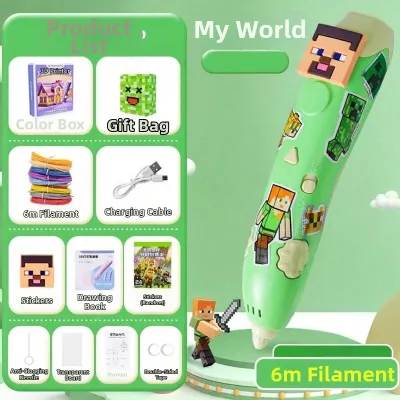
Prices are valid at publication and may change. Please refer to the product page for the latest price.
External temperature indicators and automatic sleep functions are invaluable safety additions for a busy classroom. An external LCD or LED indicator allows teachers to verify at a glance whether a pen is heated to the correct operating temperature or if it is cooling down. Automatic sleep functions are equally vital; if a student leaves a pen idle on a desk to work on another part of their project, the device should automatically cut power to the heating element after a few minutes of inactivity. This prevents the pen from overheating, reduces fire hazards, and extends the lifespan of the internal heating coil.
Ergonomics play a major role in how easily students can control their drawings. Children and young teenagers have smaller hands and less grip strength than adults, making bulky or heavy pens difficult to maneuver. A well-designed student pen should be lightweight—ideally under 100 grams—and feature a slim, contoured barrel that fits comfortably in a pencil grip. Button placement is another key consideration; the feed and reverse buttons should be positioned where they can be easily pressed without requiring awkward hand contortions, which can lead to rapid hand fatigue during extended art sessions.
Power options significantly impact classroom mobility, safety, and logistics. Corded 3D pens provide a continuous, uninterrupted power supply, ensuring that students do not have to wait for batteries to charge mid-project. However, dangling cords can create tripping hazards and limit where students can sit, especially in classrooms with limited wall outlets. Cordless, battery-operated pens offer unparalleled freedom of movement, allowing students to collaborate easily at shared tables. The trade-off is that cordless models require a structured charging routine, have limited runtimes, and are often slightly heavier due to the internal battery.
Matching Filament Types to Student Skill Levels
Selecting the right filament is just as important as choosing the pen itself, as different materials require vastly different operating temperatures and ventilation setups. For younger students or beginners, low-temperature filaments like Polycaprolactone (PCL) are the safest choice. PCL melts at a remarkably low temperature range of 60°C to 80°C. This low melting point means the extruded plastic is warm but not hot enough to cause burns, allowing students to safely mold the extruded plastic with their fingers shortly after it leaves the nozzle. This makes PCL ideal for wearable art projects, such as custom rings, bracelets, or masks.

For older students who require stronger structural integrity for their projects, standard-temperature filaments like Polylactic Acid (PLA) are the industry standard. PLA melts at a higher range of 180°C to 210°C, which requires strict supervision and clear safety guidelines to prevent burns. However, PLA offers several advantages for classroom use: it is derived from renewable resources like cornstarch, making it biodegradable and relatively low-odor compared to petroleum-based plastics. PLA cools and hardens quickly, allowing students to draw vertical lines directly into the air and build stable, self-supporting 3D structures.
High-temperature filaments, such as Acrylonitrile Butadiene Styrene (ABS), melt at temperatures exceeding 210°C and are generally not recommended for standard school classrooms. ABS releases strong, unpleasant plastic fumes during extrusion that can cause headaches or respiratory irritation in poorly ventilated spaces. Furthermore, ABS requires a highly stable temperature environment to prevent warping, making it difficult to use in classrooms with active ceiling fans or air conditioning. Unless your art studio is equipped with dedicated local exhaust ventilation or fume extraction hoods, it is best to stick to PCL or PLA.
In tropical climates like the Philippines, high relative humidity introduces unique challenges for filament storage and performance. PLA is highly hygroscopic, meaning it readily absorbs moisture from the surrounding air. When wet PLA filament is fed into a hot 3D pen, the trapped moisture rapidly turns to steam, causing the plastic to bubble, pop, and extrude unevenly. This results in weak, brittle structures and frequent nozzle clogs. Teachers must be able to identify these symptoms and implement strict storage protocols to protect their material investment from the local climate.
Evaluating Output Quality and Project Suitability
To ensure that a 3D pen printer aligns with your specific art curriculum, you must evaluate its extrusion control and nozzle specifications. Extrusion speed control is a vital feature that directly affects the quality of the final artwork. Pens with variable speed sliders or dials offer far more flexibility than those with simple high/low speed buttons. A slow speed setting is essential for intricate detailing, tracing complex 2D templates, or drawing delicate vertical lines. Conversely, a faster speed setting is useful for quickly filling in large surface areas or building solid structural bases.
Nozzle diameter is another technical specification that dictates line thickness and precision. Most standard 3D pens feature a 0.7mm nozzle, which provides an excellent balance between detail and extrusion speed. A wider nozzle (such as 0.8mm or larger) extrudes thicker lines of plastic, which helps students build large, sturdy structures quickly but limits their ability to create fine details. A narrower nozzle (such as 0.5mm) allows for highly detailed, delicate work but is more prone to clogging and requires a slower drawing speed, which can test the patience of younger students.
Aligning the pen’s capabilities with your planned art projects ensures a smoother learning experience. For 2D canvas tracing—where students draw over paper templates protected by silicone mats—almost any standard PLA or PCL pen will perform well. For freehand 3D sculpting, where students build complex, multi-layered objects in the air, you will need a pen with precise speed control and a fast-cooling filament. If your projects involve joining pre-made components, such as connecting cardboard panels or assembling 3D-printed parts, a pen that can extrude a steady, thick bead of plastic acts as an excellent ‘plastic welder’ to fuse materials together.
Selection Matrix: Matching 3D Pens to Art Class Needs
To help you navigate the selection process, the following matrix maps student age groups and skill levels to the most appropriate technical specifications and safety features.
| Student Age Group | Recommended Temperature | Compatible Filament | Key Ergonomic Features | Ideal Art Projects |
|---|---|---|---|---|
| Primary / Elementary (Ages 6–10) | Low (60°C – 80°C) | PCL | Ultra-lightweight, thick grip, cool-touch nozzle | 2D tracing, simple wearable art, basic shapes |
| Middle School (Ages 11–14) | Medium (160°C – 190°C) | PLA / PCL | Slim barrel, variable speed slider, auto-sleep | Freehand 3D structures, architectural models |
| High School / Advanced (Ages 15+) | High (180°C – 210°C) | PLA | Ergonomic grip, digital temp display, precise feed control | Complex sculptures, mechanical joints, mixed-media |
When purchasing 3D pens from online marketplaces or local educational suppliers, it is crucial to validate product claims rather than relying solely on marketing descriptions. Always check for recognized safety certification marks on the product packaging or user manual, such as CE, FCC, or RoHS compliance, which indicate the device meets basic electrical and safety standards. Verify exactly what accessories are included in the box; a good student package should include a power adapter, a starter pack of compatible filament, silicone finger protectors, and a basic drawing template. Additionally, inquire about bulk warranty terms, as school environments put heavy wear and tear on these devices.
Budget considerations must extend beyond the initial cost of the 3D pens to include ongoing consumable expenses. While a basic student-friendly 3D pen may range from ₱800 to ₱2,500, the cost of filament can quickly add up over a school year. Purchasing pre-cut filament strands is highly convenient but significantly more expensive per gram than buying large 1kg spools of standard 1.75mm filament. Teachers can save substantial budget space by purchasing bulk spools and using a simple spool-winding tool to cut custom lengths for individual student use. Don’t forget to allocate a small portion of the budget for replacement nozzles and silicone drawing mats.
Maintenance, Storage, and Troubleshooting Basics
Establishing a strict shutdown sequence is the single most effective way to prevent nozzle blockages and extend the life of your 3D pens. At the end of every art class, students must be taught to retract and remove the filament completely while the pen is still hot. Never allow the filament to remain inside a cooling pen; as the temperature drops, the plastic will solidify inside the feed mechanism and nozzle. When the pen is turned on for the next class, this hardened plastic can fail to melt properly, causing severe internal jams that can strip the motor gears or burn out the heating element.
Proper filament storage is critical, especially in humid tropical environments. To prevent PLA filament from absorbing moisture and degrading, store all open spools and strands in airtight plastic storage bins. Place several rechargeable silica gel desiccant packets inside each bin to actively draw moisture out of the air. Keep the storage bins in a cool, dry cabinet away from direct sunlight. Labeling the bins by material type (PLA vs. PCL) and color helps students quickly find what they need and prevents them from accidentally loading the wrong material into a pre-heated pen.
Teaching students basic troubleshooting steps empowers them to resolve minor issues independently and reduces the burden on the teacher. If a pen’s motor is running but no plastic is extruding, the student should first check if the nozzle has reached the correct operating temperature. If the motor is straining or making a clicking sound, the feed mechanism may be struggling with a deformed piece of filament; in this case, the student should immediately stop, reverse the filament, cut off any flattened or bent ends, and re-feed it. If a jam cannot be resolved through standard retraction, students must be instructed to stop immediately and hand the device to the teacher to consult the manufacturer’s manual for safe nozzle removal.
Frequently Asked Questions (FAQ)
Can standard 3D printer filament be used in a 3D pen?
Yes, standard 3D printer filament can be used in a 3D pen, provided the diameter and material type match the pen’s specifications. Most 3D pens are designed to accept 1.75mm diameter filament, which is the most common size used in desktop 3D printers. However, you must never attempt to use 2.85mm or 3.00mm filament in a pen designed for 1.75mm, as this will instantly jam and damage the internal feeding gears. Always verify that the material type (such as PLA) matches the temperature capabilities of your specific pen model before loading it.
How should teachers manage power cords in a busy art classroom?
Managing power cords effectively is crucial for maintaining a safe and organized art classroom. Teachers should route power cords along the center of shared worktables rather than letting them hang over the edges where they can be easily snagged by passing students. Use temporary, non-damaging adhesive cord clips or hook-and-loop straps to secure cables to table legs and desk surfaces. If extension cords are necessary to reach wall outlets, cover them with heavy-duty rubber floor cord protectors to eliminate tripping hazards, and always keep cord setups far away from wet areas, sink stations, or liquid art supplies.
Community discussion
Share your experience or ask a question. Comments are reviewed before publication.