
Finding the perfect coloring book for a teenager involves balancing the unique demands of colored pencils, markers, and gel pens. Because these three popular coloring tools interact with paper in completely different ways, a standard, low-cost coloring book often leads to warped pages, bleeding ink, and torn paper fibers. The ideal coloring book for teens features thick, high-gsm mixed-media paper, single-sided printing, and a lay-flat binding that allows for comfortable, edge-to-edge coloring.
In tropical climates like the Philippines, high humidity can soften paper fibers and slow down ink drying times, making paper selection even more critical. Investing a little extra in a book with robust, well-sized paper ensures that vibrant marker strokes do not feather, gel pens dry without smudging under a resting hand, and colored pencils layer smoothly without tearing the page. By understanding how different art media interact with paper, you can easily select a coloring book that turns school art projects or weekend relaxation sessions into beautiful, display-worthy masterpieces.
Understanding Paper Requirements for Different Art Media
Each coloring tool places distinct physical demands on a paper’s surface, meaning a book designed solely for one medium may fail miserably when used with another. Colored pencils, for instance, rely on a physical property known as “tooth.” Tooth refers to the microscopic texture or roughness of the paper. When you drag a colored pencil across a toothy page, the texture acts like a tiny grater, shaving off the wax or oil binder and holding the pigment in place. If the paper is too smooth, the pencil will slide around without depositing rich color, making it impossible to blend or build up multiple layers. In humid environments, soft-core pencils can become slightly gummy, making a defined paper tooth even more essential for clean application.
Products mentioned in this guide

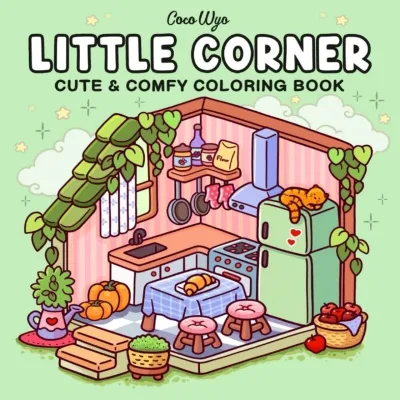
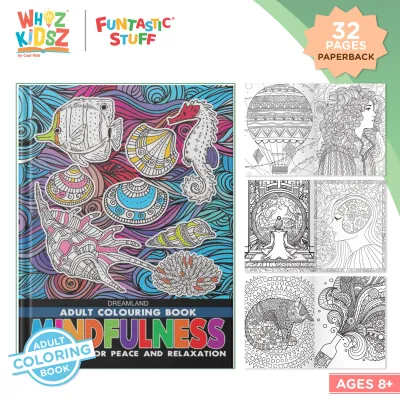
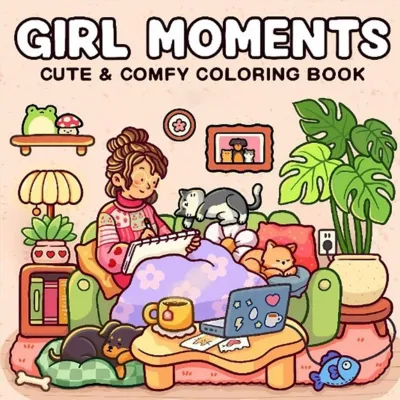
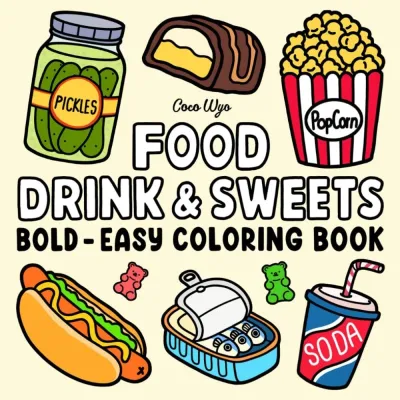
Prices are valid at publication and may change. Please refer to the product page for the latest price.
Markers, on the other hand, require a completely different paper structure. Whether they are water-based brush pens or alcohol-based sketch markers, these tools flood the paper with liquid. To handle this moisture without warping or pilling, the paper must be thick and tightly sized. Sizing is a manufacturing process where starch or other materials are added to the paper to control its absorbency. Without proper sizing, marker ink will feather, spreading outward along the paper fibers like water on a paper towel, ruining clean lines. Furthermore, thin paper allows marker ink to bleed straight through to the next page, potentially ruining subsequent designs in the book.
Gel pens present a third challenge. They utilize a thick, water-based gel ink that flows through a tiny rollerball tip. If the paper is too rough or toothy, loose fibers can clog the ball mechanism, causing the pen to skip or stop writing entirely. Gel pens need a relatively smooth, uniform surface to glide effortlessly. However, if the paper is completely non-porous or coated, the wet gel ink will pool on top of the page instead of sinking in. This results in incredibly long drying times, which, when combined with tropical humidity, leads to inevitable smudging as the artist’s hand moves across the design.
To bridge these conflicting requirements, many high-quality coloring books utilize mixed-media paper. This type of paper is specifically engineered to offer a moderate amount of tooth for colored pencils while maintaining enough thickness and sizing to handle wet media like markers and gel pens. Understanding these material dynamics is the first step in choosing a book that keeps all three coloring tools performing at their best.
Key Features to Look for in a Teen-Friendly Coloring Book
When shopping for a teen-friendly coloring book, you can quickly filter out low-quality options by checking a few key structural specifications. The most critical specification is paper weight, which is typically measured in grams per square meter (gsm) or pounds (lb). Standard, budget-friendly coloring books often use paper that is 70 to 90 gsm, which is roughly equivalent to standard office printer paper. For a mix of pencils, markers, and gel pens, you should look for books that specify a paper weight of at least 120 gsm, though 150 gsm or higher is ideal. Heavyweight paper resists warping when wet marker ink is applied and provides a sturdy backing that can withstand the physical pressure of colored pencil burnishing.

Page layout is another vital feature to evaluate. Single-sided printing is an absolute necessity if the teen plans to use markers or heavy gel pens. Even on thick, high-quality paper, intense marker saturation can cause “ghosting”—where the shadow of the design is visible on the reverse side—or minor bleed-through. When designs are printed on only one side of each sheet, the back of the page can act as a sacrificial barrier, ensuring that no artwork is lost to ink bleed. Many premium books also include perforated edges, allowing the teen to easily tear out a page to work on a flat surface or frame the finished piece.
The complexity and theme of the designs must also match a teenager’s evolving artistic tastes. Teens have generally outgrown the simple, thick-lined illustrations found in children’s coloring books, yet they may find the hyper-detailed, repetitive patterns of adult stress-relief books tedious or overwhelming. Look for books that offer a middle ground: clean, medium-weight lines with engaging, age-appropriate subjects. Popular themes for teens include modern fashion illustration, botanical studies, inspirational typography, fantasy landscapes, and abstract geometric patterns. The line art should feature a mix of broad areas for smooth marker gradients and finer details where sharp colored pencils or fine-tip gel pens can shine.
Finally, pay close attention to the binding of the book. Standard glue-bound books tend to snap shut, forcing the artist to constantly hold the pages down with one hand while coloring. This makes it incredibly difficult to color near the inner margins and can lead to hand fatigue. Spiral-bound books or those advertised as having “lay-flat” binding are far superior. They allow the book to open completely flat on a desk, giving the teen full, unobstructed access to the entire page. This flat surface is crucial for maintaining consistent hand pressure, which directly improves marker control and prevents gel pens from skipping.
How to Test and Verify Paper Compatibility Before Committing
Because paper manufacturing processes vary widely, the most reliable way to ensure your coloring tools will perform well is to conduct a few simple, observable tests on a non-essential part of the book. Most high-quality coloring books include a blank test page, a title page, or a small index at the back that is printed on the exact same paper stock as the coloring designs. This is the perfect canvas for your trials.
Begin by conducting a bleed test with your markers. Select the darkest, most saturated marker in your collection—typically a dark blue, black, or deep red. Color a small, solid square on the test page, applying the ink with the same pressure and speed you would normally use. Let it sit for a minute, then flip the page over to inspect the back. If the ink has soaked through completely and formed a wet spot on the next page, you know you must use a protective barrier behind your active pages. Also, observe the edges of the colored square; if the ink has spread outward beyond your drawn lines, the paper lacks sufficient sizing for precise marker work.
Next, test your gel pens for drying time and smudge resistance. Draw three parallel lines on the test paper. Wait exactly five seconds, then gently run a clean finger across the first line. If the ink smears across the page, wait ten seconds and swipe the second line, then fifteen seconds for the third. This simple test helps you understand the paper’s absorption rate. In humid conditions, this step is vital, as it teaches the artist how long they must let a section dry before resting their hand near it, preventing accidental smudges on a nearly finished piece.
To test your colored pencils, select a medium-toned pencil and apply a light, even layer of color. Then, apply a second layer of a different color on top, blending them together. Finally, apply a third layer with slightly firmer pressure. Observe how the paper responds. If the paper surface begins to pill, tear, or shed tiny paper rolls, the fibers are too weak to handle layering or burnishing. If the paper becomes slick and refuses to accept the third layer of pigment, the paper’s tooth is too shallow for advanced pencil techniques.
If the paper behaves unexpectedly during these tests—such as tearing under light pencil pressure or causing gel pens to skip constantly—stop and check the book’s packaging or the manufacturer’s online guidelines. Some publishers provide specific instructions regarding which media are compatible with their paper, which can save you from accidentally ruining a favorite design.
Building Your Shortlist: What to Check on Product Labels and Descriptions
When shopping online or browsing the aisles of a local stationery store, you can build a reliable shortlist by looking for specific keywords and technical details on product labels. Avoid books that only use generic marketing terms like “high-quality paper” or “perfect for all artists.” Instead, look for explicit, technical descriptions such as “acid-free,” “mixed-media grade,” “heavyweight cardstock,” or “bleed-resistant.” Acid-free paper is particularly important because it resists yellowing and degradation over time, ensuring that the teen’s hard work remains vibrant for years to come.
If you are purchasing through an online marketplace or ecommerce platform, make full use of the user review section. Do not just look at the overall star rating; instead, use the search function within the reviews to look for terms like “markers,” “gel pens,” “bleed,” and “pencils.” Other artists frequently share their firsthand experiences, noting whether alcohol markers bleed through to the next page or if gel pens take too long to dry. Many reviewers also upload photos of their completed pages, which can give you a clear view of the paper’s texture and how well it handles blending.
Always check the stated paper weight if the manufacturer provides it. In the stationery world, paper weight is a reliable proxy for quality. If the description lists the paper as “100 lb” or “150 gsm” and above, it is highly likely to handle markers and gel pens with ease. If the paper weight is not listed, look at the physical dimensions and shipping weight of the book in the product specifications. A book with 100 pages that weighs very little is a clear indicator of thin, low-grade paper, whereas a heavier book with fewer pages suggests thick, premium sheets.
Finally, ensure that the book’s overall theme and line weight align with the teen’s preferred tools. If they primarily use fine-tip gel pens and sharp colored pencils, look for books with intricate, detailed line work. If they prefer broad dual-tip markers, look for designs with larger, open spaces that allow for smooth color laydown without the risk of bleeding over tight borders. Matching the book’s design style to the teen’s favorite coloring tools ensures a frustrating-free and highly satisfying creative experience.
Frequently Asked Questions (FAQ)
Can I use regular printer paper for coloring with markers?
Standard printer paper, which typically ranges from 70 to 80 gsm, is generally too thin and highly porous for markers. When you apply alcohol-based or water-based markers to printer paper, the ink quickly saturates the thin fibers, causing immediate bleed-through to the surface underneath and significant feathering along the edges of your lines. Printer paper is best reserved for colored pencils or very light gel pen work where heavy ink saturation is not required.
How do I prevent marker bleed-through if the book has double-sided pages?
If you are coloring a book with double-sided pages and want to use markers, you can protect the subsequent designs by placing a physical barrier directly behind your active page. A thick sheet of cardstock, a plastic sheet protector, or even three to four sheets of clean scrap printer paper will work perfectly. This barrier will absorb any excess ink that penetrates the page, preventing it from staining the next design. However, keep in mind that the illustration on the back of your active page will still likely be marked by the bleed-through.

Community discussion
Share your experience or ask a question. Comments are reviewed before publication.