
Selecting a DIY painting kit for your child’s school art class involves more than just picking the largest, most colorful box on the shelf. A classroom environment introduces unique challenges that do not exist during quiet home crafting sessions. Students must transport their supplies back and forth, work within limited desk spaces, complete projects within a strict class period, and clean up quickly before the next bell rings. Furthermore, the tropical climate in the Philippines, characterized by high humidity and sudden downpours during the rainy season, directly affects how art materials behave, dry, and age.
To find a kit that supports your child’s creative development without causing unnecessary stress for them, their teacher, or your wallet, you must evaluate several practical dimensions. The ideal school art kit balances non-toxic safety certifications, physical durability, ease of cleanup, and alignment with the school curriculum. By focusing on these core criteria, you can select a set that remains functional and hygienic throughout the entire school year.
Essential Tools and Mediums for School Art Projects
Before purchasing any painting kit, review the school’s art syllabus to identify the specific paint mediums required. School art classes typically utilize three primary water-based paints: watercolors, gouache, or acrylics. Watercolors are highly favored for beginners because they are transparent, dry rapidly, and are easily re-activated with water. Gouache offers a matte, opaque finish that allows students to paint light colors over dark layers, making it excellent for poster designs. Acrylics are highly vibrant and dry to a water-resistant finish, but they require careful handling as they can permanently stain clothing once dry. Ensure the kit you select contains the exact medium specified by the teacher, as substituting one for another can ruin the intended outcome of a lesson.
Products mentioned in this guide
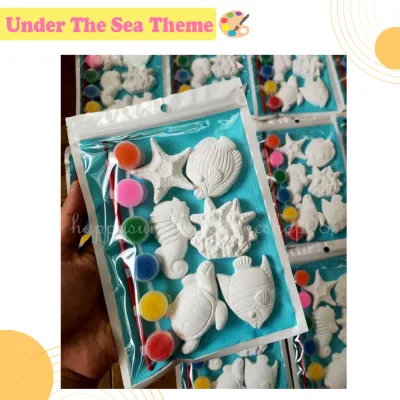
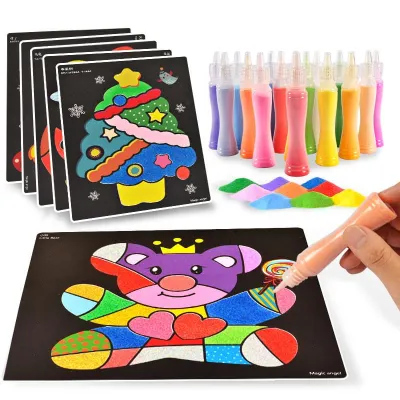
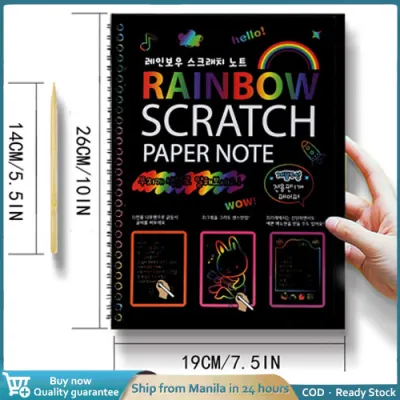
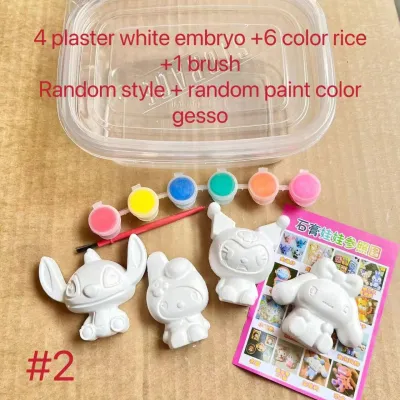
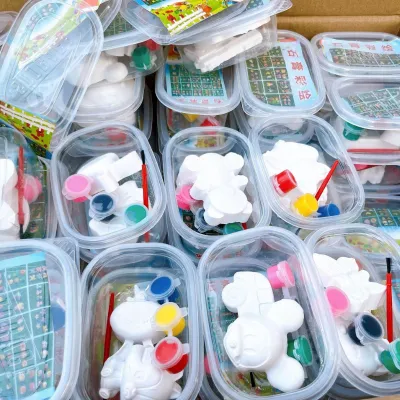
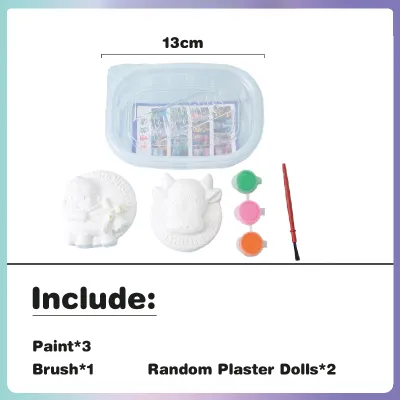
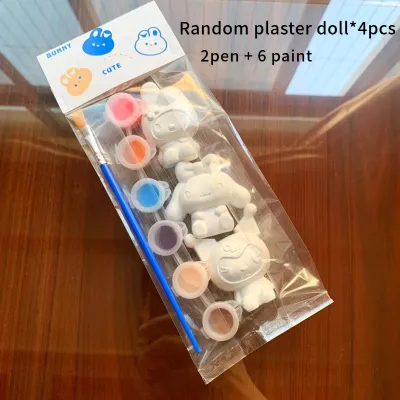
Prices are valid at publication and may change. Please refer to the product page for the latest price.
The quality and variety of brushes included in the kit are just as critical as the paint itself. A versatile student kit should feature a mix of brush shapes and sizes, typically including at least two round brushes (such as a fine size 2 for detail work and a medium size 6 for general painting) and one flat brush (such as a half-inch flat for broad washes). For school use, synthetic nylon bristles are generally better suited than natural animal hair. Synthetic fibers are more resilient, hold their shape better when subjected to rough handling by children, and dry much faster in humid tropical conditions, which helps prevent the growth of mold and mildew within the storage case.
Beyond paints and brushes, a complete classroom kit must include functional auxiliary tools that facilitate a smooth painting process. Look for a mixing palette with deep, well-separated wells to prevent different paint colors from bleeding into one another. A collapsible water cup is an invaluable addition, as it saves significant space in a school bag and is less prone to tipping over on a crowded classroom desk than a standard plastic cup. Additionally, check if the kit includes a small absorbent sponge or a microfiber cloth; these are essential for controlling the moisture level in the brushes and wiping away mistakes before the paint dries.
Finally, verify the compatibility of the kit’s paints with standard school paper mediums. Most school art classes utilize drawing books or sketchpads with paper weights ranging from 100 gsm to 200 gsm. Watercolors and heavy gouache washes require thicker, textured paper to prevent warping or bleeding through to the next page. If the kit includes its own paper or small canvas boards, test a small corner first to observe how the paper fibers react to water saturation. If the paper pills or tears easily under a wet brush, you will need to supplement the kit with a dedicated watercolor pad designed to handle wet mediums.
Verifying Safety Labels and Non-Toxic Standards
Safety is the most critical factor when selecting any art supply for children, especially for materials used independently in a classroom. Never rely on vague, unverified marketing terms such as “natural,” “eco-friendly,” or “100% safe” printed on the front of the packaging. Instead, look for recognized, independent safety certifications. The most reliable standard for art materials is the AP (Approved Product) seal from the Art and Creative Materials Institute (ACMI), which certifies that the product has been toxicologically evaluated and contains no materials in sufficient quantities to be toxic or injurious to humans. Alternatively, look for the EN71 certification, which indicates compliance with European toy safety standards.

Always check the manufacturer’s age-appropriateness warnings, which are typically displayed as an age range (such as “Ages 3+” or “Ages 6+”). These warnings indicate whether the kit contains small parts, such as paint caps or small mixing sticks, that present choking hazards, or formulations that require more mature handling. Additionally, read the back of the packaging for clear first-aid instructions. A reputable manufacturer will provide explicit guidance on what to do in case of accidental skin contact, eye contact, or ingestion, giving parents and teachers peace of mind during hectic classroom activities.
Avoid kits that contain strong chemical solvents, unlisted ingredients, or strong chemical odors. Traditional oil painting kits, for example, are entirely unsuitable for school classrooms because they require mineral spirits, turpentine, or specialized mediums that emit harmful fumes and pose fire hazards. Similarly, ensure that any adhesives, varnishes, or mixing mediums included in the DIY set are strictly water-based, solvent-free, and acid-free. Children frequently touch their faces, eyes, and mouths while painting, so minimizing exposure to harsh chemicals is essential for preventing skin irritation and allergic reactions.
If your child has known skin sensitivities or allergies, take extra care to inspect the ingredient list for common allergens, such as gluten or specific synthetic dyes. Some budget-friendly paint kits use low-grade binders or preservatives that can trigger contact dermatitis on sensitive skin. If the packaging lacks a detailed ingredient list or a clear non-toxic certification seal, it is wisest to pass on that product and choose a brand that prioritizes transparency and safety compliance.
Assessing Portability and Classroom Storage Design
A school painting kit must be highly portable and capable of surviving the daily commute. Students often travel to school via public transportation, such as jeepneys, tricycles, or crowded school buses, where their backpacks are subjected to constant movement, squeezing, and occasional drops. Therefore, the outer casing of the kit must be exceptionally durable. Look for cases made of thick, impact-resistant plastic with heavy-duty, secure latches. Flimsy cardboard boxes or thin vinyl pouches tear easily, exposing the delicate paint tubes and brushes to damage and risking messy spills inside the school bag.
The internal design of the storage case is just as important as its exterior strength. Open the kit to inspect how the individual components are secured. A well-designed kit features molded plastic trays or elastic straps that hold each paint tube, brush, and accessory firmly in place. If the components are allowed to roll around freely inside the case, paint tubes can get punctured, brush bristles will bend and fray against the walls, and dry watercolor pans may crack and crumble into dust. Keeping everything locked in its designated slot ensures the tools remain in optimal condition for every class.
Consider the overall dimensions and weight of the kit in relation to your child’s physical size and school bag capacity. A massive, multi-tiered wooden art case may look impressive, but it is highly impractical for a child to carry alongside heavy textbooks, notebooks, and lunchboxes. Opt for a compact, streamlined design that slides easily into a standard backpack compartment or fits neatly inside a school locker. The kit should be lightweight enough that it does not add unnecessary strain to your child’s back during their daily walk or commute.
Finally, evaluate whether your child can operate the kit independently. Test the latches, zippers, and paint caps yourself, and then have your child try them. Latches that are too stiff can lead to frustration or sudden, forceful openings that send supplies flying across the classroom. Conversely, loose latches can fail mid-transit, spilling paint and brushes onto the street or classroom floor. Look for smooth, child-friendly snap-locks or zipper closures that secure tightly but can be opened easily by young hands without requiring adult assistance.
Evaluating Cleanup Ease and Maintenance Requirements
Classroom art sessions are strictly timed, often leaving students with only five to ten minutes to clean up their workspaces and pack away their supplies. Therefore, the ease of cleaning the kit’s components is a major practical consideration. Look for paints explicitly labeled as “washable.” However, keep in mind that washability varies depending on the surface. Before sending the kit to school, perform a quick home trial: apply a small dab of paint to a scrap piece of fabric similar to your child’s school uniform and a hard surface similar to a school desk. Observe how easily the paint washes out with standard laundry soap and water, and how quickly it wipes off hard surfaces.
The maintenance requirements of the brushes and palettes also dictate the kit’s long-term utility. Brushes must be easy to rinse clean under a standard school restroom tap using only cold water and basic hand soap. If a paint medium requires specialized brush cleaners or prolonged soaking to remove residue, it is impractical for classroom use. Similarly, the mixing palette should feature a smooth, non-porous surface that prevents paint pigments from staining the plastic permanently. A palette that is easy to wipe clean with a damp sponge or cloth saves time and keeps the kit hygienic.
Consider the drying time of the paints and tools before they are packed away. In the high humidity of the Philippines, wet brushes and damp watercolor pans packed into an airtight plastic case can quickly become breeding grounds for mold, mildew, and unpleasant odors. To mitigate this, look for kits that feature ventilated cases or encourage your child to leave the case slightly open once they return home to allow any trapped moisture to evaporate. Teaching your child to dry their brushes thoroughly with a cloth before packing them away will significantly extend the lifespan of the tools.
Lastly, check the availability of replacement consumables before committing to a specific kit. Paints, paper, and sponges are consumable items that will inevitably run out before the school year ends. Prioritize kits that utilize standard, widely available sizes—such as standard 12ml paint tubes or universal half-pans—which can be easily purchased individually at local stationery stores or online marketplaces. Avoid proprietary designs that force you to buy an entirely new kit just to replace a single exhausted color, as this is both economically inefficient and environmentally wasteful.
Balancing Material Quality and Budget for Students
When shopping for school art supplies, parents must navigate a wide price spectrum, ranging from cheap, low-grade toy sets to expensive, professional-grade artist materials. For a school art class, the most sensible choice is student-grade materials (often labeled as “Academy,” “Student,” or “Studio” quality). Student-grade paints contain a slightly lower pigment concentration and more fillers than professional paints, making them highly affordable while still offering vibrant colors, smooth blending, and consistent performance. Avoid ultra-cheap toy sets, as they often contain chalky, poorly pigmented paints that frustrate children and make it difficult to achieve the results required by the curriculum.
To ensure you are getting the most value, evaluate the price per component of the kit in ₱. Many large, multi-piece kits inflate their piece counts by including dozens of cheap plastic paperclips, low-quality colored pencils, or redundant markers that your child’s art teacher may never require. Instead of paying ₱1,000 for a bloated 150-piece set of mediocre quality, it is far wiser to spend ₱500 to ₱800 on a focused, high-quality 12-color paint set that contains durable brushes, a sturdy palette, and reliable paint formulations. Focus your budget on the core tools that directly impact the quality of your child’s artwork.
Plan ahead for consumable replenishment by choosing a kit that allows for modular upgrades. A smart purchasing strategy is to start with a basic, high-quality core kit that covers the fundamental requirements of the syllabus. As the school year progresses and your child’s painting skills develop, you can gradually introduce specialized tools—such as a high-quality detail brush, a specialized mixing medium, or a wider range of paint colors—purchased individually. This phased approach prevents high upfront costs and ensures you only buy additional supplies that your child actually knows how to use and care for.
Ultimately, a balanced budget strategy involves teaching your child the value of tool maintenance. Even the most expensive, high-quality paintbrush will be ruined in a single week if left sitting bristle-down in a water cup or allowed to dry with acrylic paint caked near the ferrule. By choosing a reasonably priced student-grade kit and teaching your child how to wash, reshape, and store their brushes properly, you ensure that the materials last the entire school year, saving you money on premature replacements while fostering a sense of responsibility in your young artist.
Frequently Asked Questions (FAQ)
Can I use acrylic paints instead of watercolors for school projects?
You should not substitute acrylic paints for watercolors unless the art teacher’s syllabus explicitly permits or requires it. Watercolors are transparent, water-soluble, and can be easily re-activated with water even after they have dried on the palette, making them highly forgiving for young students and easy to clean up. In contrast, acrylic paints dry to a permanent, water-resistant plastic film. If acrylic paint spills on a school uniform, classroom furniture, or floor, it becomes extremely difficult to remove once dry, often resulting in permanent stains. Always consult the teacher’s specific guidelines before changing the required medium.
How often should I replace my child's paintbrushes?
You should replace your child’s paintbrushes when they show clear, observable signs of wear that interfere with paint application. Inspect the brushes regularly for splayed or frayed bristles that no longer hold a sharp point or clean edge, loose metal ferrules that wobble on the wooden handle, or hardened paint buildup near the base of the bristles that cannot be washed out. Damaged brushes make it difficult for students to control their strokes, leading to frustration during school assignments. With proper maintenance—such as washing immediately after use, reshaping the damp bristles with fingers, and storing them flat or bristle-side up—a quality set of synthetic student brushes can easily last an entire school year.
Community discussion
Share your experience or ask a question. Comments are reviewed before publication.