
Customizing or touching up a bicycle requires marking tools that can withstand friction, weather, and road debris. To achieve a clean, long-lasting finish on bike frames and components, oil-based paint markers or specialized multi-surface acrylic paint markers are the most reliable choices. Unlike standard ink pens, these markers deposit a thick, opaque layer of actual paint that bonds to rigid surfaces.
However, because a bicycle consists of diverse materials—ranging from slick anodized aluminum to flexible rubber tires—no single marker works universally across every component. Selecting the right marker requires matching the ink formulation to the specific surface material and understanding how tropical environmental factors, such as intense heat and high humidity, affect the application and curing process.
Evaluating Bike Surfaces Before Choosing a Marker
Before purchasing any paint marker, you must identify the exact materials making up the target areas of your bicycle. Bike frames are rarely uniform; a single frame might feature painted steel, bare polished aluminum, carbon fiber, or anodized finishes. Painted metal frames already have a factory clear coat, which acts as a smooth, non-porous barrier. While this coat protects the underlying metal, its slick texture can cause wet paint to bead up or slide off during application.
Products mentioned in this guide
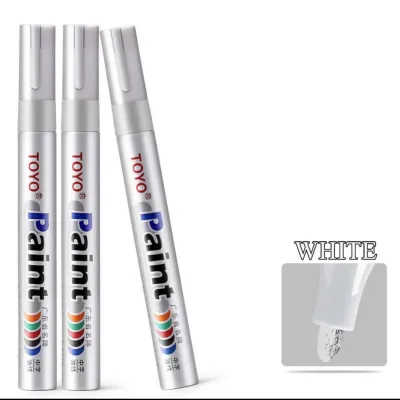
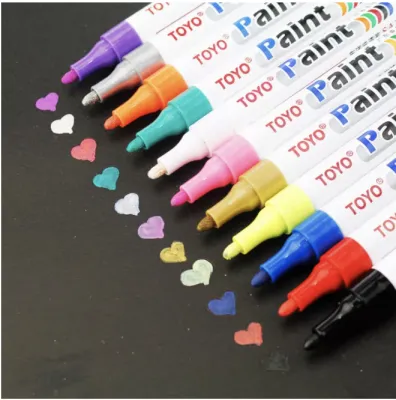
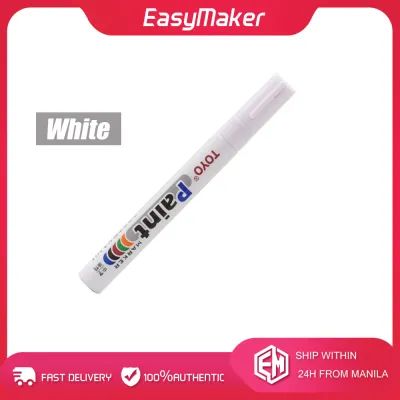
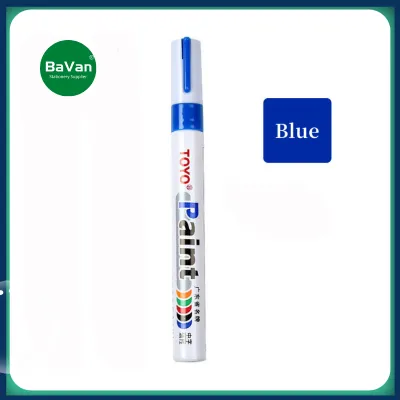
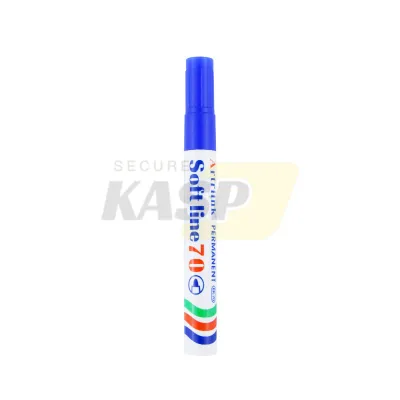
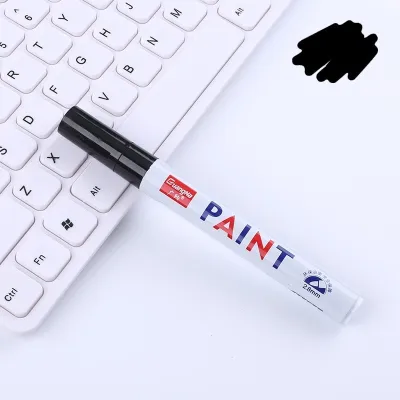
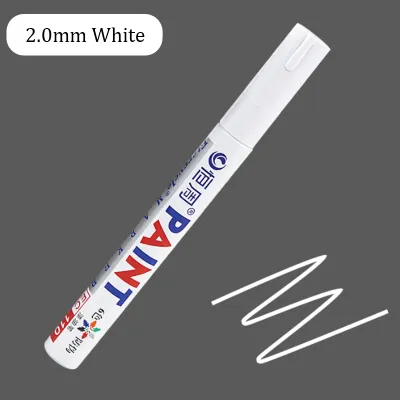
Prices are valid at publication and may change. Please refer to the product page for the latest price.
Bare metal and anodized aluminum present different challenges, as they lack a porous texture for the paint to grip, often requiring specialized oil-based formulas to prevent peeling. Carbon fiber components are finished with a resin clear coat that can react negatively to harsh chemical solvents found in certain industrial-grade markers, making gentle, water-based acrylics a safer starting point.
Plastic components on a bicycle, such as ABS fairings, chain guards, and polypropylene mudguards, introduce another layer of complexity. These materials are classified as low-surface-energy plastics, meaning they naturally repel liquids and adhesives. If you apply a rigid, brittle paint to a flexible mudguard, the paint will quickly crack and flake off under the constant vibration of daily rides. You must verify whether the plastic is rigid or flexible, as flexible parts require specialized paint formulas that can bend slightly without losing adhesion.
Rubber and silicone components, including tire sidewalls, cable organizers, and handlebar grips, are the most difficult surfaces to mark. These materials are designed to stretch, compress, and flex continuously during operation. Furthermore, rubber tires naturally exude oils and mold-release agents over time, which actively push away external coatings. Standard paint markers applied to these areas will crack, discolor, or peel off within a few kilometers of riding. Recognizing these material boundaries beforehand prevents the frustration of ruined designs and wasted materials.
Core Features to Check on Paint Marker Labels
When browsing options at local stationery shops or online marketplaces, reading the fine print on the marker label is essential to ensure outdoor durability. The primary distinction you will encounter is between oil-based and water-based acrylic formulations. Oil-based paint markers are highly favored for outdoor applications because they dry to a tough, water-resistant finish that naturally repels moisture and road grime. However, they carry strong solvent odors and require longer drying times, especially in humid tropical climates.

Water-based acrylic markers are low-odor, dry quickly, and offer excellent color mixing, but they are generally less resistant to abrasion and heavy rain unless sealed with a protective clear coat after curing. Expect to budget around ₱150 to ₱400 for a premium, weather-resistant marker that can withstand outdoor elements.
The delivery mechanism of the marker also dictates how smoothly the paint flows onto uneven or vertical bike tubes. Valve-action or pump-action markers are standard for paint applications. These markers require you to shake the pen to mix the pigment and solvent, then press the tip down onto a scrap surface to prime the valve and release the paint. This mechanism allows you to control the flow, preventing the paint from pooling or running down a vertical frame tube. Avoid standard gravity-fed markers, which often deliver inconsistent, thin layers of ink that lack the opacity needed to cover dark frame colors.
Tip size and material are critical specifications to match to your project scale. Fine and extra-fine tips (typically 0.7mm to 1mm) are indispensable for detailed line work, custom lettering, or touching up tiny paint chips on the frame. Medium tips (2mm to 3mm) are the most versatile, allowing you to outline designs and fill in moderately sized graphics. Broad or chisel tips (4mm to 8mm) are best reserved for coloring large sections of thick frame tubes or fork blades. Look for durable acrylic or polyester fiber tips, as rough metal surfaces can quickly fray softer felt tips.
Finally, do not assume a marker is durable simply because it is labeled “permanent.” Look for explicit manufacturer claims on the packaging regarding UV resistance, weatherproofing, and lightfastness. In tropical regions like the Philippines, where bikes are exposed to intense sunlight and sudden downpours, non-UV-resistant inks will fade from vibrant red or blue to a dull, chalky pastel within a few weeks. Opacity is another key label check; high-pigment formulas are necessary if you plan to apply light-colored paint, like white or yellow, over a dark black or navy blue bike frame.
Matching Paint Marker Formulations to Specific Bike Components
Selecting a paint marker based solely on color or brand often leads to premature peeling and cracking. To ensure your custom designs or touch-ups survive the physical demands of cycling, you must match the chemical formulation of the ink to the physical properties of each specific bike component.
Metal Frames, Forks, and Rims
For rigid metal surfaces like steel, aluminum, or titanium frames and forks, oil-based paint markers are generally the most durable option. The solvent-based binders in these markers form a tight, chemical bond with smooth surfaces, creating a hard enamel-like shell once fully cured.
Before applying paint to these areas, proper surface preparation is mandatory. You must thoroughly degrease the metal using isopropyl alcohol to remove any residual chain lube, road oil, or fingerprints. If you are working on a bare metal area or a highly polished rim, a very light scuffing with fine-grit sandpaper or a steel wool pad will create microscopic scratches, giving the paint a physical texture to grip.
Be aware that on highly polished anodized surfaces, paint may still struggle to adhere and can bead up during application; in these cases, applying a thin, compatible clear coat over the cured paint is highly recommended to lock the design in place.
Plastic Parts and Accessories
When marking plastic accessories like mudguards, light mounts, or bottle cages, look for flexible acrylic paint markers. These formulations contain acrylic polymers that retain a degree of elasticity after drying, allowing the paint to bend slightly with the plastic without cracking.
Low-surface-energy plastics, such as polypropylene mudguards, present severe adhesion challenges. Standard solvent-based inks may slide off or, conversely, contain harsh solvents that can chemically attack and melt sensitive plastics.
To prevent damage, always perform a small test application on a hidden area, such as the underside of a mudguard or inside a bracket. Observe the test patch for several hours to check for any signs of chemical softening, bubbling, or poor adhesion before proceeding with the main design.
Rubber Tires, Seals, and Grips
Marking rubber components requires specialized rubber-marking paint pens or highly flexible, specialty acrylics designed specifically for tire sidewalls. Standard paint markers will fail almost immediately on rubber because they cannot cope with the extreme flexing, stretching, and compression that tires undergo during a ride.
Furthermore, rubber compounds naturally release oils and chemical preservatives that push away standard paint films. Even with specialized tire markers, you must manage your expectations regarding durability. Marks on high-wear, high-flex areas like tire sidewalls or handlebar grips are temporary by nature and will require periodic touch-ups.
To maximize the lifespan of these markings, scrub the rubber surface thoroughly with a stiff brush and soapy water, followed by an alcohol wipe, to strip away any mold-release agents before painting.
Step-by-Step Application and Curing for Maximum Adhesion
Achieving a professional, durable finish with a paint marker depends entirely on your application technique and curing patience. Skipping steps in preparation or rushing the drying process will inevitably lead to peeling paint, especially when the bike is exposed to wet weather or routine cleaning.
First, clean the target area meticulously. Use a dedicated bike degreaser or high-purity isopropyl alcohol to strip away invisible road film, sweat, grease, and wax. Even a tiny amount of skin oil from your fingers can prevent the paint from bonding properly. Wipe the surface dry with a clean, lint-free microfiber cloth. Avoid using household glass cleaners or dish soaps that leave behind a thin, shiny residue, as this film will interfere with the paint’s adhesion.
Next, prepare your paint marker according to the manufacturer’s instructions. Shake the marker vigorously with the cap securely on for at least thirty seconds to thoroughly mix the pigment and solvent. To prime the marker, press the tip vertically down onto a scrap piece of cardboard or paper. Hold it down gently until you see the paint begin to saturate the tip, then release. Do not pump the tip repeatedly on your bike frame, as this can cause the valve to flood, resulting in a large, messy puddle of paint running down your clean frame.
When applying the paint, work in thin, even layers. It is tempting to try and cover the surface in a single, thick coat, but this approach leads to running, pooling, and a weak paint structure that easily peels. If you are drawing a design or filling in a scratch, apply a light first coat and let it dry completely.
In high-humidity tropical environments, drying times are significantly extended. While a coat might feel dry to the touch in fifteen minutes, the underlying solvents take much longer to evaporate. Allow at least one to two hours between coats to ensure the paint layers bond correctly.
Once your final coat is applied, the curing phase begins. Drying is not the same as curing; drying is simply the evaporation of the liquid carrier, while curing is the chemical hardening of the paint binder. For maximum durability, keep the bike indoors in a dry, well-ventilated area for at least 24 to 48 hours before exposing it to moisture, handling, or riding. If you plan to apply a protective clear coat spray over your design, wait at least 48 hours to ensure the paint marker is fully cured, preventing the clear coat solvents from wrinkling or dissolving your hard work.
Long-Term Durability and Touch-Up Maintenance
Once your custom paint designs are fully cured, maintaining them requires a gentle touch during routine bike maintenance. Standard bicycle washing routines can be harsh on paint marker designs. High-pressure water washers should never be sprayed directly onto marked areas, as the intense pressure can easily get under the edges of the paint and blast it off the frame. Similarly, chain lube splatters, degreasers, and harsh bike washes containing strong solvents can dissolve or dull both oil-based and acrylic markings.
When cleaning your bike, wash the marked areas gently using a soft sponge, mild bicycle soap, and low-pressure water from a garden hose or bucket. Avoid scrubbing the painted designs with stiff-bristled brushes or abrasive cleaning pads. If a design begins to fade, chip, or wear away over time, you must decide whether to touch it up or strip it completely.
For minor chips on a metal frame, a quick touch-up with the same marker is usually sufficient. However, if the paint has begun to peel or lift from the edges, it is best to gently scrape away the loose paint, clean the area with isopropyl alcohol, and reapply the design from scratch to ensure a clean bond.
Proper storage of your paint markers will extend their shelf life and keep them ready for future touch-ups. Always store paint markers horizontally. Storing them vertically can cause the heavy paint pigments to settle at the bottom, clogging the valve, or cause the solvent to pool at the tip, leading to watery paint on your next use. Ensure the caps are clicked on tightly to prevent the tips from drying out in warm, tropical climates, and store them in a cool drawer away from direct sunlight.
Frequently Asked Questions (FAQ)
Can I use a standard permanent marker instead of a paint marker on my bike?
Standard permanent markers use thin, dye-based inks that are translucent and lack physical thickness. When applied to a dark bike frame, these inks are barely visible and will quickly fade under the intense UV rays of the tropical sun. Furthermore, standard permanent marker ink is easily dissolved by common bicycle cleaners, chain lubes, and even sweat. Paint markers, on the other hand, deposit a thick, opaque layer of actual pigment and binder that physically bonds to the surface, offering vastly superior opacity, UV resistance, and physical durability against the elements.
How do I fix a mistake or remove unwanted paint marker ink from a bike frame?
If you make a mistake while applying a water-based acrylic marker, you can easily wipe it away with a damp cloth or a splash of isopropyl alcohol while the paint is still wet. For cured oil-based paint markers on metal frames with a factory clear coat, you can use a mild solvent like isopropyl alcohol or a specialized clay bar to gently lift the paint without damaging the underlying finish. Avoid using harsh chemicals like acetone, nail polish remover, or heavy paint thinners, as these solvents can quickly dissolve the bike’s factory clear coat, melt plastic components, and degrade rubber seals. For stubborn cured paint on bare metal, a gentle hand-polishing compound can mechanically buff the unwanted paint away safely.
Community discussion
Share your experience or ask a question. Comments are reviewed before publication.