
Finding the right white ink permanent marker in the Philippines requires matching the ink’s chemical formulation to the specific surface you want to mark. Unlike black or colored markers that rely on translucent dyes, white markers use heavy pigments—often titanium dioxide—suspended in a liquid base to achieve opacity. Because of this unique chemistry, a marker that creates a crisp, bold line on a glass jar might easily peel off a plastic container or wash out of a cotton t-shirt. To get clean, long-lasting results, you must evaluate the surface’s porosity, texture, and exposure to tropical humidity. By understanding how different ink bases and tip styles interact with glass, metal, plastic, and fabric, you can select a tool that delivers high visibility and durable adhesion for your specific project.
Understanding White Ink Formulations and Tip Styles
When browsing the aisles of a local stationery store or searching online marketplaces, you will find three primary ink bases: oil-based paint, water-based acrylic, and alcohol-based ink. Oil-based paint markers offer excellent adhesion on non-porous surfaces and resist water well, making them ideal for outdoor or high-humidity environments. Water-based acrylic markers are highly opaque, low-odor, and excellent for artistic projects, though they may require a protective sealant on slick surfaces. Alcohol-based white markers dry incredibly fast, but they often lack the extreme opacity of paint-based alternatives and may appear slightly translucent.
Beyond the ink chemistry, the marker’s delivery system plays a crucial role in how the ink flows. Valve-action markers require you to shake the barrel and press the tip down to release ink from an internal reservoir. This mechanism prevents the heavy white pigment from drying out in the barrel and allows for a thick, controlled flow. Standard felt or fiber nibs, similar to traditional highlighters, offer immediate ink flow without priming but may struggle with pigment settling, sometimes resulting in a fainter or more watery line over time.
Products mentioned in this guide
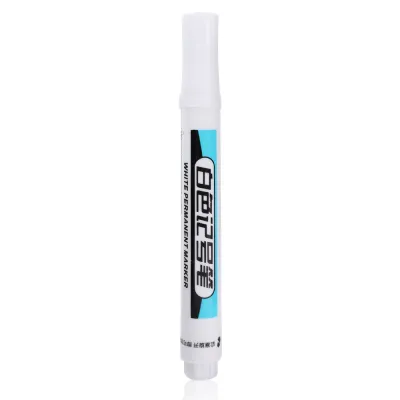
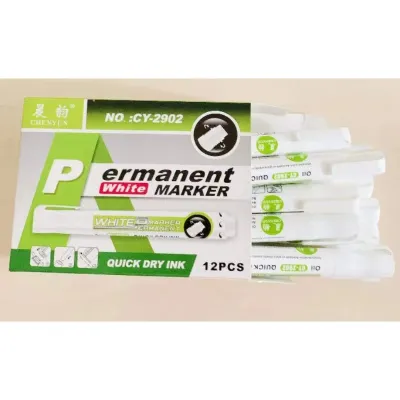
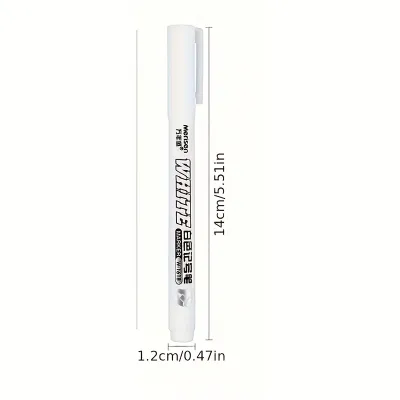
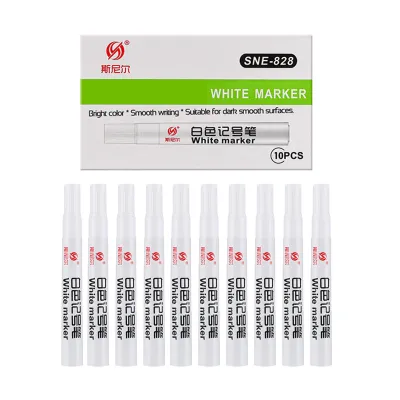
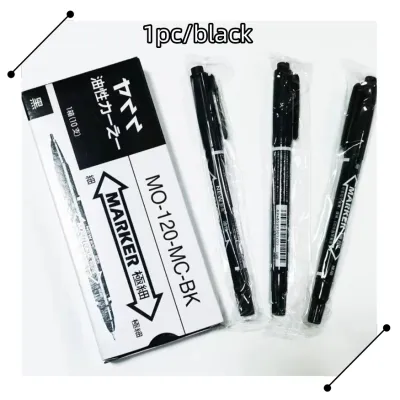
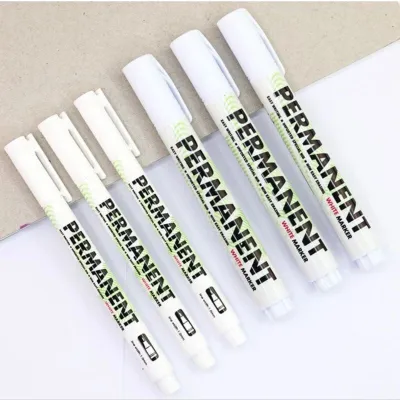
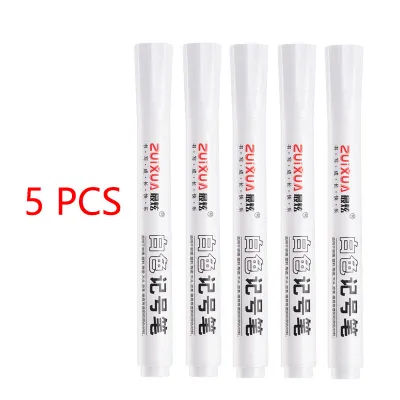
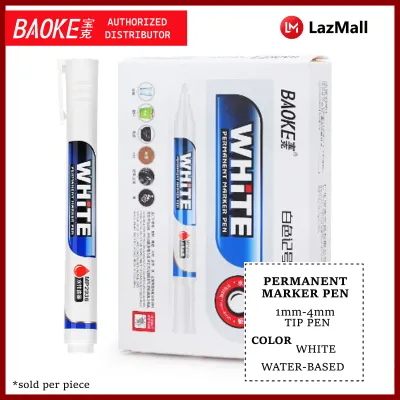
Prices are valid at publication and may change. Please refer to the product page for the latest price.
To evaluate opacity and coverage claims, look closely at the manufacturer’s specifications rather than relying solely on the cap color. High-quality markers will explicitly state if they are “highly pigmented” or “opaque.” If a label does not mention opacity, the marker may use a dye-based formula that will look faint or streaky when applied over dark or colored backgrounds.
Selecting Markers for Non-Porous Glass and Metal
Non-porous surfaces like glass and metal present a unique challenge because ink cannot penetrate the material. Instead, the ink must form a physical bond on top of the surface. When selecting a marker for these materials, look for label indicators that specify compatibility with glass or metal, along with properties like scratch resistance and weatherproofing.

On dark, tinted, or highly reflective backgrounds—such as dark glass bottles or galvanized iron sheets—opacity is critical. Standard permanent markers often dry translucent or streak easily on these slick materials. For these applications, specialized oil-based paint markers are generally preferred over standard ink. The oil-based formula clings tightly to smooth surfaces, resisting the condensation and high humidity common in tropical climates.
Keep in mind that while these markers are highly durable, they are not completely impervious to mechanical scratching. If the marked item will undergo frequent handling or washing, check the manufacturer’s instructions to see if baking (for glass) or applying a clear protective coat (for metal) is recommended to lock the pigment in place.
Choosing Markers for Plastic and Fabric Surfaces
Plastics and fabrics require markers that can handle flexibility and chemical compatibility. Plastics are notoriously difficult because they have low surface energy, and certain solvents in heavy-duty markers can actually melt or degrade specific synthetic polymers. Before marking plastic storage bins or organizers, check the marker’s label for plastic compatibility. Look for formulas designed to bond with smooth synthetics without smearing or flaking off when the plastic flexes.
Fabric presents the opposite challenge: it is highly porous and flexible. If you use a standard paint marker on a canvas tote bag or cotton shirt, the ink may dry stiff, crack when bent, or wash out during the first laundry cycle. True fabric markers are formulated to penetrate fibers while remaining flexible after drying.
When reviewing fabric marker labels, look for washability disclaimers and curing instructions. Many require heat-setting—such as running a warm iron over the back of the fabric or placing it in a dryer—to lock the pigment into the fibers. Additionally, note whether you are marking raw, untreated fabric or treated, water-resistant textiles like polyester raincoats. Treated fabrics often repel water-based acrylic markers, requiring specialized solvent-based formulas instead.
Preparing Surfaces and Curing Ink for Durability
Even the highest-quality white ink permanent marker will fail if the surface is not properly prepared. Dust, oils from your fingers, and manufacturing residues create a barrier that prevents the ink from bonding. For glass, metal, and plastic, clean the area thoroughly with isopropyl alcohol or a mild soap solution, then let it dry completely. For fabrics, pre-washing without fabric softener is highly recommended, as softeners leave a chemical residue that repels ink.
Once the surface is clean, prepare your marker according to the manufacturer’s instructions. For valve-action markers, this typically involves shaking the marker vigorously with the cap on to mix the heavy white pigment. Next, press the tip vertically down onto a scrap piece of paper several times to pump the ink into the nib. Avoid over-pumping, which can cause pooling or dripping.
After writing, respect the specified drying and curing times. In humid tropical environments, drying can take significantly longer than the times listed on the packaging. Avoid touching, stacking, or washing the marked items until the ink has fully cured. For some water-based acrylics on glass or ceramic, this might involve a slow bake in a household oven, while oil-based markers may simply require 24 to 48 hours of undisturbed air-drying.
Troubleshooting Ink Flow and Storing Markers Properly
White markers are prone to clogging and separation because the white pigment particles are relatively heavy. If your marker starts writing faint, watery, or streaky lines, the pigment has likely settled. To resolve this, recap the marker tightly and shake it until you hear the internal mixing ball rattling freely, then gently re-prime the tip on scrap paper. If the nib itself has become clogged with dried paint or dust, check if the manufacturer allows you to pull the nib out to rinse it in warm water (for water-based) or mineral spirits (for oil-based) before reinserting.
Proper storage is essential to extend the lifespan of your white markers. Always store them horizontally. Storing them tip-down can cause the heavy pigment to clog the valve mechanism, while storing them tip-up allows the pigment to settle at the bottom of the barrel, making it difficult to mix and prime later.
Recognizing when a marker is truly dead versus when it just needs maintenance will save you ₱ on unnecessary replacements. If shaking the marker yields no rattling sound and the tip remains dry and stiff even after priming, the solvent has likely evaporated completely, meaning it is time for a replacement.
Frequently Asked Questions (FAQ)
Can I use a white paint marker on dark fabric?
Yes, but you must verify the marker’s compatibility with textiles. Look for labels that explicitly state the ink is suitable for fabric and highly opaque on dark colors. Standard paint markers may dry stiff and crack, so choosing a flexible, fabric-specific formula is key to ensuring the design survives washing.
How do I remove white permanent marker from glass if I make a mistake?
Because glass is non-porous, mistakes are relatively easy to correct. Check the marker’s label for recommended solvents. For water-based acrylic markers, a damp cloth or standard glass cleaner usually works. For oil-based paint markers, you may need a small amount of isopropyl alcohol or acetone. Always test a small, inconspicuous area first to ensure the solvent does not damage any surrounding finishes.
Why is my white marker writing clear or transparent instead of white?
This happens when the heavy white pigment has settled at the bottom of the marker barrel, leaving only the clear liquid solvent at the tip. To fix this, cap the marker tightly and shake it vigorously until the internal mixing ball rattles. Then, press the tip down on scrap paper to draw fresh, fully mixed pigment into the nib.
Community discussion
Share your experience or ask a question. Comments are reviewed before publication.