
Organizing sewing supplies in the Philippines requires storage solutions that can withstand high tropical humidity, keep tiny components visible, and fit neatly into compact workspaces. The A6 ziplock pouch is an exceptional tool for this task, offering a standardized footprint of approximately 105 mm by 148 mm that perfectly balances portability with storage capacity. By selecting the right plastic thickness, seal type, and material construction, you can protect delicate threads, sharp needles, and bulky buttons from moisture, rust, and clutter. This guide will help you evaluate specifications, match pouches to your specific haberdashery items, and establish an efficient, long-lasting organization system.
Why the A6 Size and Ziplock Design Work for Your Sewing Kit
The A6 size is uniquely suited for sewing organization because it mirrors the dimensions of a small pocket notebook. This standardized footprint fits exceptionally well into common desktop organizers, plastic baskets, and shallow drawer dividers widely available in local home stores. Unlike larger storage bags that leave too much empty space and allow small items to slide around, an A6 pouch keeps your notions compact and flat. This flat profile prevents delicate items like lace trims or paper needle packets from bending or creasing during storage.
Clear plastic ziplock designs offer a massive advantage in visibility and accessibility. When you are in the middle of a sewing project, searching through opaque tins or deep sewing baskets for a specific button or snap fastener can disrupt your creative flow. Clear pouches allow you to identify the exact color, size, and style of your notions at a single glance without opening multiple containers. This transparency reduces the time spent rummaging through your kit and helps you maintain an accurate mental inventory of your supplies.
Products mentioned in this guide
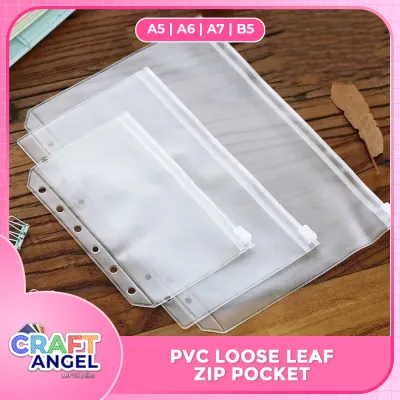
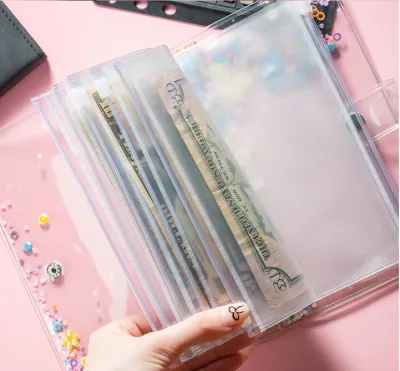
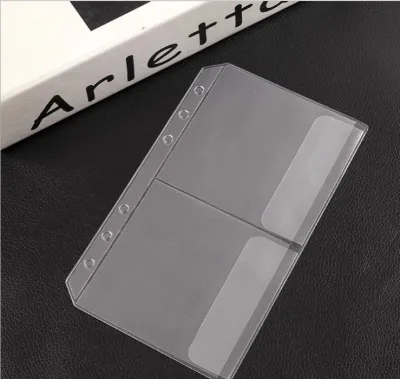
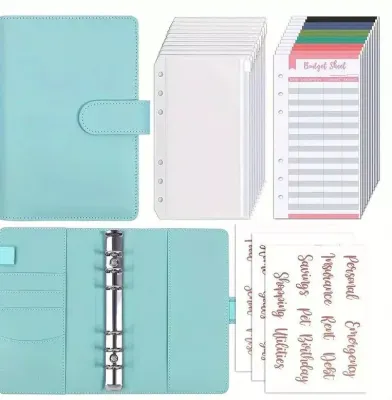
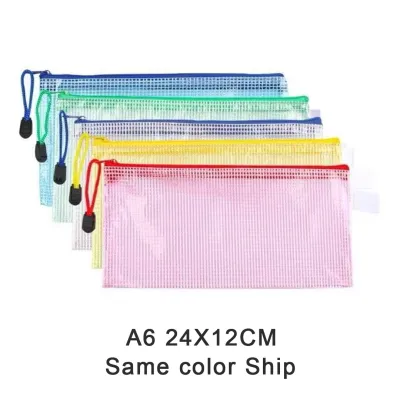
Prices are valid at publication and may change. Please refer to the product page for the latest price.
Furthermore, the secure ziplock closure provides a reliable barrier against the elements. In the humid climate of the Philippines, ambient moisture can quickly tarnish metal zippers, rust steel pins, and degrade delicate embroidery threads. A properly sealed ziplock pouch locks out humidity and dust, preserving the structural integrity and appearance of your materials. The balance of a small physical footprint with a secure, moisture-resistant seal makes the A6 ziplock pouch an indispensable asset for both home sewing rooms and portable travel kits.
Key Material and Design Features to Evaluate Before Buying
Material Thickness
When browsing online marketplaces for A6 ziplock pouches, pay close attention to the material thickness, which is typically measured in microns or mils (one mil is equal to one-thousandth of an inch). Standard, budget-friendly utility bags are often quite thin, measuring around 40 to 50 microns (approximately 1.5 to 2 mils). While these thin bags are acceptable for lightweight, blunt items like plastic buttons, they will easily puncture when exposed to sharp pins or heavy metal tools. For a durable sewing kit, look for heavy-duty pouches with a thickness of at least 100 to 120 microns (approximately 4 mils) to ensure long-term puncture resistance.

Seal Mechanism
The choice between a standard press-seal (pinch-to-close) and a slider-track closure depends on how often you access the contents. Press-seal tracks are completely flat, which minimizes bulk and allows you to file dozens of pouches tightly together in a small box. However, they require precise finger alignment to close properly and can be difficult to open if your hands are slick. Slider-track closures are much easier to operate repeatedly, making them ideal for frequently used tools, but the plastic slider adds physical bulk and can occasionally snag on adjacent pouches in a tight filing system.
Edge and Corner Finish
Examine the construction of the pouch edges and corners before purchasing. High-quality pouches feature wide, reinforced heat-sealed side seams that resist splitting when packed with bulky items. Cheaply made pouches often have thin, brittle edges that tear open under minimal pressure. Additionally, look for pouches with rounded corners; sharp, square plastic corners can catch on delicate fabrics, scratch your hands, or puncture neighboring bags when you reach into your storage container.
Write-on Panels
Many A6 pouches feature a frosted or white textured write-on panel on the front surface. This panel is incredibly useful for labeling your contents with a permanent marker or pen. Without a dedicated write-on area, ink written directly onto glossy plastic can easily smudge or rub off when handled with warm or damp hands. If you prefer a completely clear view of your items, ensure the plastic is highly transparent and consider using external adhesive labels that bond securely to glossy surfaces.
Matching Pouch Specifications to Your Specific Sewing Items
Needles and Pins
Storing hand-sewing needles, safety pins, and straight pins requires the highest level of puncture resistance. Thin plastic pouches will quickly develop micro-punctures, allowing sharp points to protrude and pose a safety hazard. To prevent this, choose heavy-duty pouches of at least 120 microns. As an added safety measure, keep your needles in their original paper or plastic cards before sliding them into the A6 pouch. This double-layering ensures that even if a needle slips loose, it is highly unlikely to pierce the thick outer plastic.
Buttons and Beads
Small plastic buttons, glass beads, and sequins are prone to static cling, which can make them stick to the interior walls of a pouch and difficult to pour out. To mitigate this, look for pouches made from anti-static treated polyethylene or those with a slightly textured, frosted interior. If you store bulkier buttons, such as large wooden toggles or metal shank buttons, standard flat pouches may stretch and strain at the seams. For these items, look for A6 pouches with a gusseted bottom, which expands to accommodate three-dimensional volume without putting pressure on the zipper track.
Zippers and Trims
A6 pouches are excellent for organizing short zippers, bias tapes, ribbons, and lace trims. However, you must be careful not to fold zippers sharply, as creasing can damage the nylon coil or metal teeth, leading to alignment issues during sewing. Instead, gently curve or coil the zippers to fit within the 105 mm width of the pouch. For delicate silk ribbons or lace, coiling them around a small piece of acid-free cardstock before placing them in the pouch prevents tangling and keeps them perfectly flat and ready for use.
Small Scissors and Tools
Thread snips, seam rippers, rotary cutter blades, and small embroidery scissors are relatively heavy and have sharp edges. Storing these tools requires thick, reinforced PVC or EVA pouches, preferably with a sturdy slider closure. Because these items are heavy, storing them vertically can cause the weight to concentrate on the bottom seam of the pouch. Ensure the bottom heat-seal is exceptionally wide and strong, and avoid packing multiple heavy metal tools into a single pouch to prevent seam failure.
How to Inspect and Test Pouch Quality Upon Delivery
Visual and Tactile Checks
Once your order of A6 ziplock pouches arrives from an online marketplace, perform a quick visual inspection. Hold a few pouches up to a light source to check for manufacturing defects, such as uneven thickness, bubbles in the plastic, or cloudy patches that might indicate low-grade recycled materials. Run your fingers along the side seams; they should feel smooth, thick, and consistent. If the seams feel paper-thin or have rough, jagged edges, they are highly susceptible to splitting under pressure.
Seal Integrity Test
To verify the quality of the ziplock track, open and close the seal five to ten times. The track should engage smoothly without requiring excessive force, and you should feel or hear a distinct clicking sensation as the ridges lock together. To test the airtightness of the seal, trap a small amount of air inside the pouch, seal it completely, and gently press down on the center of the bag on a flat surface. If you hear air escaping or if the pouch deflates quickly, the track is defective or misaligned, meaning it will not protect your supplies from tropical humidity.
Puncture and Stress Observation
Test the durability of the plastic by placing a blunt metal object, such as a sewing gauge or a closed seam ripper, inside one of the pouches. Shake the pouch gently for a few seconds to simulate the movement of a portable sewing kit. Inspect the plastic where the tool made contact; if you notice white stress marks, stretching, or thinning of the material, the pouches are too delicate for heavy metal tools and should be reserved for lightweight items like threads, ribbons, or plastic buttons.
When to Stop Using
Over time, even high-quality plastic pouches will experience wear and tear from regular use. Periodically inspect your storage system for signs of degradation. If you notice the ziplock track beginning to separate from the plastic body, micro-tears forming near the side seams, or puncture marks from pins, discard the pouch immediately. Continuing to use a compromised pouch risks spilling sharp needles or tiny beads into your main sewing basket, creating a safety hazard and a messy cleanup.
Strategies for Organizing and Labeling Your Sewing Pouches
To maximize the efficiency of your new storage system, establish a clear labeling and categorization method. If your pouches do not have built-in write-on panels, use high-quality masking tape or matte adhesive labels. Avoid cheap, glossy stickers, as the adhesive can melt and leave a sticky, hard-to-clean residue under warm Philippine weather conditions. Write your labels using a fine-tip permanent marker, and allow the ink to dry completely for a few minutes before handling the pouches to prevent smudging.
Group your pouches logically to match your sewing habits. You can categorize them by item type, such as keeping all hand-sewing needles in one pouch, safety pins in another, and shirt buttons in a third. Alternatively, adopt a project-based organization system. If you are planning to sew a specific garment, place the matching thread, zipper, buttons, and clothing labels together in a single A6 pouch. This keeps all the necessary components for that project in one portable package, allowing you to start sewing immediately without searching for individual parts.
Finally, store your filled A6 pouches vertically in a small plastic basket or a dedicated drawer organizer, arranging them like index cards in a filing cabinet. This vertical filing method ensures that every label is visible at a glance, preventing pouches from being buried at the bottom of a deep container. To further protect your metal notions from rust in high-humidity areas, place a small, rechargeable silica gel packet at the bottom of your storage basket to absorb any residual moisture that enters when the pouches are opened.
Frequently Asked Questions (FAQ)
Can I store liquid fabric glue or sewing machine oil in these pouches?
Standard polyethylene A6 ziplock pouches are not designed to hold liquids, especially oils or chemical solvents. Sewing machine oil can slowly degrade low-density polyethylene (LDPE) over time, causing the plastic to soften, warp, and eventually leak, which can ruin your nearby fabrics and threads. Fabric glues may dry out if the seal is not completely airtight, or they can bond permanently to the plastic if a leak occurs. Always store liquid sewing chemicals in their original glass or heavy-duty HDPE bottles, using the ziplock pouch only as a secondary, temporary barrier during travel to catch accidental drips.
How do I clean cloudy or dirty plastic pouches safely?
Over time, your pouches may accumulate lint, fabric chalk dust, or oils from your hands, making the plastic look cloudy and reducing visibility. To clean them safely, empty the contents and wipe both the interior and exterior with a damp microfiber cloth dipped in a mild solution of dish soap and lukewarm water. Avoid using rubbing alcohol, acetone, or harsh chemical solvents, as these substances can dissolve the plastic, erase your written labels, or weaken the ziplock track. Never apply direct heat, such as a hair dryer or iron, to dry the pouches, as this will warp the plastic and ruin the seal; instead, prop the pouches open and let them air-dry completely in a shaded, well-ventilated area.
Community discussion
Share your experience or ask a question. Comments are reviewed before publication.