
Quick Start: Matching Markers to Your Project Surface
Selecting the right acrylic marker depends heavily on the texture and absorbency of your working material. Crafting surfaces generally fall into two categories: porous and non-porous. Porous materials, such as raw wood, canvas, and unglazed clay, naturally absorb liquids, requiring highly pigmented, opaque inks that won’t sink completely into the fibers. Non-porous materials, like glass, glazed ceramics, and plastics, do not absorb ink, meaning the paint must adhere securely to the surface layer without pooling or smudging.
Before purchasing, check the product packaging for three essential specifications: tip material and size, ink base formulation, and recommended surface compatibility. In the Philippines, where high humidity can prolong drying times and affect ink adhesion, choosing the correct marker prevents frustrating smudges. Depending on the brand, individual markers or sets can range from budget-friendly options to premium professional tools, so aligning your budget in ₱ with your project needs ensures you get the best value.
Decoding Marker Specs: Tip Size, Ink Flow, and Opacity
The tip of an acrylic marker determines both line precision and how paint is distributed across different textures. Extra-fine tips (0.7mm or smaller) and fine tips (1mm to 2mm) are ideal for intricate details and writing on smooth surfaces. Medium bullet tips (2mm to 4mm) offer a versatile middle ground for sketching and coloring. For large-scale projects, broad chisel or block tips (5mm to 15mm) allow you to cover expansive areas quickly.
Products mentioned in this guide

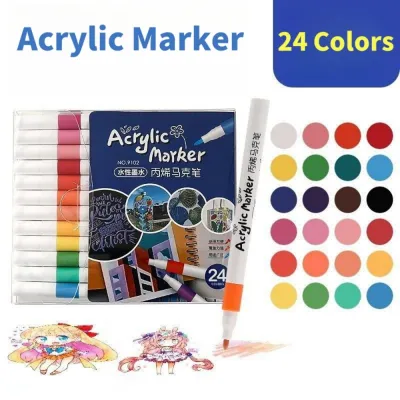
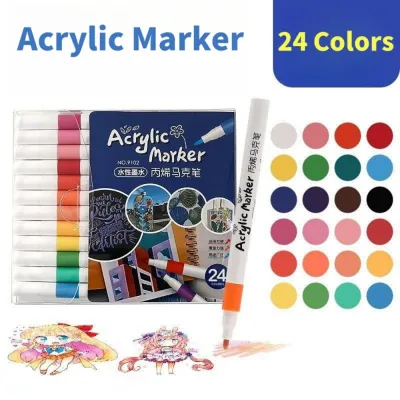
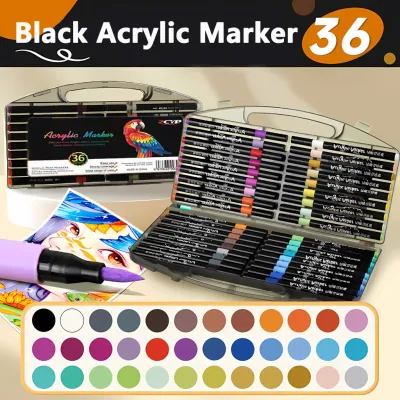
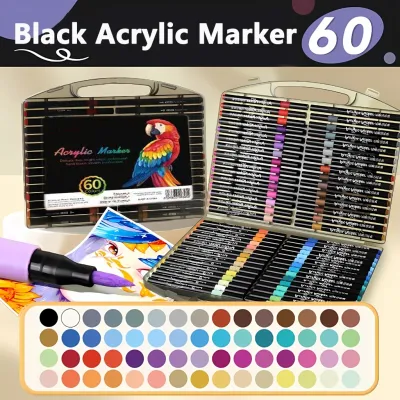

Prices are valid at publication and may change. Please refer to the product page for the latest price.

Most high-quality acrylic markers utilize a valve-action design to keep the paint fresh. To activate these markers, follow the manufacturer’s priming instructions: shake the marker thoroughly with the cap secured, then gently press the tip down vertically onto scrap paper. This action compresses an internal valve, allowing the liquid paint to saturate the fiber tip. Avoid pressing too hard or pumping repeatedly, as this can cause the ink to flood and pool on your project.
Opacity and finish dictate how vibrant your artwork will appear, especially on dark backgrounds. Look closely at product labels for terms like “opaque,” “semi-opaque,” or “translucent.” Opaque markers contain a higher concentration of pigments to cover underlying colors completely, while translucent or metallic inks let some of the base surface show through or add a reflective sheen. Checking these label descriptions prevents unexpected transparency when layering colors.
Choosing Markers for Smooth, Non-Porous Surfaces Like Glass and Ceramics
Working on smooth, non-porous surfaces like glass, glazed ceramics, and polished metals requires markers formulated for high adhesion on slick materials. Because these surfaces lack natural texture for the paint to grip, standard water-based acrylics can easily slide, bead up, or scratch off once dry. Look for markers that explicitly list glass or ceramics on their packaging, as these formulations contain specialized acrylic polymers designed to bond with smooth surfaces.
The choice of marker tip is equally important when decorating slick materials to prevent skipping or scratching. Hard plastic tips can scrape away previously applied layers of wet paint, leaving unsightly streaks. Instead, opt for soft, rounded synthetic fiber tips or flexible brush tips that glide smoothly across the surface without digging into the paint layer. These softer tips distribute the ink evenly, reducing the risk of pooling.
Before committing to a final design, always perform observable checks on a test scrap. Apply a small stroke of the marker and observe how the ink behaves; it should lay flat without pulling apart or forming tiny droplets. Monitor the drying time closely, keeping in mind that tropical humidity can prolong the curing process. Once the test stroke is completely dry, gently run a fingernail over the edge to check its scratch resistance and adhesion quality.
Choosing Markers for Porous and Textured Surfaces Like Rock and Canvas
Porous and highly textured surfaces, such as river stones, raw wood, and stretched canvas, present challenges that require durable markers and robust ink formulations. Rough surfaces act like sandpaper on delicate marker tips, quickly fraying soft fibers. For these materials, select markers equipped with sturdy, high-density felt or synthetic fiber bullet tips that can withstand abrasive textures without losing their shape. These durable tips ensure a steady ink flow even when navigating rough crevices.
When selecting markers for canvas and fabric projects, flexibility and washability are key factors to verify on product labels. Standard acrylic paint can become stiff and brittle when dry, which may lead to cracking if the canvas is stretched or bent. Look for markers labeled as flexible or suitable for textiles if you plan to paint on wearable items. Additionally, check if the ink requires heat-setting with an iron to become wash-resistant.
To achieve vibrant, solid coverage on highly absorbent materials, assess the surface absorption and adjust your application technique. Raw wood and unprimed canvas drink up liquid paint rapidly, which can cause colors to look dull and dry out your marker tip prematurely. To prevent this, consider applying a thin layer of clear or white acrylic gesso primer to seal the pores before painting. If painting directly onto the raw surface, use light, consistent pressure and apply multiple thin layers.
Evaluating Cross-Surface Compatibility and Permanence
If you enjoy working on a variety of craft projects, finding a versatile, multi-surface acrylic marker can save you both storage space and money. Many manufacturers design all-purpose acrylic paint pens that perform reliably across wood, plastic, metal, and paper. To verify these claims, carefully read the back of the packaging for permanence indicators, such as “waterproof once dry,” “lightfast,” or “weather-resistant.” These terms indicate how well the cured acrylic binders will resist fading from sunlight exposure or washing away.
Even when a marker is labeled as multi-surface, conducting a hidden or scrap-material test remains a crucial step. Environmental conditions, such as the intense heat and humidity common in tropical climates, can alter how the paint cures and adheres over time. Apply a small amount of ink to a scrap piece of your project material and leave it to cure for at least twenty-four hours. After curing, expose the test piece to water or light friction to verify if the bond is truly permanent.
There are situations where you should stop and consult the manufacturer’s official guidelines before proceeding. If the marker packaging does not explicitly state compatibility with a specific material, or if the instructions conflict with your intended use—such as applying paint to surfaces that will come into direct contact with food—do not assume it is safe. Acrylic markers are generally intended for decorative purposes only, and verifying safety directly with the manufacturer prevents health risks and project failures.
Surface Preparation, Application, and Sealing Best Practices
Proper surface preparation is the foundation of any successful acrylic marker project, ensuring maximum adhesion and longevity. For non-porous surfaces like glass and glazed ceramics, thoroughly clean the area with rubbing alcohol or mild soap and water to remove oils, fingerprints, and dust. For porous materials like rocks and wood, brush away loose dirt, sand down rough splinters, and ensure the material is completely dry. Moisture trapped inside porous rocks or wood can seep outward over time, causing the paint layer to bubble and peel.
When applying the paint, maintain a steady hand and use consistent, even strokes to ensure a uniform ink flow. If you notice the ink starting to run thin, recap the marker and shake it again, then gently prime it on your scrap paper rather than pressing down hard on your active artwork. If your design requires multiple colors or overlapping layers, let each layer dry completely to the touch before applying the next; rushing this step can cause the wet tip of the second marker to reactivate and drag away the bottom layer of paint.
To protect your finished design from wear, dust, and moisture, applying a protective sealant is highly recommended, especially for items that will be handled frequently. Select a sealant that is compatible with both the acrylic ink and the base surface, following the marker manufacturer’s specific recommendations. Water-based acrylic varnishes are generally safe and less likely to react with the marker ink, whereas strong solvent-based spray sealants can sometimes dissolve or bleed the painted lines if applied too heavily. Always test your chosen sealant on a painted scrap piece first.
Frequently Asked Questions (FAQ)
Can I use the same acrylic marker on both glass and canvas?
Yes, you can use the same acrylic marker on both glass and canvas, provided the manufacturer’s label indicates compatibility with both surfaces. However, doing so involves significant trade-offs in terms of tool wear and ink performance. Rough canvas fibers act as an abrasive, which can quickly fray the marker tip and make it difficult to achieve the smooth, precise lines required when you switch back to glass. Additionally, canvas absorbs ink rapidly, which may alter the flow rate of the marker and lead to pooling or dripping when applied to a non-porous surface like glass. For the best results, consider dedicating separate markers or replacement tips for rough and smooth projects.
How do I fix a dried-out or clogged acrylic marker tip?
To revive a dried-out or clogged valve-action acrylic marker, start by gently wiping the tip with a damp, lint-free cloth to remove any crusty, dried paint that may be blocking the ink flow. If the clog persists, check if the marker tip is removable; many brands design their tips to be reversible or replaceable. Gently pull the tip out with tweezers, rinse it under warm running water to dissolve the dried acrylic binder, and let it dry completely on a paper towel before reinserting it. If the internal valve mechanism is completely seized or if the paint inside the main reservoir has cured due to an improperly sealed cap, the marker cannot be salvaged and must be discarded.
Community discussion
Share your experience or ask a question. Comments are reviewed before publication.