
Choosing your first acrylic brush marker set can transform how you approach painting, hand lettering, and DIY crafts. Unlike traditional acrylic paints that require brushes, water cups, and palettes, these markers pack highly opaque, water-based acrylic ink into a convenient pen format. For beginners in the Philippines, navigating the vast array of options on online marketplaces and in local stationery stores can be daunting, especially when trying to balance cost with quality.
To make a successful start, you do not need an expensive, professional-grade collection. Instead, focusing on key physical characteristics—such as tip resilience, ink flow systems, and surface compatibility—will help you find a reliable starter set. By selecting a user-friendly set, you can focus on developing your creative skills without dealing with clogged tips, runny ink, or ruined paper.
Quick Guide to Selecting Your First Acrylic Marker Set
When shopping for your first acrylic brush marker set, prioritize forgiving brush tips and highly opaque ink formulations. Synthetic nylon brush tips are ideal for beginners because they bend easily under pressure and spring back into shape, allowing you to practice both fine lines and broad strokes without damaging the marker. Opaque ink is equally important, as it ensures your colors will look vibrant and solid, even when painted over dark or textured backgrounds.
Products mentioned in this guide
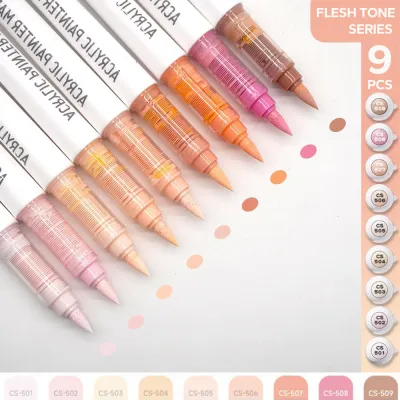
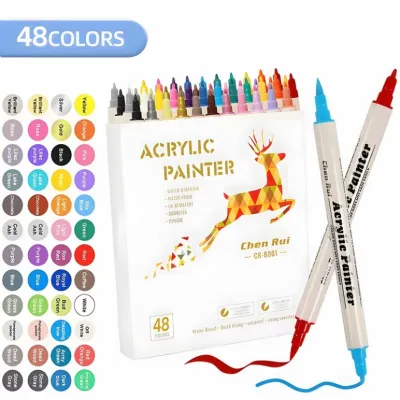
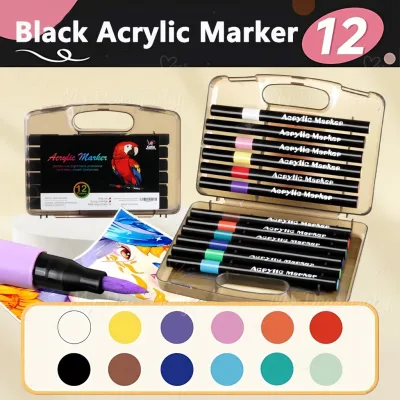
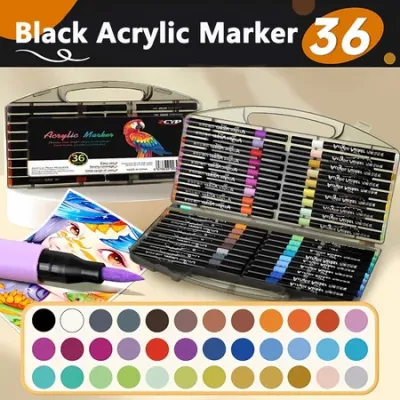
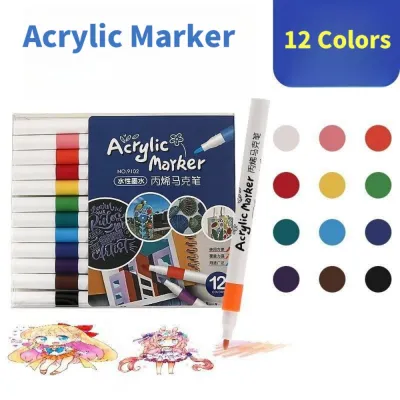
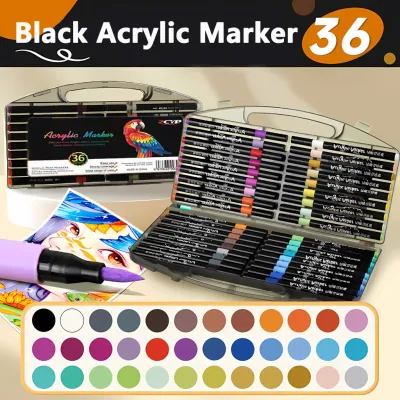

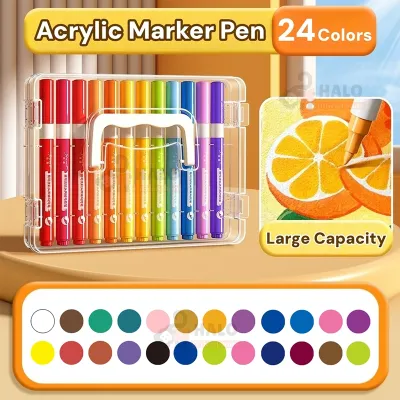
Prices are valid at publication and may change. Please refer to the product page for the latest price.
For your very first set, look for a manageable color count, typically between 6 and 12 colors. A smaller palette is highly practical for beginners because it keeps your initial investment low—often well under ₱800 on local ecommerce platforms—while forcing you to practice basic color theory and layering. Large sets with 40 or 50 colors can be overwhelming and often lead to unused markers drying out before you ever get a chance to try them.
Additionally, ensure the set you choose includes clear, beginner-friendly instructions on how to prime the markers, store them correctly, and identify which surfaces they work on. In the warm and humid climate of the Philippines, ink behavior can vary, so having clear manufacturer guidelines on drying times and surface preparation is incredibly helpful. A well-labeled starter set removes the guesswork, allowing you to begin your crafting journey with confidence.
Essential Features to Evaluate in Acrylic Brush Markers
Tip Design and Flexibility
The tip of an acrylic marker, often called the nib, directly dictates the style of art you can create and how easy the marker is to control. Flexible brush tips, usually made of bundled synthetic fibers or porous nylon, mimic the feel of a traditional paintbrush. They allow you to vary your line width simply by changing the pressure you apply, making them excellent for modern calligraphy, organic floral illustrations, and filling in curved shapes.

In contrast, firmer tips like bullet, chisel, or fine-point plastic nibs offer much more resistance and structural support. These firm tips are superior for precise outlining, geometric patterns, and tight edge control where a flexible tip might wobble. As a beginner, look for synthetic brush tips that are labeled as “shape-retentive” or “self-healing,” meaning they will not fray or split after a few sessions on rough paper.
Ink Opacity and Flow Mechanism
Acrylic marker ink is formulated differently from standard water-based markers, relying on suspended pigments rather than liquid dyes to achieve its characteristic bold look. To deliver this thick pigment to the tip, manufacturers use two primary flow systems: valve-action and direct-flow.
- Valve-Action Systems: These markers require you to shake the pen to mix the pigment and binder, then press the tip down repeatedly on a hard surface to open an internal valve and saturate the nib. This system gives you excellent control over ink delivery and keeps the reservoir sealed when not in use, but over-pumping can lead to messy ink pools.
- Direct-Flow Systems: Also known as capillary systems, these markers do not require pumping and are ready to use as soon as you uncap them. While incredibly convenient for quick sketching, they may offer slightly less opacity and can dry out faster if the cap is not sealed perfectly.
Surface Compatibility
Before purchasing, check the product packaging to verify which surfaces the ink is formulated to adhere to. Standard acrylic markers are naturally compatible with porous materials like paper, cardboard, canvas, and raw wood, as these surfaces absorb the water-based binder and lock the pigment in place.
If you plan to paint on non-porous surfaces like glass, glazed ceramics, plastic, or metal, you must verify that the marker label explicitly lists these materials. Non-porous surfaces require specialized acrylic formulas with stronger adhesion promoters to prevent the dried ink from scratching, peeling, or flaking off during handling.
Finish and Durability
Once dry, acrylic marker ink typically leaves a matte, semi-gloss, or metallic finish, depending on the specific product line. Matte finishes are highly popular for journaling and illustration because they do not reflect light, making your artwork easy to photograph and scan. Metallic finishes contain tiny mica particles that catch the light, which is perfect for holiday decorations and personalized gifts.
Durability is another critical factor, especially in tropical environments where humidity and moisture are constant factors. While dried acrylic ink is naturally water-resistant, high-wear items like customized mugs, outdoor plant pots, or hand-painted phone cases will require a protective sealant. Look for manufacturer recommendations regarding compatible clear acrylic spray sealants or water-based varnishes to preserve your work.
Matching Marker Sets to Your Specific Beginner Goals
For Paper Crafting and Journaling
If your primary goal is to decorate bullet journals, create greeting cards, or practice hand lettering, your main priority should be ink behavior on paper. Look for acrylic brush marker sets that feature fine or medium brush tips, which allow for delicate writing and detailed illustrations without crowding your pages.
It is crucial to check the product specifications for “acid-free” and “bleed-resistant” ink labels. Standard notebook paper can easily warp or bleed if the ink is too watery or slow-drying. Choosing a quick-drying formula ensures that your pages remain clean, flat, and free from unsightly ink shadows on the reverse side, even when you are layering multiple colors.
For Canvas and Wood Painting
For those interested in painting on stretched canvas, canvas boards, or rustic wood slices, you will need markers designed to handle rough, absorbent textures. Look for sets with broader, highly durable brush tips that can lay down a generous amount of ink without fraying against the coarse weave of the canvas or the grain of the wood.
Because raw wood and canvas absorb liquid rapidly, you should seek out markers with high-opacity indicators and larger barrel sizes. Small, slim markers will run out of ink quickly when used on highly absorbent surfaces. Larger barrels hold a greater volume of ink, ensuring you can complete your tropical landscape or floral wood sign without the marker running dry halfway through.
For Customizing Non-Porous Items
If you want to customize everyday items like ceramic mugs, glass jars, plastic organizers, or metal water bottles, you must select a set specifically rated for multi-surface use. The packaging should clearly state that the ink is suitable for glass and ceramics, as these formulas are engineered to grip smooth, slick surfaces.
Keep in mind that customizing non-porous items usually requires post-application curing to make the design permanent. For example, painted ceramic mugs often need to be baked in a household oven at a specific temperature to cure the ink, while glass items might require a specialized topcoat. Always read the product instructions to ensure you have the necessary tools to cure and protect your finished projects.
Practical Checks Before Purchasing a Marker Set
Read User Reviews for Common Issues
Before finalizing your purchase on any online marketplace, spend a few minutes reading customer reviews, focusing specifically on feedback from other beginners. Look for recurring complaints regarding tip fraying, markers arriving dried out, or ink flowing inconsistently after the initial priming process.
Pay close attention to reviews written by users living in humid climates, as extreme heat during shipping and storage can sometimes cause the ink binder to separate or dry up prematurely. If multiple reviews mention that the brush tips split after only a few uses, it is a strong sign that the synthetic fibers used in that set are of lower quality.
Verify the Availability of Replacement Parts
One of the most common frustrations for beginners is running out of essential colors, like white or black, while the rest of the set remains completely full. Before buying a complete set, check if the manufacturer sells individual replacement markers in the same color line.
Additionally, check if the set supports replacement nibs. Some eco-friendly and budget-conscious brands include a few extra synthetic tips in the box, or sell them separately. Being able to swap out a frayed tip or purchase a single replacement marker is far more cost-effective than buying an entirely new multi-color set just to replace one or two favorite colors.
Check Recommended Storage Positions
Proper storage is vital to extending the lifespan of your acrylic markers, and different ink delivery systems require different storage setups. Most valve-action markers must be stored horizontally to prevent the heavy color pigments from settling entirely at the bottom of the barrel or clogging the valve mechanism at the tip.
Before you buy, make sure you have the appropriate workspace organization to accommodate the recommended storage position. If a set requires horizontal storage, ensure you have a flat drawer, a dedicated tray, or a horizontal pen organizer ready. Storing these markers vertically in a cup can lead to either dry tips or sudden, messy leaks the next time you try to use them.
Confirm the Seller's Return Policy
Because acrylic markers are sensitive to temperature fluctuations and shipping conditions, there is always a small risk of receiving a defective batch with dried-out ink or faulty valves. This is especially true during hot summer months when delivery trucks can reach high internal temperatures.
Always verify the return and refund policy of the online store or local retailer before making your purchase. A reputable seller should offer a clear return window for defective items, allowing you to exchange the set or get a refund if you discover any dry or leaking markers upon unboxing and priming them for the first time.
Frequently Asked Questions (FAQ)
Do acrylic brush markers need to be primed before first use?
Yes, most valve-action acrylic brush markers require a priming process before you can use them for the first time. When you first unbox the markers, you will notice that the synthetic brush tips are completely dry and white because the ink is safely sealed inside the reservoir to prevent drying during storage and transit.
To prime the marker, start by shaking it vigorously with the cap securely on to thoroughly mix the pigment and the liquid binder inside. Next, remove the cap and gently press the brush tip down vertically onto a piece of scrap paper, holding it down for a few seconds before releasing. Repeat this gentle pumping motion until you see the colored ink slowly travel down and fully saturate the white fibers of the brush tip. Be careful not to press too hard or pump too rapidly, as this can flood the tip and cause a large puddle of ink to leak onto your workspace.
How should I store acrylic markers to prevent them from drying out?
To keep your acrylic brush markers in optimal working condition, the general consensus is to store them horizontally. Horizontal storage ensures that the heavy color pigments and the liquid binder remain evenly distributed throughout the marker barrel, preventing the pigment from settling at the back of the pen or completely clogging the tip.
In addition to horizontal storage, always make sure that you press the caps back on firmly until you hear a distinct clicking sound after every single use. Leaving the caps loose allows air to enter, which will quickly dry out the acrylic binder on the synthetic brush tip and render the marker unusable. If you live in a particularly warm or humid area, keeping your stored markers in a cool, dry place away from direct sunlight will also help preserve the shelf life of the ink.
Can I blend colors directly on the surface with acrylic markers?
Because acrylic ink is water-based, it dries very quickly and becomes completely water-resistant once cured, which makes traditional wet-on-wet blending directly on the surface quite challenging compared to alcohol-based markers. Once the ink dries on your paper or canvas, applying a second color over it will simply layer the new color on top rather than blending them together.
However, you can still achieve beautiful blending effects by using alternative techniques. One popular method is to work quickly while the ink is still wet, using a slightly damp, clean paintbrush to soften the transition between two wet colors directly on your surface. Alternatively, you can practice optical blending by layering thin, semi-transparent strokes of different colors over one another once each layer has dried completely, creating depth and new color tones without physically mixing the wet inks.
Community discussion
Share your experience or ask a question. Comments are reviewed before publication.