
Choosing the right led light drawing board depends on matching its size, brightness, and surface durability to your specific creative projects and skill level. Whether you are an art student tracing animation frames, a hobbyist transferring manga line art, or a professional illustrator working with heavy watercolor paper, selecting the wrong specifications can lead to eye strain, poor light penetration, or premature surface wear. To make an informed purchase, you must evaluate how technical factors like dimming precision, power delivery, and surface hardness align with your preferred drawing mediums and working environment.
In tropical climates like the Philippines, environmental factors such as high humidity and ambient heat also play a role in how your drawing tools interact with the board. Paper absorbs moisture more readily in humid conditions, which can alter ink drying speeds, bleed resistance, and paper flatness when placed over a warm light source. Understanding these variables ensures that your tracing board remains a reliable, long-term tool in your creative arsenal.
Key Features to Evaluate Before Buying an LED Light Board
Size and Active Area
When selecting a light board, you must distinguish between the overall physical dimensions and the actual active illuminated area. Light boards are standardly sized according to international paper dimensions, primarily A4, A3, and A2. An A4 board (active area roughly 210 x 297 mm) is highly compact and matches standard printer paper, but a wide outer bezel can reduce the actual usable space. An A3 board (roughly 297 x 420 mm) offers twice the drawing area, accommodating larger sketchbooks and landscape layouts. A2 boards (roughly 420 x 594 mm) are designed for large-scale drafting and architectural plans. Always verify the manufacturer’s active area specifications to ensure your preferred sketchbooks or loose sheets will fit entirely within the illuminated zone without hanging over the edges.
Products mentioned in this guide
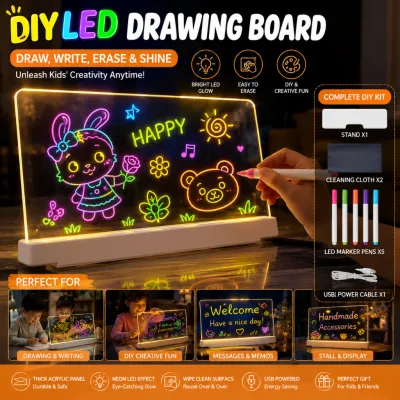
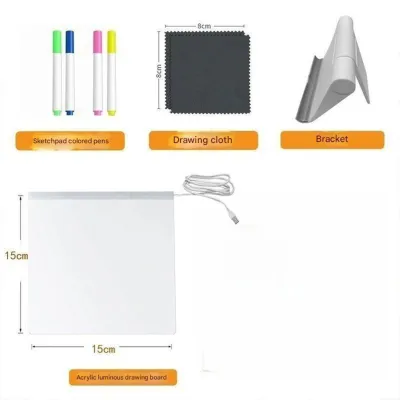
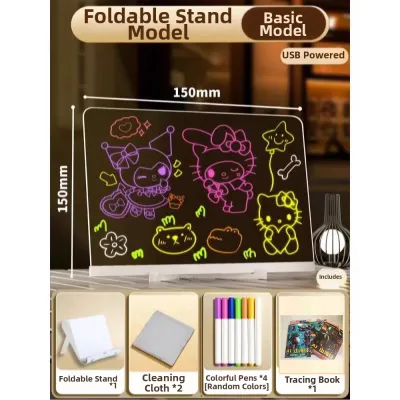
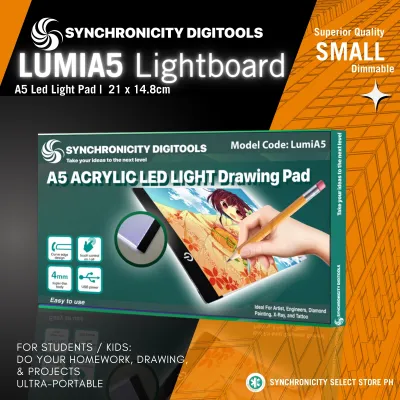
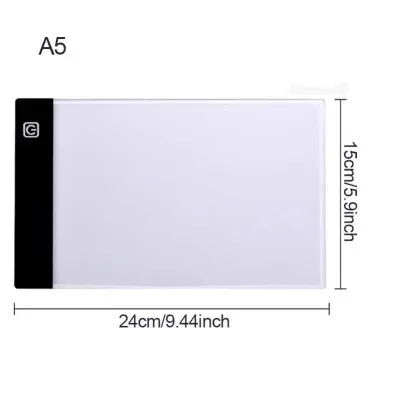
Prices are valid at publication and may change. Please refer to the product page for the latest price.
Brightness and Dimming
Tracing requires sufficient light to penetrate both the base template and your top drawing sheet. The light output of drawing boards is measured in Lux, and your requirements depend heavily on your paper choice. Standard printer paper (70 to 80 GSM) requires minimal brightness, whereas heavy drawing paper (150 to 200 GSM) or textured watercolor paper (300 GSM) demands a high-intensity light source.
Dimming mechanisms generally fall into two categories:
- Segmented Dimming: Features fixed brightness levels (typically 3 to 5 steps). This is highly convenient for quick adjustments but lacks precision when working with non-standard paper thicknesses.
- Stepless Dimming: Allows you to hold down the power button to smoothly adjust the brightness from 0% to 100%. This provides precise control, allowing you to match the illumination perfectly to your room's ambient light and prevent glare.
Surface Material
The choice between acrylic and glass surfaces affects the board’s durability, weight, and drawing feel. Acrylic panels are lightweight, highly shatterproof, and cost-effective, making them the standard choice for portable boards. However, acrylic is prone to scratching from hard graphite pencils (such as 2H or 4H), metal rulers, or drafting compasses. Tempered glass surfaces offer superior scratch resistance, absolute flatness, and a very smooth glide for fine liners and ink pens. While glass is highly durable and easy to clean, it adds significant weight and is more fragile if dropped, making it better suited for permanent studio setups.
Power Supply and Portability
Modern LED light boards are powered either via USB or dedicated AC/DC power adapters. USB-powered models (using USB-C or Micro-USB ports) are highly portable because they can run off a laptop, a power bank, or a standard phone charger. This setup is ideal for students and mobile artists who work in classrooms or cafes. However, larger A2 boards or ultra-bright models require a dedicated wall adapter to deliver a stable, high-voltage current. Using a standard USB port on these larger models can lead to voltage drops, resulting in flickering or a noticeable loss of maximum brightness.
Recommended Configurations for Beginners and Casual Hobbyists
Skill Level Needs
Beginners, younger students, and casual hobbyists typically use light boards for straightforward tracing tasks. These include transferring basic pencil sketches, tracing manga or anime line art, practicing hand lettering, or working on diamond painting crafts. These projects generally utilize thin, highly translucent papers like tracing paper or standard 70 GSM copy paper, which do not require advanced technical specifications or high-intensity illumination.

Recommended Specifications
For this skill level, an A4-sized acrylic LED light board is the most practical and economical choice. Look for a model featuring 3-level segmented dimming, which simplifies operation while providing adequate brightness control. A lightweight design (under 500 grams) powered by a USB-C port ensures maximum portability. In the Philippines, these entry-level models are highly affordable, typically ranging from ₱300 to ₱800 in local art supply stores and online marketplaces.
Limitations of Entry-Level Boards
While highly cost-effective, entry-level acrylic boards have distinct limitations. The soft acrylic surface scratches easily if you apply heavy pressure with sharp drawing tools or hard pencil tips. Furthermore, their lower maximum brightness (often around 1,000 to 1,500 Lux) means they will struggle to project light through thicker drawing mediums, such as 200 GSM mixed-media paper or textured cardstock. Prolonged use can also cause slight heat buildup on the panel surface, which can cause thin tracing paper to warp slightly in humid environments.
Buying Checklist for Beginners
- Included Power Cable: Ensure the package includes a durable USB cable of at least 1.5 meters to reach distant wall outlets.
- Non-Slip Rubber Pads: Verify that the back of the board has rubber feet to prevent it from sliding on smooth study desks.
- Surface Protection Film: Check if the board comes with a peel-off protective film to prevent scratches during initial transit and handling.
- Paper Clamps: Look for models that bundle lightweight plastic clips or magnetic clamps to secure your paper sheets in place.
Ideal Specifications for Art Students and Intermediate Creators
Skill Level Needs
Art students and intermediate creators often handle more complex projects that require multi-layer overlays and heavier paper stocks. For example, traditional animation keyframing requires layering three or more sheets of paper to trace sequential movements, demanding high light penetration and uniformity. Intermediate illustrators also transition to professional-grade drawing papers, such as 150 to 220 GSM bristol board or mixed-media paper, which are significantly denser than standard printer paper.
Recommended Specifications
An A3-sized board is the ideal standard for intermediate creators, offering a generous workspace without taking over an entire desk. Opt for a board with stepless dimming and a higher light output (at least 2,500 to 3,500 Lux) to penetrate multiple paper layers effectively. Look for models featuring integrated millimeter grid markings along the borders to assist with precise layouts, perspective drawing, and scaling. An anti-glare surface treatment is also highly recommended to diffuse the LED light source and reduce eye fatigue during long study sessions.
Ergonomics and Posture Protection
Working flat on a desk for hours can lead to severe neck, shoulder, and back strain. To protect your posture, choose a light board that either features an integrated tilt design (a built-in incline of 5 to 15 degrees) or is compatible with an adjustable multi-angle stand. Elevating the board brings your work closer to your natural line of sight, preventing you from hunching over your desk.
Limitations of Intermediate Setup
An A3 board is noticeably heavier and bulkier than an A4 model, making it less convenient to transport in a standard school backpack. These boards also draw more power; while many can still run off a power bank, they will drain the battery much faster, making a reliable wall outlet connection preferable for extended studio sessions.
Professional-Grade Requirements for Practicing Artists
Skill Level Needs
Professional illustrators, tattoo artists, architects, and calligraphers require absolute precision, structural durability, and long-term operational stability. Tattoo designers frequently transfer highly detailed, intricate stencils onto thick transfer papers, while professional watercolorists must trace clean layouts directly onto heavy, textured 300 GSM cold-press watercolor sheets. These demanding workflows require exceptional light uniformity and high-intensity output without color distortion.
Recommended Specifications
Professionals should invest in an A2 or larger drawing board to accommodate expansive canvas sizes and architectural blueprints. The light source must feature a high-density LED array that ensures perfectly uniform light distribution across the entire surface, eliminating dark spots and flickering. A tempered glass surface with a 9H hardness rating is essential; it resists scratches from craft knives, metal styluses, and heavy drafting tools, and can withstand frequent cleaning with mild solvents without clouding.
Advanced Features to Look For
- Memory Function: Automatically restores your last-used brightness setting when powered on, saving you from manual adjustments at the start of every session.
- Independent Power Adapters: Bypasses USB power limitations to deliver a stable, high-voltage current, preventing flickering and maintaining maximum brightness over hours of continuous use.
- Zero-Bezel Edge Design: A completely flat, edge-to-edge surface that allows you to work on paper sheets larger than the board itself without creasing or bending the edges.
Verification and Selection Criteria
Before purchasing a professional-grade board, carefully review the manufacturer’s technical specifications. Look for a maximum brightness rating of 3,000 to 5,000 Lux and a Color Rendering Index (CRI) of 90 or higher to ensure accurate color rendering. Verify that the surface is explicitly listed as tempered glass rather than standard glass or scratch-resistant acrylic. Professional-grade boards in the Philippines typically range from ₱3,500 to over ₱8,000, representing a serious but necessary investment for a commercial studio.
Safe Usage, Eye Care, and Surface Maintenance
Eye Safety and Vision Protection
While modern LED drawing boards are safe, improper use can lead to temporary eye fatigue, headaches, and dry eyes. Never use a high-brightness light board in a pitch-black room; the extreme contrast between the glowing panel and the dark surroundings forces your pupils to dilate and contract repeatedly, causing rapid strain. Always maintain moderate, balanced ambient lighting in your workspace. Additionally, practice the 20-20-20 rule: every 20 minutes, look away from your board at an object 20 feet away for at least 20 seconds to allow your eye muscles to relax.
Surface Care and Cleaning
Dust, graphite residue, and oils from your hands can accumulate quickly on the drawing surface, especially in warm, humid climates. To maintain optimal clarity and smoothness, follow these care steps:
- Daily Cleaning: Wipe the surface gently with a dry, clean microfiber cloth to remove dust and fingerprints.
- Deeper Cleaning: Dampen a microfiber cloth slightly with water and a single drop of mild dish soap. Never spray liquids directly onto the board, and avoid using harsh, corrosive solvents like acetone, alcohol, or window cleaners on acrylic surfaces, as they can cause permanent clouding and micro-cracking.
- Scratch Prevention: Never use craft knives or sharp blades directly on an acrylic board. Always place a dedicated cutting mat over the board if you need to trim paper. For both acrylic and glass boards, wearing a two-finger drawing glove reduces hand friction and prevents sweat from smudging your work or sticking to the surface.
Heat Dissipation and Power Safety
High-brightness LED boards generate mild heat during continuous operation. In tropical environments, ensure the board is placed on a hard, flat surface like a wooden desk rather than a bed or cushion, which can block ventilation and trap heat. Always use the original power adapter and cable provided by the manufacturer. Using mismatched chargers (such as high-wattage mobile phone fast chargers not rated for the board) can cause voltage overload, overheating, or permanent damage to the internal LED circuitry.
Frequently Asked Questions (FAQ)
Can I use an LED light board with thick watercolor paper or canvas?
Yes, but this depends entirely on the board’s maximum brightness (measured in Lux) and the paper’s density. Standard entry-level boards (1,000 to 1,500 Lux) can easily penetrate paper up to 120 GSM, but they will struggle to shine through heavy 300 GSM watercolor paper or canvas. For thick, textured media, you must use a professional-grade board that delivers at least 3,000 to 5,000 Lux. To verify compatibility before starting a project, place a scrap piece of your heavy paper over your template on the illuminated board to check if the guidelines are clearly visible.
Does the light from a tracing pad cause eye damage over time?
Quality LED tracing pads do not emit harmful levels of ultraviolet (UV) radiation and will not cause permanent eye damage. However, setting the board’s brightness too high relative to your room’s ambient light can cause severe temporary eye strain. To protect your vision, always adjust the dimmer so the light is just bright enough to see your guidelines clearly without creating a harsh glare. Keeping your workspace well-lit also helps minimize contrast-induced eye fatigue.
What is the difference between an LED light board and a traditional tracing table?
Traditional tracing tables are bulky, heavy pieces of furniture that rely on fluorescent tubes or incandescent bulbs. They suffer from uneven light distribution, consume significant power, and generate substantial heat, which can warp your paper and make the drawing surface uncomfortably warm. In contrast, modern LED light boards are ultra-thin (often under 10mm), lightweight, and highly portable. LED technology provides perfectly uniform light distribution across the entire active area, consumes minimal electricity, and generates virtually no heat, ensuring a comfortable drawing experience.
Community discussion
Share your experience or ask a question. Comments are reviewed before publication.