
Selecting the right led light drawing board can transform your creative workflow, whether you are transferring a delicate pencil sketch, tracing intricate calligraphy, or weeding vinyl for a craft project. The modern light pad has evolved from a bulky, heat-generating light box into a sleek, ultra-thin tool powered by energy-efficient LEDs. However, finding the perfect match requires looking beyond just the exterior dimensions to examine light quality, power stability, and surface durability.
Your ideal drawing board depends on your specific medium, workspace, and skill level. A beginner practicing basic lettering has vastly different requirements than a professional animator or an architect drafting large-scale blueprints. By matching the technical specifications of a light board to your creative habits, you can avoid common pitfalls like eye strain, insufficient illumination through thick paper, or purchasing a device that is too cumbersome for your daily workspace.
Quick Selection Guide: Matching Specs to Your Skill Level
Choosing a light board involves balancing physical size, light intensity, and portability. Beginners and casual hobbyists generally find that a compact A4-sized board offers the best entry point. These entry-level boards typically cost under ₱1,000, making them highly accessible for those exploring tracing, bullet journaling, or basic sketching without a massive upfront investment. Because hobbyists often work on standard printer paper or lightweight tracing sheets, a basic light output of 1,500 to 2,000 lux is more than adequate.
Products mentioned in this guide
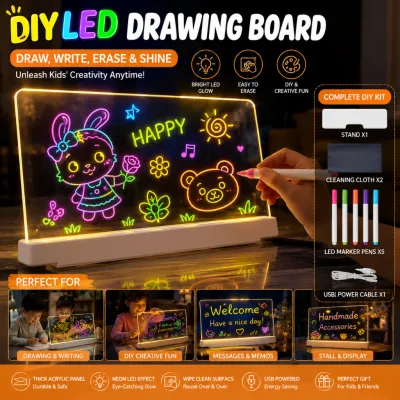
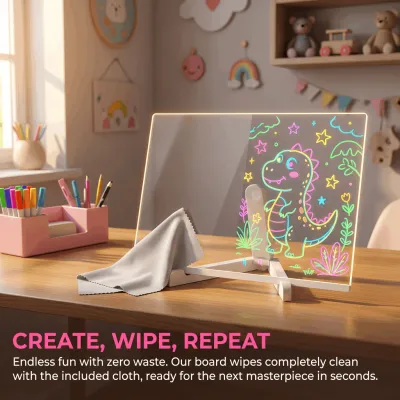
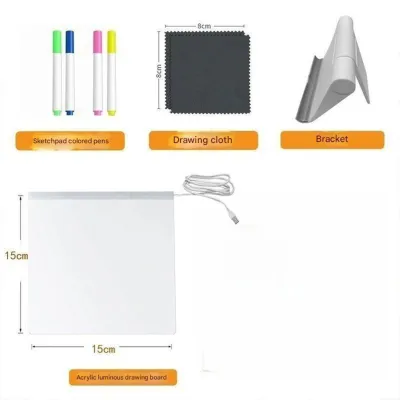
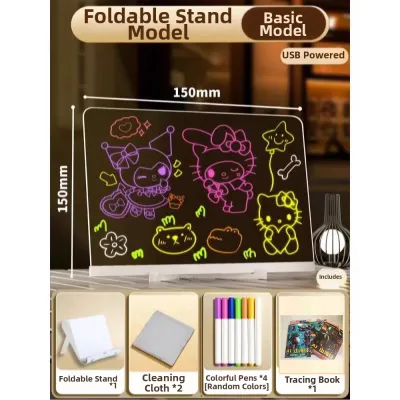
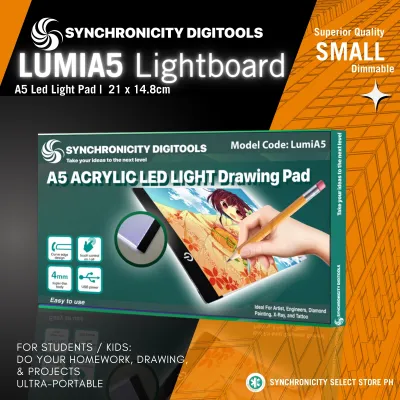
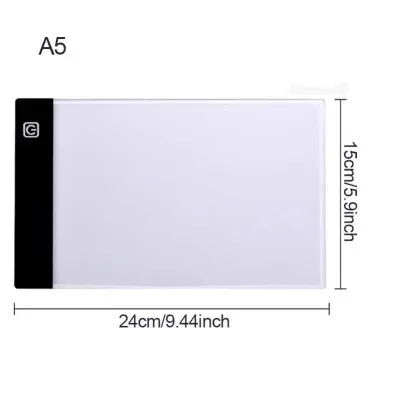
Prices are valid at publication and may change. Please refer to the product page for the latest price.
For art students, graphic designers, and serious illustrators, the mid-range A3-sized board is the industry workhorse. Priced generally between ₱1,500 and ₱3,500, these boards accommodate larger sketchbooks and multi-page layouts. Students often work with mixed media, transitioning from lightweight marker paper to heavier cartridge sheets, which demands adjustable brightness levels. At this level, a board with stepless dimming and a maximum output of at least 3,000 lux is necessary to ensure clear visibility through medium-weight papers.
Professional artists, architects, and animators require large-format boards, typically in A2 or larger sizes, with prices starting from ₱4,000 and reaching up to ₱10,000 or more. These high-end tools feature superior color-rendering indexes (CRI) and heavy-duty tempered glass surfaces designed to withstand constant, daily pressure. Because professionals often work with heavy watercolor paper (300 GSM) or multi-layered animation cels, they require high-luminance boards capable of delivering 4,000 to 5,000+ lux. These boards prioritize absolute light uniformity over portability, often relying on dedicated wall adapters to maintain a stable, flicker-free light source.
Key Features to Evaluate Before Buying an LED Light Drawing Board
Understanding the technical specifications on a product label ensures you select a board that supports your creative medium without causing physical discomfort during long drafting sessions.

Size and Active Illumination Area
There is a critical distinction between a light board’s overall outer dimensions and its actual active lit area. Manufacturers list the frame size (such as A4 or A3), but the protective bezel and control buttons reduce the usable glowing surface. Always measure the active illumination area and compare it directly to the paper sizes you use most frequently. If you work primarily in standard sketchpads, an A4 board might cut off your margins, meaning an A3 board is a safer choice to avoid constantly shifting your paper.
Brightness and Dimming Controls
Light intensity is measured in lux, representing the amount of light that reaches your eyes through the paper. If your board is too dim, you will struggle to see your guidelines through heavier sheets; if it is too bright, you risk severe eye strain. Look for boards that offer adjustable dimming rather than a single fixed brightness setting.
Stepless dimming, controlled by holding down a touch-sensitive button or turning a dial, is highly superior to simple 3-level switches. This feature allows you to fine-tune the illumination to the exact thickness of your paper. For example, tracing paper (50-60 GSM) requires very low brightness, while heavy watercolor paper (300 GSM) or thick Bristol board (250 GSM) demands the maximum lux setting to reveal fine pencil details beneath.
Surface Material and Glare
The surface of an LED light drawing board is typically made of either acrylic (PMMA) or tempered glass. Acrylic is the most common material because it is lightweight, shatterproof, and cost-effective. However, acrylic is prone to micro-scratches from hard pencil leads, drafting compasses, or utility knives, which can cause light to scatter unevenly over time.
Tempered glass is exceptionally durable, scratch-resistant, and provides a completely rigid surface that does not flex under heavy hand pressure. It also diffuses light more uniformly, reducing the visible “dot matrix” pattern common in cheaper LED panels. The trade-off is that glass boards are significantly heavier, more fragile if dropped, and command a higher price point.
Power and Portability
How your board receives power dictates where and how you can work. USB-powered boards, which use Micro-USB or USB-C ports, offer incredible flexibility. They can run directly off a laptop, a wall charger, or a portable power bank. This makes them ideal for students moving between classrooms or artists working in local cafes.
However, USB ports can be fragile and may loosen over time with frequent plugging and unplugging. For large-format A2 boards, a standard USB port cannot supply enough voltage to power the high-density LED arrays. These professional boards require dedicated DC power adapters, which provide a highly stable, flicker-free current but limit your workspace to the vicinity of a wall outlet. Proper cable management, such as using right-angle USB cables or cable clips, can prevent accidental cord tugs from damaging the board’s internal ports.
Recommended Board Configurations by Skill Level and Purpose
To help narrow your search, evaluate these three distinct board profiles designed to match specific user workflows and environments.
For Beginners and Hobbyists: A4 Ultra-Thin USB Boards
An A4 ultra-thin acrylic board is the perfect entry point for casual creators, calligraphers, and craft enthusiasts. Measuring roughly the size of a standard sheet of printer paper, these boards are incredibly lightweight—often weighing less than 500 grams—and are thin enough to slip into a backpack or a desk drawer when not in use. They typically draw minimal power, meaning you can run them for hours off a standard pocket-sized power bank without draining it completely.
Best Suited For:
- Calligraphy practice and hand lettering
- Basic tracing of sketches and line art
- Bullet journaling and scrapbooking
- Weeding small vinyl designs
While highly convenient, these compact boards have clear limitations. The smaller active area restricts large, expressive arm movements, making them frustrating for gestures or expansive drawing styles. Additionally, their basic LED arrays and thin acrylic panels may struggle to project light through papers heavier than 100 GSM, meaning they are not suitable for heavy cardstock or watercolor paper.
For Art Students and Illustrators: A3 Adjustable-Brightness Boards
An A3 board strikes the ideal balance between workspace and portability, making it the standard choice for art students, comic illustrators, and animators. The larger surface easily accommodates standard A3 drawing paper, comic book layouts, and animation cels, allowing you to work on detailed compositions without constantly repositioning your reference sheets.
Best Suited For:
- Multi-page comic layouts and storyboarding
- Animation cel tracing and clean-up work
- Mixed-media coursework involving varied paper weights
- Detailed architectural sketching and perspective drawings
At this level, stepless dimming is non-negotiable. Students frequently transition between different paper types, from thin layout marker paper to heavy 200 GSM drawing sheets, and need to adjust the light output accordingly to prevent eye fatigue. Many A3 boards also feature integrated physical rulers along the edges, which is an invaluable asset for maintaining precise alignment in perspective drawing or technical drafting. When selecting an A3 board, look for models that include a subtle tilt stand or rubber feet to improve your drafting angle and reduce neck strain.
For Practicing Artists and Professionals: Large-Format High-Luminance Boards
For professional studios, architectural firms, and dedicated fine artists, a large-format A2 or A1 board is an indispensable piece of equipment. These boards prioritize optical precision, physical durability, and high light output over portability. Built with thick tempered glass surfaces and robust aluminum frames, they provide a rock-solid workspace that will not warp or flex, even under the heavy pressure of burnishing tools or hard pencils.
Best Suited For:
- Professional drafting, blueprints, and engineering plans
- Transferring detailed drawings onto 300 GSM watercolor paper
- Long studio hours requiring daylight-balanced, flicker-free light
- Fine art restoration and textile tracing
Professionals must pay close attention to light quality. Look for boards that specify a high Color Rendering Index (CRI) of 90 or above, and a daylight-balanced color temperature (around 5000K to 6500K). This ensures that colors remain accurate when you are working on translucent media or checking color overlays. Because these boards feature massive LED arrays to deliver uniform edge-to-edge brightness, they generate more heat than smaller models and require dedicated DC power adapters. They are designed to remain flat on a professional drafting table and are not intended for travel.
Setup and Maintenance Tips for Longevity
Proper care and smart environmental adjustments will extend the lifespan of your LED drawing board and protect your eyes during long creative sessions.
Cleaning the Surface
Dust, oils from your skin, and graphite residue can quickly build up on your drawing board, creating smudges that distort the light. Because acrylic surfaces scratch very easily, never use paper towels, tissues, or rough cloths to clean them. Instead, use a clean, dry microfiber cloth—similar to the ones used for eyeglasses—to gently wipe away dust.
For stubborn stains or grease, slightly dampen the microfiber cloth with water or a mild, highly diluted dish soap solution. Avoid using isopropyl alcohol, window cleaners, or harsh chemical solvents on acrylic panels, as these chemicals can cause the plastic to cloud, yellow, or develop micro-cracks (crazing) over time. If you work in a highly humid tropical environment, clean the board regularly to prevent moisture and ambient dust from forming a sticky film on the surface.
Preventing Overheating
Although LEDs run significantly cooler than traditional fluorescent light boxes, they still generate heat, especially when operated at maximum brightness for extended periods. In warm climates, this heat build-up can be accelerated. To keep your board running cool:
- Avoid placing the board on soft, insulating surfaces like blankets, beds, or heavy tablecloths that can trap heat underneath.
- Do not cover the edges or ventilation slots of the board with tape, paper, or drawing clips.
- Turn the board off when taking breaks rather than leaving it running at full brightness unattended; this preserves both the LEDs and the internal light guide plate.
Eye Strain Management
Working on a bright light board in a completely dark room is one of the fastest ways to cause severe eye strain, headaches, and fatigue. This extreme contrast forces your pupils to constantly dilate and contract as your eyes shift focus between the glowing board and the dark surroundings.
Always use your light board in a well-lit room. To minimize glare and contrast, set up bias lighting—a soft, ambient light source positioned behind your monitor or drawing board—to balance the illumination in your workspace. Adjust the board’s brightness so that it is only as bright as necessary to see your guidelines through the top sheet of paper. If you find your eyes drying out, practice the 20-20-20 rule: every 20 minutes, look at an object 20 feet away for at least 20 seconds to relax your eye muscles.
Cable and Port Care
The power port (whether Micro-USB, USB-C, or a DC jack) is often the first component to fail on a portable light board. Constant plugging, unplugging, and accidental tugs put physical stress on the internal solder joints connecting the port to the circuit board.
To prevent damage, always insert and remove the power cable straight without wiggling it side to side. If you frequently move your board, consider using a magnetic USB cable adapter, which allows the cable to break away cleanly if snagged without putting strain on the port itself. Additionally, secure the cable to your desk or drawing stand with a small clip to ensure that the weight of a hanging cord isn’t pulling down on the connection.
Frequently Asked Questions (FAQ)
Can I use an LED drawing board for diamond painting or weeding vinyl?
Yes, LED drawing boards are highly effective for non-drawing crafts like diamond painting and weeding vinyl. The backlighting makes the tiny printed symbols on diamond painting canvases incredibly easy to read, and it highlights the cut lines in vinyl sheets, allowing you to weed intricate designs with high precision.
When choosing a board specifically for these crafts, look for models that feature a completely smooth surface without raised plastic frames, which can snag your materials. Boards with integrated printed grids are highly beneficial for aligning vinyl sheets, while a matte surface finish can help reduce the glare of overhead craft lights reflecting off the board’s surface. Using a protective transparent sheet over the board can also prevent accidental cuts from craft knives or sticky residue from transfer tape from damaging the acrylic panel.
Will using the highest brightness setting damage the LED beads?
Modern, high-quality LEDs are highly durable and designed to last for tens of thousands of hours of continuous use. However, running your board at its maximum brightness setting continuously does generate more heat within the ultra-thin enclosure. Over time, excessive heat can accelerate the degradation of both the LED beads and the internal acrylic light guide plate, which can lead to dimming, color shifting, or yellowing of the light panel.
To maximize the lifespan of your board, it is best to use the lowest effective brightness setting that allows you to see your work clearly. Utilize the board’s stepless dimming feature to adjust the light output to match your current paper weight rather than defaulting to maximum brightness. Additionally, turning the board off during breaks allows the internal components to cool down, preserving the clarity and uniformity of the light source for years to come.
Community discussion
Share your experience or ask a question. Comments are reviewed before publication.