
Selecting the right fabric for quilting is the foundation of a successful project, directly influencing how clearly your pattern’s design is displayed. A beautiful quilt relies on more than just choosing appealing colors; it requires a deliberate approach to fabric weight, color value contrast, and print scale. By analyzing your pattern’s geometric structure and block sizes, you can make informed textile choices that highlight, rather than hide, your hard work.
Understand Your Quilting Pattern Requirements
Every quilting project begins with decoding the pattern instructions, which are typically found on the back of the pattern envelope or in the introductory pages of a digital guide. This section outlines the fabric requirements, usually presented in a grid or chart that details the exact yardage needed for different quilt sizes, such as baby, throw, twin, or queen. It is essential to read these charts carefully, noting whether the yardage is calculated for a multi-color design or a simplified two-tone colorway.
Additionally, you must verify the recommended fabric weight and composition. For most traditional quilting patterns, 100% quilting cotton is the standard recommendation due to its stable weave, minimal stretch, and ease of handling under the sewing machine foot. In warm and humid climates like the Philippines, lightweight yet durable quilting cotton is particularly favored because it remains breathable and comfortable to work with during long sewing sessions. Before purchasing, identify the dimensions of both the smallest and largest blocks in the pattern. Knowing that a block will be cut down to a small square or left as a large focal piece will directly influence your decisions regarding print scale and motif placement.
Products mentioned in this guide
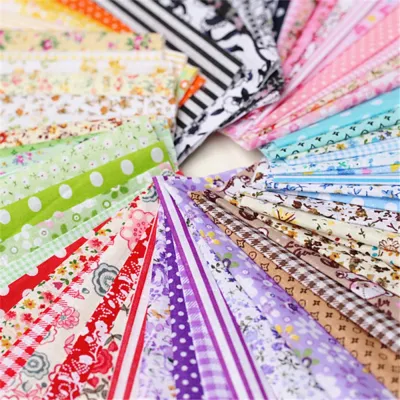
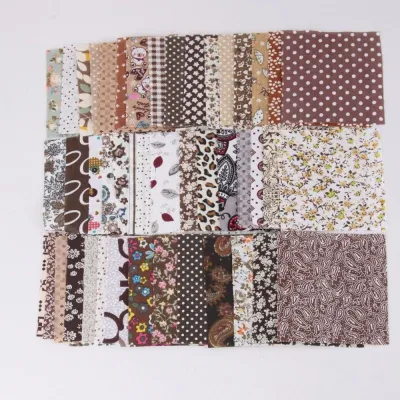
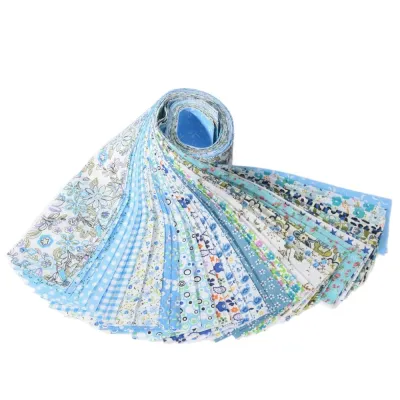

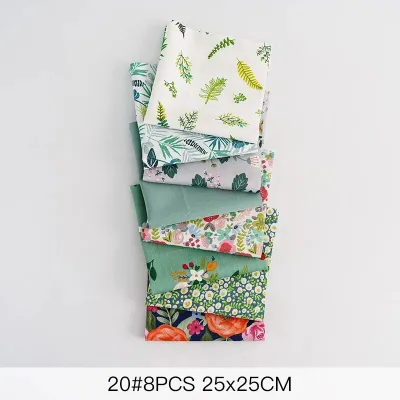
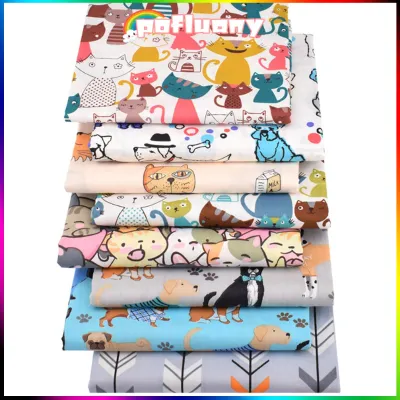
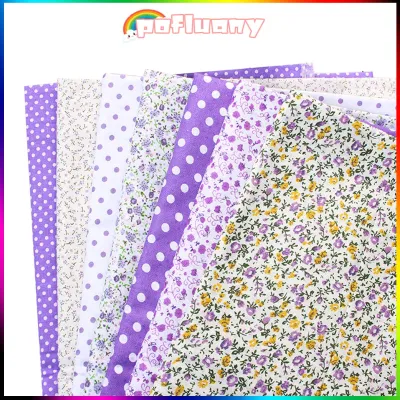
Prices are valid at publication and may change. Please refer to the product page for the latest price.
Plan Your Color Scheme and Value Contrast
While color selection is highly personal, the success of a quilting pattern relies heavily on value contrast—the relative lightness or darkness of a fabric regardless of its actual color. Without sufficient contrast, even the most intricate piecing can disappear into a muddy, indistinct blur. To prevent this, categorize your potential fabric selections into three distinct groups: light, medium, and dark values. A classic way to test this is by taking a digital photograph of your fabric swatches and converting the image to grayscale on your phone; this instantly reveals whether your fabrics contrast sharply or blend together.

Environmental factors also play a significant role in how your colors will appear in the finished piece. It is highly recommended to test your fabric swatches under different lighting conditions, including the bright, natural daylight characteristic of tropical regions, as well as the warm indoor lighting of the room where the quilt will ultimately be used. If you are designing a quilt as a gift or for a specific space, adjust your palette to complement the recipient’s home decor. For instance, a bright, high-contrast tropical palette might suit a vibrant living room, while soft, low-contrast pastels or cool earth tones might be more appropriate for a relaxing bedroom environment.
Match Print Scales to Pattern Block Sizes
Print scale refers to the size of the design printed on the fabric, and matching this scale to your pattern’s block sizes is crucial for visual balance. Large-scale prints, such as bold florals or wide geometric stripes, require large, uninterrupted spaces to be fully appreciated. If you cut a large-scale print into tiny pieces, the overall motif is lost, resulting in a disjointed and cluttered appearance. Save these large prints for wide outer borders, setting triangles, or large focal blocks where the fabric design can remain intact.
Conversely, small-scale prints, ditsy florals, and tone-on-tone fabrics are ideal for small piecing and intricate blocks. Because the motifs are small and tightly packed, they look consistent even when cut into tiny triangles or squares, preserving the clean lines of your seams. To prevent your quilt from becoming visually overwhelming, incorporate solid fabrics or low-volume prints—fabrics that are primarily white, cream, or light gray with very subtle, tiny designs. These neutral areas act as visual resting places, framing your busier prints and allowing the eye to navigate the overall pattern structure comfortably.
Evaluate Fabric Quality and Care Requirements
High-quality fabric is essential for a quilt that is intended to last through years of use and laundering. When sourcing materials, check the fabric bolt or online product description for fiber content and weave density. A tight, high-quality weave prevents the fabric from fraying excessively during cutting and piecing, which is especially important in humid environments where moisture can make loose fibers more prone to unraveling. Avoid fabrics that feel overly stiff or synthetic, as these can be difficult to press flat and may not wear evenly over time.
Pre-washing is a debated topic in the quilting community, but it is often necessary depending on the fabric’s dye stability and the project’s final use. Highly saturated colors, such as deep reds, blues, and purples, are prone to bleeding when washed for the first time. To test for dye stability, soak a small swatch of the fabric in warm water; if the water changes color, pre-washing the fabric with a dye-trapping sheet is highly recommended to protect your lighter fabrics from staining. Always follow the manufacturer’s care guidelines, and if those instructions conflict with your pattern’s recommended finishing or washing methods, consult the pattern designer or fabric manufacturer before making your first cut.
Finalize Your Shopping List and Yardage Buffer
Once you have selected your colors, prints, and scales, translate these choices into an organized shopping list. Group your requirements by fabric type, color value, and print scale to make your shopping experience at local textile shops or online marketplaces more efficient. Instead of purchasing the exact minimum yardage listed in the pattern, it is wise to calculate a reasonable yardage buffer. Adding an extra 10% to 15% (or roughly an extra quarter-yard) to your purchase accounts for potential fabric shrinkage during pre-washing, minor cutting mistakes, and the process of squaring up uneven fabric edges.
When purchasing large quantities of a single fabric, verify that the yardage is cut from the same bolt to ensure dye lot consistency, as subtle color variations can occur between different production runs. Additionally, review the retailer’s return policies for uncut fabric in case you need to make adjustments. Budgeting for a small yardage buffer can save you the frustration of running out of a critical fabric mid-project, especially if that specific print or colorway sells out quickly.
Frequently Asked Questions (FAQ)
Can I mix different fabric weights in a single quilt top?
It is generally recommended to use uniform fabric weights, such as 100% quilting cotton, throughout your quilt top to ensure structural integrity. Mixing lightweight fabrics (like voile or lawn) with heavier fabrics (like linen or canvas) can lead to uneven seams, puckering, and differential shrinkage when the quilt is washed. If you must mix weights for a specific textured effect, apply a lightweight fusible stabilizer to the lighter or looser-woven fabrics to match the stability of the heavier materials before piecing.
How do I handle directional prints when cutting pattern pieces?
Directional prints have a distinct up and down orientation, such as stripes, trees, or text. Standard rotary cutting instructions in quilting patterns assume non-directional fabric, meaning pieces can be rotated to maximize fabric use. If you choose a directional print, you must plan for extra yardage—often 15% to 25% more—to allow you to cut all pieces in the correct orientation. Carefully map out your cutting layout beforehand to ensure that your motifs do not end up sideways or upside down once the blocks are pieced together.
Community discussion
Share your experience or ask a question. Comments are reviewed before publication.