
Selecting the right pony beads for kandi is the foundation of creating vibrant, durable bracelets, cuffs, and necklaces that survive the energy of music festivals and daily wear. To choose the best beads, you must balance the outer dimensions of the bead with its internal hole diameter, ensuring the physical specifications match your stringing cord and design complexity. By understanding how these measurements interact, you can prevent structural failures like snapping elastic, uneven tension, or beads that refuse to sit flush.
Understanding Pony Beads for Kandi Projects
Pony beads are highly popular, barrel-shaped or cylindrical beads traditionally made of plastic, though glass, wood, and acrylic varieties are also common. In kandi culture—where crafters create and trade colorful handmade jewelry—these beads serve as the primary building blocks due to their uniform shape, lightweight construction, and wide color selection. Their flat, parallel ends allow them to stack neatly against one another, making them ideal for complex, multi-row projects like 3D cuffs, surgical masks, and flat panels.
Standard craft pony beads differ significantly from specialized jewelry beads, which often feature much smaller profiles and tiny thread holes. While delicate jewelry beads require fine needles and specialized threads, kandi beads are designed for rapid, manual stringing and thicker, more durable cords. The structural consistency of a high-quality pony bead ensures that when you weave multiple rows together, the alignment remains straight and the tension distributes evenly across the entire piece.
Products mentioned in this guide
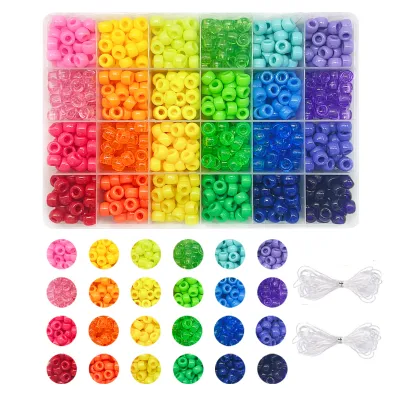
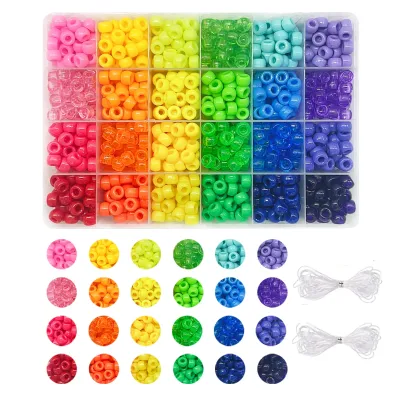
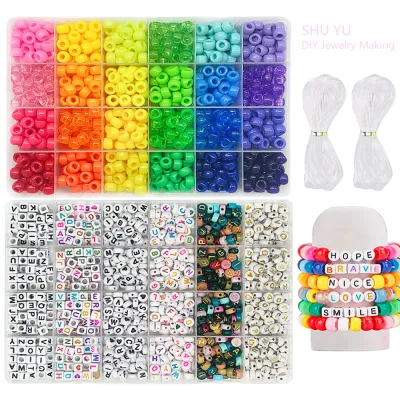
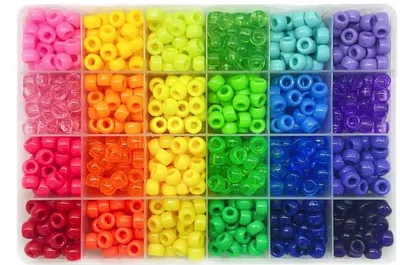
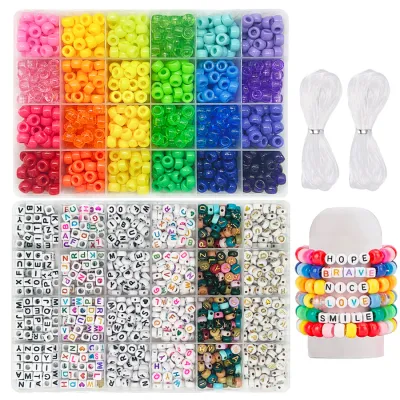
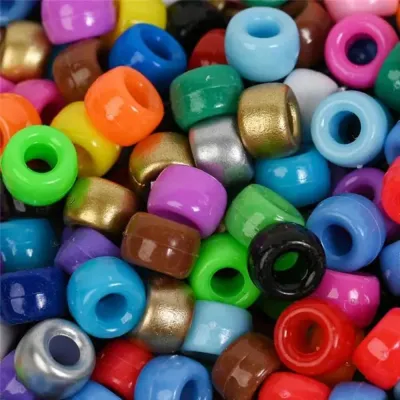
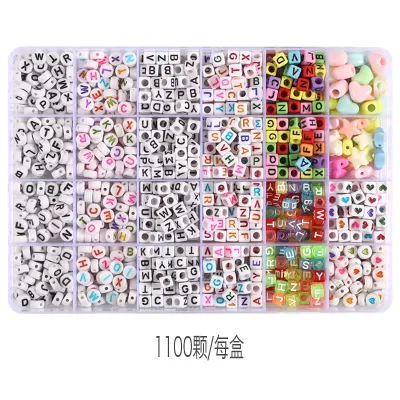
Prices are valid at publication and may change. Please refer to the product page for the latest price.
Before purchasing your supplies, it is essential to recognize that successful kandi making is a balancing act between the bead, the cord, and the design. A beautiful bead is useless if its hole is too narrow for your elastic, just as a thick cord will ruin a delicate, multi-pass pattern. Evaluating these specifications beforehand saves time, prevents wasted materials, and ensures your wearable art remains intact through years of trading and wearing.
Choosing the Right Bead Size for Your Design
The outer dimensions of your pony beads directly dictate the weight, drape, flexibility, and overall aesthetic of your finished kandi. Most standard pony beads measure approximately 6×9 mm (6 mm in length along the stringing path and 9 mm in outer diameter), which provides a chunky, classic look that is easy to handle and quick to string. However, variations in these dimensions can dramatically alter how a piece sits on the skin and how much movement the design allows.

Smaller beads, often referred to as “mini” pony beads (typically around 4×7 mm or smaller), allow for intricate patterns, detailed color gradients, and highly flexible multi-strand designs. These smaller profiles are excellent for complex cuffs or detailed charms, as they reduce the overall bulk of the jewelry and allow it to conform closely to the contours of the wrist. On the other hand, larger beads create bold, high-impact statements but result in stiffer, heavier pieces that may feel cumbersome during prolonged wear.
Rather than relying on generic marketing terms like “standard,” “medium,” or “mini,” always check the manufacturer’s exact millimeter specifications. Different brands use varying molds, meaning a “standard” bead from one supplier might be slightly wider or flatter than one from another, causing alignment issues if mixed in the same project. Verifying the precise length and outer diameter ensures that your rows line up perfectly without unexpected gaps or warping.
Additionally, consider the wrist size of the wearer and the total volume of beads required for the project. A massive 3D cuff made from heavy, oversized beads can slide down or feel overly restrictive on smaller wrists, whereas a delicate mini-bead cuff might lose its structural impact on a larger arm. Matching the physical scale of the beads to the wearer’s anatomy guarantees that the finished piece is both visually striking and comfortable to wear all day.
Matching Hole Diameter to Your Stringing Material
The internal hole diameter of a pony bead is the most critical technical specification to verify, as it determines which stringing materials you can use and how complex your weaving patterns can be. Standard pony beads typically feature a hole diameter ranging from 3 mm to 4 mm, which is exceptionally generous compared to standard jewelry beads. This wide passage is designed to accommodate thick, robust cords that can withstand the tension of heavy wear.
When planning your design, you must calculate how many times the cord will need to pass through a single bead. While a simple single-strand bracelet only requires a single pass, complex kandi designs—such as ladders, cuffs, and peyote stitch panels—often require the cord to loop back and pass through the same bead two, three, or even four times. If your cord is 1 mm thick and your bead hole is only 2 mm, you will struggle or fail to make that third pass, stalling your project mid-weave.
To avoid this frustration, always compare the bead’s documented hole diameter against the decimal thickness of your chosen stringing cord. If you plan to use a 1.2 mm elastic cord for a multi-pass cuff, look for beads with a minimum hole diameter of 3.5 mm to ensure smooth, friction-free threading. Neglecting this calculation often leads to forced threading, which can fray the protective outer fibers of elastic cords and cause premature snapping.
A practical way to guarantee compatibility is to run a physical test before investing in bulk quantities. If you are ordering thousands of beads online for a large event, purchase a small sample pack first to test the cord-to-hole fit in your workspace. Thread your chosen cord through a sample bead multiple times, mimicking the exact knots and passes of your planned design, to ensure the material slides through smoothly without catching or splitting.
Selecting the Best Stringing Cord for Kandi
Choosing the right stringing material is just as important as selecting the beads themselves, as the cord serves as the structural backbone of your kandi. The most common options include elastic fabric cord, clear polyurethane stretch cord, and non-stretch nylon thread or fishing line. Each material offers distinct advantages and trade-offs in terms of flexibility, ease of use, knot security, and long-term durability.
Elastic fabric-covered cord (usually 1 mm to 1.5 mm in thickness) is the traditional choice for classic slip-on kandi bracelets because it is highly stretchable, comfortable against the skin, and easy to knot securely. Clear polyurethane stretch cord provides a clean, invisible look but can be more slippery to knot and prone to dry-rotting over time. For non-stretch, structural designs like large necklaces, wall hangings, or items utilizing metal clasps, heavy-duty nylon thread or high-test monofilament fishing line offers unmatched tensile strength.
Environmental factors play a massive role in the lifespan of your kandi, particularly in tropical and highly humid climates like the Philippines. High ambient temperatures and persistent humidity can accelerate the degradation of rubber and latex cores inside elastic cords, causing them to dry out, lose their elasticity, or become brittle and snap. To combat this, crafters in humid regions should look for high-quality, polyester-wrapped elastic cords, or opt for non-stretch nylon cords paired with durable metal clasps for pieces intended to last for years.
Before committing to a major project, always perform a quick manual pull test to evaluate the quality of your cord. Cut a small piece of the cord, stretch it to its maximum limit several times, and observe how quickly and completely it returns to its original length. A high-quality cord will retain its shape and resistance, while inferior cords will remain stretched out, loose, or show immediate signs of fraying along the outer protective sheath.
Step-by-Step Guide to Stringing Your Kandi Bracelet
Preparing Your Materials
Begin by organizing your workspace to prevent mistakes and interruptions once you start stringing. Pour your chosen pony beads into sorting trays, shallow bowls, or a beaded bead-mat, grouping them by color and finish so you can easily grab them without breaking your rhythm. Measure and cut your stringing cord, ensuring you leave an extra 4 to 6 inches (approximately 10 to 15 centimeters) of length beyond the actual circumference of your wrist. This extra tail space is crucial, as it gives your fingers enough room to tie a secure, tight knot without tension pulling the beads off the ends.
Stringing and Tension Management
Carefully thread your beads onto the cord following your pre-planned color pattern, keeping a steady pace. If you are using elastic cord, it is vital to keep the cord completely relaxed and slack while adding the beads; stretching the elastic during the stringing phase will cause the finished bracelet to bunch up, pucker, and show unsightly gaps once you let go. To prevent your beads from sliding off the far end of the cord while you work, attach a plastic bead stopper, a small binder clip, or a piece of masking tape to the tail end.
Securing the Final Knot
Once all beads are threaded, bring the two ends of the cord together and tie a secure surgeon’s knot, which is essentially a standard square knot with an extra pass through the loop to prevent slipping. Pull the knot tight, ensuring the tension is snug right against the base of the first and last beads, but avoid pulling so violently that you warp the elastic. For non-stretch cords, secure the ends using metal crimp beads and a pair of jewelry pliers, or tie them directly to a clasp. Check the manufacturer’s label on your materials before applying a tiny dot of flexible jewelry glue to the knot; never use rigid superglue, as it cures hard and makes elastic fibers brittle, leading to sudden breaks.
Troubleshooting Common Kandi Stringing Issues
When assembling your designs, you may encounter a few common structural issues that can easily be corrected with the right adjustments:
- Beads Not Sitting Flush: This issue is typically caused by using a cord that is too thick for the bead holes, which forces the cord to bunch up and crowd the interior space rather than lying flat. To resolve this, switch to a slightly thinner cord or select beads with a wider, more uniform hole diameter that allows the cord to glide freely.
- Elastic Snapping During Knot Tying: This usually happens when you apply aggressive, sudden jerks to the cord in an attempt to get the knot as tight as possible, which overstresses and cuts the inner rubber strands. Instead, apply steady, moderate, and even tension, pulling the knot tight gradually, and avoid using sharp metal tools or fingernails directly against the knot area.
- Knots Slipping or Untying: This is often due to the slick texture of the cord or an incomplete knot structure. Ensure you are using a proper surgeon's knot rather than a simple overhand knot, and leave a tiny tail of about 1 to 2 millimeters when trimming the excess cord so the knot has room to settle. If the cord material is compatible, applying a specialized, flexible fabric or bead adhesive to the knot will lock it permanently in place.
Frequently Asked Questions (FAQ)
Can I mix plastic and glass pony beads in the same kandi project?
Yes, you can mix plastic and glass pony beads, but you must take specific precautions to protect your stringing material. Glass beads are significantly heavier than plastic ones, which increases the overall tension on the cord, and their molded holes often have sharper, abrasive edges that can saw through elastic fibers over time. If you decide to combine these materials, use a highly durable, abrasion-resistant polyester-wrapped elastic cord or a non-stretch nylon line, and carefully inspect the inner edges of the glass beads for smoothness before threading them.
How do I hide the knot inside a pony bead?
To achieve a clean, professional finish, you can easily hide the finished knot inside the opening of an adjacent pony bead. Once you have tied and secured your knot, gently pull one of the cord tails so the knot slides directly into the wide hole of the neighboring bead. This technique requires that the bead’s hole diameter is wide enough to comfortably accommodate both the double-strand cord and the bulk of the knot without getting stuck or forcing the bead out of alignment.
Community discussion
Share your experience or ask a question. Comments are reviewed before publication.