
When crafting vibrant, wearable art, choosing the right pony beads kandi makers rely on is essential for ensuring your designs are both durable and visually striking. Kandi crafting is more than just threading plastic shapes; it is a structural process where bead dimensions, hole clearances, and cord tensions must align perfectly. In the warm, tropical climate of the Philippines, where humidity and sweat can quickly degrade low-quality materials, selecting the correct specifications is the key to making bracelets, cuffs, and necklaces that last through active daily wear and music festivals.
Understanding how bead size and hole diameter interact with your stringing material prevents the frustration of snapped elastic, jammed threads, and misaligned patterns. By evaluating these technical details before purchasing your supplies, you can streamline your crafting process and build complex, comfortable pieces that retain their shape over time.
How Pony Beads Kandi Dimensions Affect Your Design
The outer dimensions of a pony bead—specifically its outer diameter and its length—directly dictate the overall scale, flexibility, and weight of your finished kandi. Standard pony beads typically measure 9mm in outer diameter and 6mm in length, while mini pony beads generally measure 6mm in outer diameter and 4mm in length. While these millimeter differences may seem minor on a single bead, they compound rapidly when hundreds of beads are linked together in a large cuff or panel.
Products mentioned in this guide
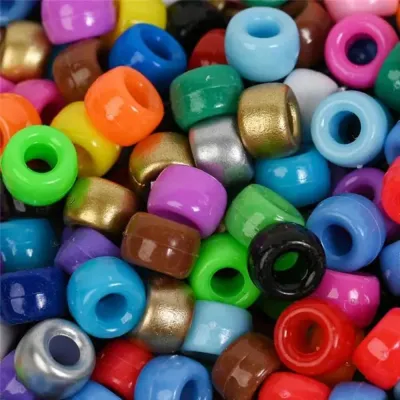
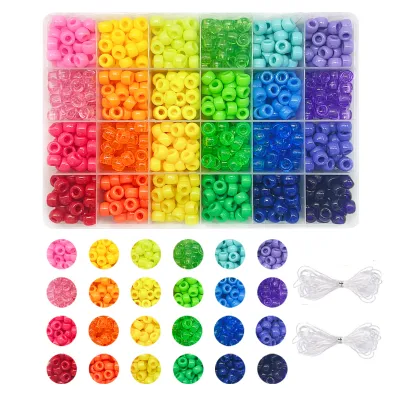
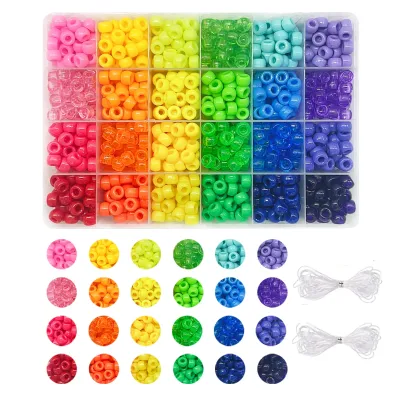
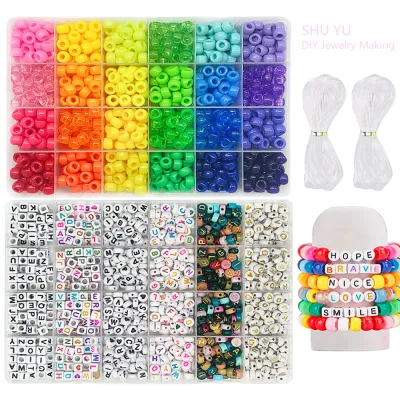
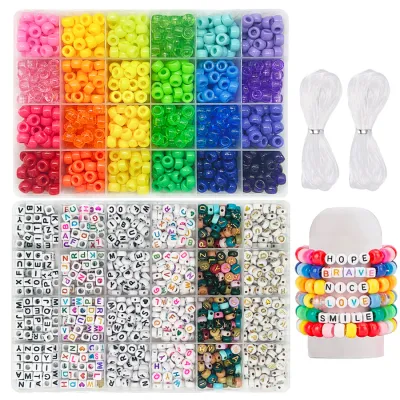
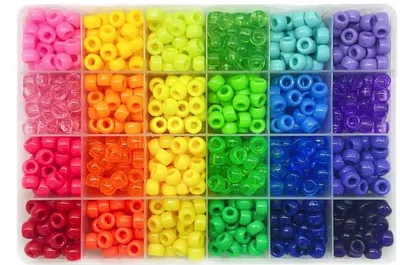
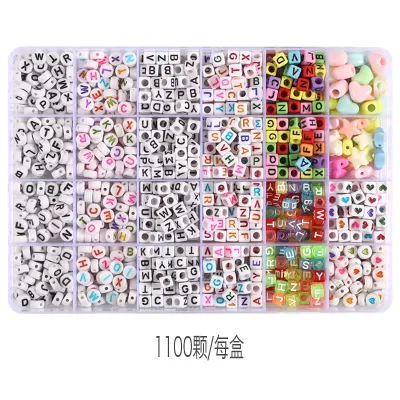
Prices are valid at publication and may change. Please refer to the product page for the latest price.
Rather than relying on vague terms like “medium” or “large” on online marketplaces, always check the product description for the exact millimeter specifications. This precision is crucial because bead length (the dimension that runs parallel to the string) determines how many beads are required to complete a specific length. For example, if you are designing a single-strand bracelet for a 170mm wrist, using standard 6mm-long beads means you will need approximately 28 beads to wrap around, whereas using 4mm-long mini beads will require at least 42 beads for the same wrist size.
The length of the bead also plays a critical role in the stiffness of the final piece. Standard 9x6mm beads have wider, flatter sides that press firmly against one another when the elastic is pulled taut. This creates a highly rigid, structured line, which is excellent for building vertical walls on 3D cuffs or keeping flat peyote-stitch banners from sagging. However, this same rigidity can make simple single-strand bracelets feel blocky and polygonal on smaller wrists. If you want a softer, more rounded drape that conforms comfortably to the wrist, opting for mini pony beads or shorter variants is the ideal choice, as their smaller contact points allow the string to bend at tighter, more natural angles.
Additionally, you must account for the physical weight of the beads, especially when planning large-scale projects like chest pieces, masks, or multi-tiered cuffs. Standard plastic pony beads are lightweight individually, but a massive 3D cuff containing over 500 beads can become surprisingly heavy and warm to wear. In humid conditions, a heavy, tight bracelet can trap moisture against your skin, leading to discomfort. Choosing mini pony beads for complex, multi-layered designs reduces the overall bulk and weight, resulting in a more breathable, wearable piece of art.
Matching Hole Diameters to Your Stringing Material
The hole diameter is arguably the most critical technical specification to verify when selecting beads for your project. The inner diameter of a pony bead’s hole determines not only how easily your elastic will pass through, but also how many times you can route the cord through the same bead to lock a pattern in place. Standard pony beads typically feature a nominal hole diameter of 3.5mm to 4mm, but manufacturing variances among bulk suppliers can cause these openings to shrink or contain excess plastic debris, known as flashing.

Before investing in bulk packs, which can range from ₱50 to ₱300 depending on the quantity and color variety, always verify the inner hole dimensions. Matching this measurement to the thickness of your stringing material prevents tension issues, thread splitting, and premature structural failure.
Single-Strand Elastic and Cords
For simple single-strand bracelets, often referred to as “singles,” standard pony beads with 3.5mm to 4mm holes are highly forgiving. Crafters typically use 1.0mm or 1.2mm elastic cords for these projects, which slide through the large openings effortlessly. This generous clearance makes assembly fast and enjoyable, making it an excellent option for group crafting sessions or quick trades.
The primary consideration when matching single strands to large-hole beads is knot security. A standard surgeon’s knot tied with 1.0mm elastic is usually large enough to slide inside a 4mm bead hole, hiding the knot from view and keeping the finished bracelet looking polished. However, if the bead hole is exceptionally large (such as 4.5mm or greater) and your cord is too thin (such as 0.8mm), the knot may slip completely through the bead, causing the adjacent beads to collapse into the gap. In these cases, you must tie a larger multi-wrap knot, use a small spacer bead, or apply a knot cover to keep the structure secure.
Multi-Strand Lines and Weaving Threads
Intricate kandi designs—such as multi-layered X-base cuffs, rotating cuffs, and flat woven panels—require the stringing material to pass through the same connector bead multiple times. For these advanced patterns, calculating your thread clearance is mandatory to avoid jamming your needle or snapping your cord midway through the project.
If you are using a standard 1.2mm elastic cord for an X-base cuff, the connector beads will experience at least two thread passes, requiring a minimum of 2.4mm of clear space inside the hole. If your pattern requires three passes, the combined thickness of the cord jumps to 3.6mm, which tightly fills a standard 4mm hole. Any minor manufacturing defect or plastic flashing inside the bead will make the final pass impossible without shredding the elastic’s protective outer fibers.
To guarantee a smooth weaving process, use the formula: (Cord Diameter in mm) x (Maximum Number of Passes) + 0.5mm (for friction clearance) <= Bead Hole Diameter. If your calculated total is close to or exceeds the bead's hole diameter, you must adjust your materials. For complex, multi-pass designs, switching to a thinner 0.8mm elastic cord or sourcing specialized large-hole pony beads with a verified 4.5mm opening will save you time and prevent ruined projects.
A Step-by-Step Guide to Selecting and Testing Beads
To avoid wasting materials and experiencing frustration, establish a reliable testing routine before committing to a major kandi project. Following these sequential steps ensures your selected pony beads and stringing materials are fully compatible.
Step 1: Read Seller Specifications When shopping on e-commerce platforms or browsing local craft store catalogs, look past the colorful product photos and carefully examine the technical specifications. Identify the exact outer dimensions, length, and hole diameter in millimeters. Pay close attention to the material composition; high-quality acrylic or polystyrene is preferred for kandi, as these plastics resist fading and do not become sticky when exposed to sweat and tropical humidity.
Step 2: Order Sample Packs Resist the urge to buy a massive 1,000-piece bulk tub immediately. Instead, spend ₱30 to ₱50 on a small, mixed-color sample pack or a single strand of the beads you intend to use. This small investment allows you to physically inspect the color accuracy, plastic density, and consistency of the bead holes before making a larger financial commitment.
Step 3: Perform a Physical Thread-Pass Test Cut a 15-centimeter length of your preferred elastic cord. Thread it through one of your sample beads, then loop it back and pass it through again, repeating the process until you match the maximum number of passes your planned kandi pattern requires. The cord should slide through the hole on the final pass with minimal resistance; if you have to force it, the hole is too small, and the friction will likely damage the elastic during assembly.
Step 4: Check for Sharp Edges Hold the sample bead up to a bright light and inspect the inner rim of the hole for sharp plastic flashing left over from the injection-molding process. Run your test elastic back and forth through the hole ten times, pulling it at an angle against the edges. Examine the cord closely for any signs of shaving, fraying, or white stress marks; if the bead damages the cord during this brief test, it will eventually cut through your finished bracelet during regular wear.
Step 5: Test Knot Concealment Tie a double surgeon’s knot in your elastic cord and pull it tight. Gently pull the knot into the center of the sample bead’s hole. The knot should slide inside with a small amount of resistance and sit flush, hiding it completely from view without slipping out of the opposite side when the cord is stretched.
Common Stringing Mistakes and How to Prevent Them
Even experienced crafters encounter structural issues when assembling kandi. Understanding these common mistakes and how to troubleshoot them will keep your crafting process smooth and your finished pieces secure.
Thread Fraying and Breakage This is one of the most common issues, typically caused by sharp, unfinished plastic edges inside cheap, mass-produced pony beads. As you wear your kandi, the natural movement of your wrist causes the elastic to rub against these sharp inner boundaries, slowly sawing through the cord. To prevent this, use a small metal bead reamer or a round needle file to smooth out any rough plastic flashing inside the bead holes before stringing. If you are working with bulk quantities where reaming every bead is impractical, switch from bare TPU stretch line to a high-quality, fabric-wrapped elastic cord, which provides superior abrasion resistance against rough plastic.
Beads Sliding Off or Gapping If your bead holes are too large relative to your cord thickness, the beads will wobble, slide out of alignment, and expose the underlying string. This ruins the clean, uniform look of your design. To resolve this, upgrade to a thicker cord (such as 1.2mm or 1.5mm) to fill the excess space inside the hole. If you must use a thin cord, tie a larger multi-wrap knot, insert a small seed bead as a stopper before tying your final knot, or use a plastic knot cover to keep the beads neatly aligned.
Stiff or Uncomfortable Bracelets Using standard 9x6mm pony beads for a tight single-strand bracelet on a small wrist forces the beads to press tightly against one another, creating a rigid, uncomfortable hexagonal shape. In warm, humid environments, a rigid bracelet that pinches the skin can trap sweat and cause irritation. To prevent this, recalculate your bead count to allow for a slightly looser fit, or switch to shorter beads or mini pony beads (6x4mm), which allow the strand to bend more smoothly around the wrist.
Frequently Asked Questions (FAQ)
Can I use standard pony beads for intricate kandi patterns?
Yes, standard pony beads can be used for intricate patterns, but you must ensure your cord thickness matches the hole clearance. Standard beads with a 4mm hole can comfortably handle up to three passes of a 1.0mm elastic cord. For highly complex 3D cuffs or dense peyote-stitch panels that require four or more passes, standard holes may jam. For these advanced designs, it is best to use a thinner 0.8mm cord or source specialized large-hole pony beads with a verified 4.5mm opening.
How do I hide the knot when using large-hole pony beads?
To hide and secure a knot inside a large-hole pony bead, tie a secure surgeon’s knot, pull it tight, and apply a tiny drop of flexible, waterproof jewelry glue or clear nail polish directly to the knot. While the glue is still wet, gently pull the knot into the center of the bead’s hole. The glue will bond the knot to the inner wall of the bead, preventing it from slipping out or unraveling when the finished piece is stretched and worn.
Community discussion
Share your experience or ask a question. Comments are reviewed before publication.