
Finding a complete drawing materials set in the Philippines is the most efficient way for a beginner to start sketching without the frustration of buying mismatched tools. A well-curated kit provides a balanced selection of graphite pencils, blending tools, and paper, allowing you to focus entirely on developing your hand-eye coordination and shading techniques. However, because the local market is flooded with options ranging from basic school supplies to professional-grade bundles, making the right choice requires understanding how these materials interact with each other and with the local environment.
By selecting a set that matches your creative goals, you avoid the common pitfall of purchasing unnecessary accessories while ensuring you have the exact tools required to build a solid artistic foundation. This guide breaks down the essential selection criteria, must-have components, and quality checks to help you find a kit that truly supports your creative journey.
Key Criteria for Choosing a Beginner Drawing Set
Beginners often get tempted by massive, multi-piece mixed-media kits that include watercolors, acrylics, oil pastels, and colored pencils. While these look impressive, they often sacrifice quality for quantity. For a true beginner, a focused graphite and charcoal set is usually more beneficial. Mastering monochromatic values—understanding light, shadow, and form—is the foundation of all visual arts. A dedicated sketching kit allows you to build these core skills before introducing the complexities of color mixing and wet mediums.
Products mentioned in this guide
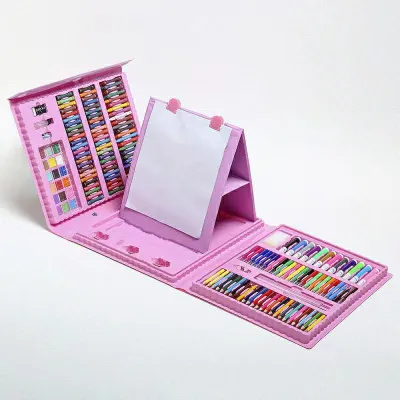
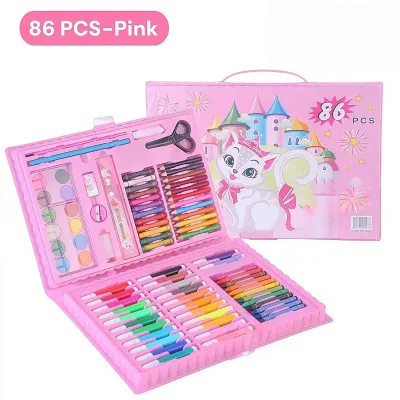
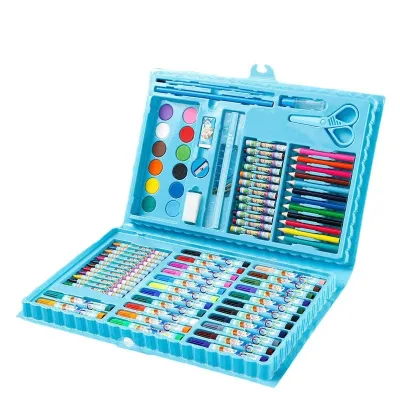
Prices are valid at publication and may change. Please refer to the product page for the latest price.
Consider where you plan to practice your craft. If you intend to sketch outdoors, capture urban scenes in local parks, or draw during your daily commute, a portable travel kit is essential. Look for sets housed in zippered nylon cases or roll-up canvas wraps. These cases keep pencils organized, prevent tips from snapping, and protect your paper from getting creased. Conversely, if you have a dedicated desk space at home, a wooden box or a structured tin case might offer better long-term organization, though they are heavier and less convenient to carry around.
When shopping, you will find drawing kits across a wide price spectrum. Entry-level budget kits, often priced under ₱500, are excellent for testing your interest without a significant financial commitment. However, mid-range student sets, typically ranging from ₱1,000 to ₱2,500, offer a noticeable step up in material consistency, especially regarding pencil lead durability and paper quality. It is wise to balance the upfront cost of the kit against the ongoing expense of replacing individual consumables like sketchbooks, erasers, and high-use pencil grades.
The tropical climate of the Philippines introduces unique challenges for art supplies. High relative humidity can soften paper fibers, causing sheets to warp, buckle, or absorb moisture, which alters how graphite and charcoal adhere to the surface. Furthermore, organic binders in pastels and charcoal can attract mold if left in damp, unventilated spaces. When choosing a set, prioritize those that come with water-resistant cases, or plan to store your kit alongside silica gel packets in an airtight container to preserve the integrity of your paper and pencils.
Must-Have Components in a Complete Drawing Kit
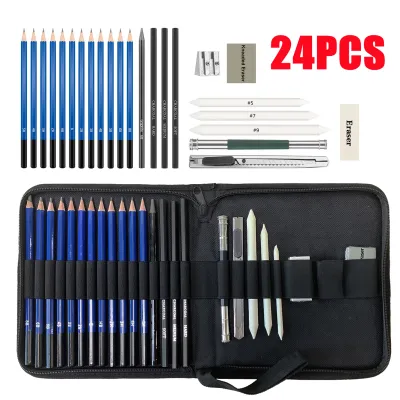
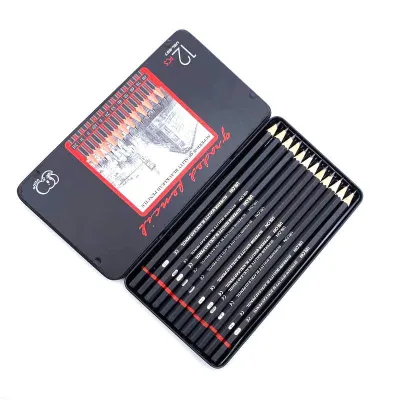
A truly complete drawing materials set must feature a versatile range of graded graphite pencils. The standard grading scale runs from hard, light-marking “H” pencils to soft, dark-marking “B” pencils. A beginner kit should ideally include at least six grades, such as 2H, HB, 2B, 4B, 6B, and 8B. This range allows you to execute precise technical layouts with the harder leads and achieve deep, rich shadows with the softer ones. Additionally, look for kits that include charcoal pencils or vine charcoal sticks, which offer a matte, ultra-dark finish that graphite cannot replicate.

Erasing is not just about correcting mistakes; it is an active drawing technique used to lift highlights and create texture. Your kit should contain both a standard vinyl or plastic eraser for clean, complete erasures and a kneaded rubber eraser. A kneaded eraser can be molded into custom shapes to lift small amounts of graphite, allowing you to render subtle highlights in hair or eyes. A reliable sharpener is equally critical. Dual-hole metal sharpeners are highly recommended because they accommodate different pencil diameters and hold their edge longer than plastic alternatives, preventing wood splitting.
Achieving smooth gradients and realistic skin textures requires specialized blending tools. A complete set should include paper blending stumps (also known as tortillons). These are tightly rolled paper cylinders with pointed ends used to smudge and blend graphite or charcoal smoothly. Using your fingers to blend is a common beginner habit, but the natural oils on your skin can transfer to the paper, creating greasy patches that resist graphite and cause uneven, permanent smudges. Sandpaper blocks are also useful additions, allowing you to clean and sharpen the tips of your blending stumps.
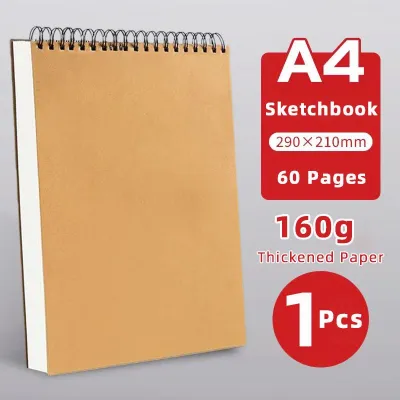
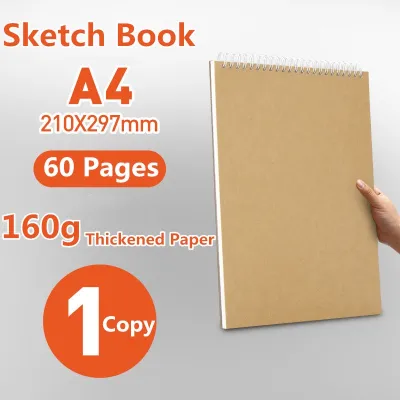
A drawing set is only as good as the surface you draw on. Many beginner kits include a small sketchbook or a pad of drawing paper. Pay close attention to the binding and size of the included book. Spiral-bound sketchbooks are highly practical because they lay completely flat, allowing you to draw across the entire page without fighting the spine. Standard sizes like A4 or A5 are ideal for beginners, offering a balance between ample drawing space and portability. Ensure the paper is specifically rated for dry media to get the best results from your pencils.
How to Check Material Quality and Compatibility
Before you begin drawing, inspect the physical construction of your pencils. High-quality drawing pencils feature perfectly centered lead cores encased in straight-grained wood, such as cedar or basswood. If the lead is off-center, the pencil will sharpen unevenly, exposing wood on one side and leaving the lead unsupported on the other, which leads to constant breakage. You can verify this by looking at the unsharpened end of the pencil; the dark graphite circle should sit precisely in the middle of the wooden hexagon or cylinder.
To ensure your drawings stand the test of time, check the paper specifications printed on the sketchbook cover or product description. Look for the term “acid-free” or “pH-neutral.” Acidic paper, common in cheap newsprint or standard school notebooks, turns yellow and brittle over time, especially when exposed to heat and humidity. Additionally, verify the paper weight, measured in grams per square meter (GSM). For dry media like graphite and charcoal, a minimum weight of 100 to 120 GSM is recommended to withstand heavy erasing and layering without tearing.
Because smoothness and erasability depend entirely on the specific combination of your pencil’s graphite formulation and the paper’s surface texture, you should perform a simple trial patch before starting a major project. Draw a small gradient scale on a corner of the paper, moving from your lightest H pencil to your darkest B pencil. Use your vinyl and kneaded erasers on different sections of this scale to observe how cleanly the pigment lifts. If the graphite smudges or leaves a deep ghost image, the paper may be too absorbent or the graphite too oily, indicating you need to adjust your drawing pressure or switch to a harder pencil grade.
If your chosen set includes colored pencils or pastels, the quality of the binder significantly affects performance. Beginner-grade colored pencils typically use a wax-based binder, which makes the core soft, creamy, and easy to blend. However, heavy application of wax-based pencils can lead to “wax bloom,” a cloudy white film that rises to the surface over time. Oil-based colored pencils are harder and hold a sharp point longer without blooming, but they require more effort to blend. Understanding these characteristics helps you manage your expectations and adjust your drawing pressure accordingly.
Buying Channels and Pre-Purchase Checklist
Acquiring your drawing set from the right source ensures you receive genuine products rather than cheap counterfeits. Established local art supply shops and major national bookstores in the Philippines are excellent for hands-on inspection, allowing you to feel the weight of the sketchbooks and check the packaging for damage. If you prefer shopping on online marketplaces or ecommerce platforms, prioritize official brand stores or highly rated preferred sellers. These digital storefronts often offer a wider selection of international brands that may not be stocked in physical local shops.
Because drawing materials are inherently fragile, shipping conditions require careful consideration. Soft graphite leads, charcoal sticks, and pastels can easily shatter internally if the package is dropped or subjected to rough handling during transit. When ordering online, read customer reviews specifically mentioning packaging quality. Look for sellers who wrap the kits in multiple layers of bubble wrap and ship them in sturdy cardboard boxes rather than thin plastic mailers. If your kit arrives with shattered pencil cores, sharpening them will cause the lead to fall out repeatedly.
Before finalizing your purchase, cross-reference the itemized list in the product description with user-uploaded photos in the review section. Manufacturers occasionally update their kit configurations, and some online listings may feature outdated product images. Verifying that the physical items received by other buyers match the advertised contents ensures you will not be surprised by missing accessories, such as a missing kneaded eraser or a different style of sketchbook.
Frequently Asked Questions (FAQ)
Do I need to buy extra paper if the set includes a sketchbook?
Yes, planning for extra paper is highly recommended if you intend to practice regularly. The sketchbooks included in complete drawing sets are typically designed for initial experimentation, quick warm-ups, and basic technique practice. They often contain a limited number of sheets, which can be used up quickly during daily drawing sessions. As you progress, purchasing separate paper pads with higher GSM ratings or specific textures becomes necessary for finished pieces, heavy shading, or mixed-media work.
Are complete sets better than buying individual professional supplies?
For beginners, complete sets offer superior value and convenience compared to buying individual professional supplies. Bundled kits eliminate the decision fatigue of selecting separate pencil grades, erasers, and blending tools, often at a fraction of the total cost of individual items. They provide a cohesive ecosystem of tools designed to work well together. However, as your skills develop and you identify your preferred drawing style, transitioning to professional-grade individual replacements for your most-used tools is a natural and cost-effective progression.
Community discussion
Share your experience or ask a question. Comments are reviewed before publication.