
Selecting the right permanent fabric marker depends entirely on the fiber content and weave of the material you plan to customize. For highly absorbent natural cotton, water-based pigment markers with fine nibs prevent ink from spreading uncontrollably. Heavy, dark denim requires opaque, acrylic-based paint markers with durable chisel or bullet tips to stand out against dark indigo dyes and resist surface friction. Synthetic, non-porous polyester demands alcohol-based or specialized synthetic-bonding formulas to prevent the ink from beading up, smudging, or washing out completely.
Using the wrong ink chemistry on a garment can lead to faded designs, bleeding lines, or ruined fabric, especially when subjected to the high humidity and frequent washing cycles typical of a tropical climate. Understanding how different marker types interact with natural, textured, and synthetic fibers ensures your creative designs remain vibrant and intact over time.
How Fabric Weave and Material Affect Ink Adhesion
Fabric fibers are broadly categorized into natural and synthetic types, each possessing unique physical properties that dictate how they absorb liquids. Natural fibers like cotton are highly porous and hydrophilic, meaning they readily draw in liquid inks through capillary action. Synthetic fibers like polyester are essentially fine strands of plastic; they are hydrophobic and non-porous, causing water-based liquids to sit on the surface rather than penetrating the fiber core.
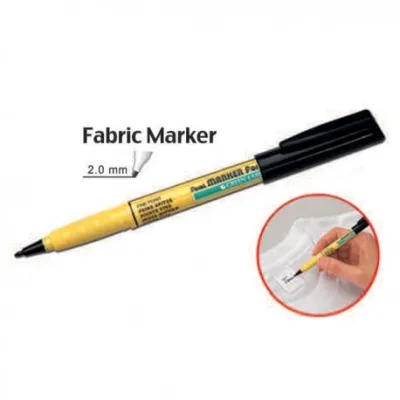
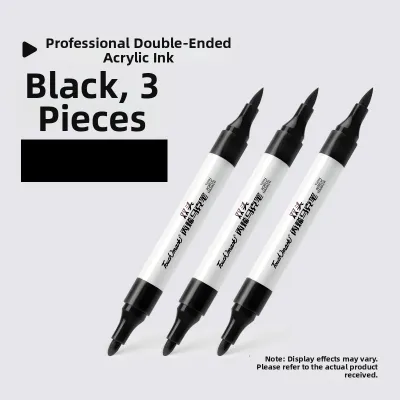
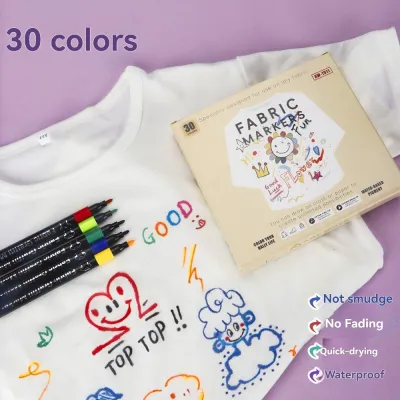
Products mentioned in this guide
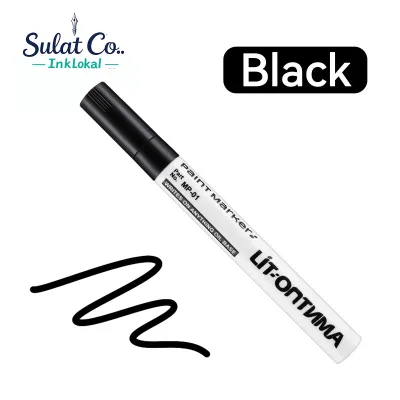
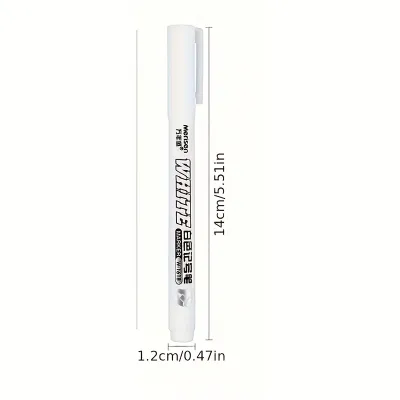
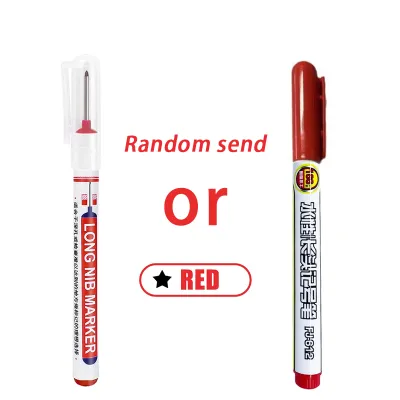
![Metallic Permanent Markers Metallic Paint Markers Calligraphy Pen Gold Silver Artline 900XF for DIY Card Calligraphy Art and Crafting Projects Works Great on Black Paper Scrapbooks Fabric Rock [Future Industries]](https://img.lazcdn.com/g/p/85cc57a095a3d36cb897cef9da7f6c8c.jpg_400x400q80.jpg_.webp)
Prices are valid at publication and may change. Please refer to the product page for the latest price.
Weave density also plays a critical role in ink behavior. A tightly woven, heavy fabric like denim limits the physical spread of ink but requires more surface pressure to achieve deep penetration. Conversely, a loosely woven cotton canvas or lightweight jersey allows ink to travel rapidly along the grain, which can cause fine lines to blur and bleed if the ink flow is too heavy.
To match these physical characteristics, manufacturers formulate fabric markers with three primary ink bases:
- Water-Based Inks: These inks typically use ultra-fine pigments suspended in water, often combined with an acrylic binder. They are highly effective on natural fibers, absorbing deeply to create a soft, flexible finish that does not alter the drape of the fabric.
- Alcohol-Based Inks: Utilizing fast-evaporating alcohol solvents, these markers dry almost instantly. They are excellent for gripping slick, synthetic fibers, though they can bleed excessively on loose natural weaves if applied too heavily.
- Acrylic- or Paint-Based Inks: These contain dense, opaque pigments suspended in a thick liquid medium. Instead of soaking into the fibers, they sit on top of the fabric surface, making them the premier choice for dark, highly textured, or tightly woven materials.
Always verify the marker manufacturer’s packaging for specific fabric compatibility claims. A generic “permanent” label on an office marker does not guarantee wash-fastness or bleed resistance on textiles.
Marking Cotton: Managing Absorbency and Preventing Bleed
Cotton is the most popular canvas for custom fabric projects, from casual t-shirts to reusable canvas tote bags used for daily commutes. Because cotton cellulose fibers are incredibly thirsty, they pull liquid out of marker tips rapidly. To achieve clean lines and vibrant colors, you must manage this natural absorbency.

Water-based pigment inks are highly recommended for cotton because they chemically bond with natural cellulose fibers once cured. These inks remain soft to the touch after drying, unlike heavy paints which can make lightweight cotton feel stiff and scratchy.
Nib selection is crucial when working on cotton. Fine or ultra-fine plastic-collared tips are ideal for outlining and detailed linework because they restrict the volume of ink deposited onto the fabric. Broad chisel or soft felt brush tips should be reserved for filling in large areas, and applied with a light, swift hand to minimize capillary spread.
Before you begin marking, prepare the garment by placing a rigid, non-porous barrier inside. A piece of thick cardboard, heavy cardstock, or wax paper inserted between the layers of a t-shirt prevents ink from bleeding through to the back of the garment. Secure the fabric tightly to the barrier using binder clips to prevent the material from bunching or shifting as you write.
Always conduct a simple, reversible test before committing to your main design. Draw a single, one-inch line on an inconspicuous area, such as an inside hem or an identical scrap piece of fabric. Observe how far the ink spreads over five minutes, check the drying speed, and verify that the line remains sharp.
Marking Denim: Penetrating Thick Weaves and Resisting Fading
Denim presents a unique set of challenges due to its heavy twill weave, distinct diagonal ribbing, and deep indigo dyes. Standard transparent fabric inks will quickly disappear into dark denim, leaving behind dull, barely visible stains instead of crisp designs.
To overcome dark backgrounds, select opaque acrylic-based or paint-based fabric markers. These markers use concentrated pigments that form a physical layer on top of the denim fibers, ensuring bright whites, vivid pastels, and metallic colors remain highly visible against dark blue or black backgrounds.
Denim’s rough, abrasive texture will quickly shred delicate felt nibs. Look for markers equipped with heavy-duty, durable chisel or robust bullet nibs made of dense polyester or acrylic fibers. These tips can withstand the friction of rough denim without fraying, allowing you to push the ink deep into the diagonal valleys of the twill weave.
Because denim items like jackets and jeans are subjected to frequent outdoor wear, check the marker specifications for UV and lightfastness. This ensures your designs will not fade rapidly under intense tropical sunlight.
When applying paint-based inks to denim, build up the design using multiple thin layers rather than one thick, heavy application. Allow each layer to dry to the touch before applying the next. This layering technique ensures the ink remains flexible and prevents the design from cracking or peeling when the stiff denim bends during wear.
Marking Polyester and Synthetics: Avoiding Smudging and Beading
Synthetic fabrics like polyester, nylon, and activewear blends are engineered to repel moisture, making them notoriously difficult to mark. Standard water-based markers will bead up on the surface of polyester like water on a plastic sheet, resulting in patchy color, long drying times, and immediate smudging.
For successful adhesion on synthetics, use alcohol-based markers or specialized fabric paint markers explicitly formulated for synthetic blends. The solvents in these markers help the pigments cling to the slick synthetic polymers, creating a durable bond that resists rubbing off.
Because polyester does not absorb the liquid ink, drying times are significantly longer than they are on cotton. Leave the marked garment completely undisturbed on a flat surface in a well-ventilated area. Avoid touching, folding, or stacking the fabric for at least 24 hours to ensure the ink solvents have completely evaporated and the pigments have bonded.
Many permanent fabric markers require heat-setting to become fully wash-fast, but synthetic fibers have a low melting point. Before applying any heat, check the garment’s care label to determine its maximum heat tolerance. If the care label warns against ironing, look for air-cure fabric markers that achieve permanency without heat, or use a hair dryer on a medium-low setting held several inches away from the fabric to gently cure the ink without melting the synthetic fibers.
Cross-Fabric Compatibility: Evaluating Multi-Purpose Markers
For creators working on mixed-media textile projects, purchasing separate marker sets for every fabric type can be impractical and expensive. Multi-surface or “all-fabric” markers are widely available, but they represent a compromise in chemical formulation.
These versatile markers typically use a medium-viscosity acrylic pigment formula designed to perform acceptably across various textures. However, because they are engineered to be jacks-of-all-trades, they carry distinct trade-offs:
- On Cotton: A multi-purpose marker may bleed slightly more than a dedicated, fine-tip cotton marker because the ink is formulated to flow easily.
- On Polyester: The same marker may take longer to dry and require more careful heat-setting to prevent smudging compared to a dedicated synthetic marker.
- On Denim: The opacity may be lower than a professional-grade paint marker, requiring more layers to achieve a vibrant look.
When deciding between tools, use a simple framework based on the item’s value and usage. For high-value garments, school uniforms, or items that will undergo frequent, heavy laundering, invest in a dedicated fabric marker tailored to that specific material. For temporary crafts, holiday costumes, school banners, or low-wear decorative items, a budget-friendly multi-purpose marker set (typically ranging from ₱150 to ₱500) is highly efficient and cost-effective.
To verify true cross-compatibility, ignore generic retail claims and look for explicit listings of both natural (cotton, linen) and synthetic (polyester, nylon) fibers on the manufacturer’s official packaging or product documentation.
Application and Heat-Setting Tips for Permanent Results
Proper application and post-treatment are what separate a temporary doodle from a truly permanent design. Most high-quality fabric markers rely on heat-setting to lock the ink’s binding resins into the fabric fibers, making the design resistant to water and detergent.
Once your design is completely dry to the touch, consult the marker manufacturer’s instructions to verify if heat-setting is required. If ironing is recommended, follow these safe guidelines:
- Turn off the steam: Moisture will rehydrate uncured water-based inks, causing them to bleed. Use a dry iron set to the temperature recommended for the fabric type.
- Use a protective barrier: Place a clean pressing cloth, a sheet of parchment paper, or a thin cotton fabric over the design. This prevents the ink from transferring onto your iron's soleplate and protects the fabric from direct heat damage.
- Keep the iron moving: Press down firmly and move the iron in circular motions over the design for two to five minutes, ensuring even heat distribution without scorching the material.
For synthetic fabrics like polyester, always use the lowest heat setting permitted by the garment’s care label. If the fabric is too delicate for an iron, check if the marker instructions allow heat-setting in a household clothes dryer on a medium setting for 30 to 40 minutes.
After heat-setting, allow the fabric to rest. Wait at least 24 to 72 hours—depending on the marker brand’s specifications—before laundering the item for the first time. When washing, turn the garment inside out to protect the design from abrasive contact with other clothes, use cold water on a gentle cycle, and avoid harsh bleaches or strong detergents to preserve the color vibrancy.
Frequently Asked Questions (FAQ)
Can I use a regular permanent marker on fabric?
Standard office permanent markers are not formulated for textiles. While they will write on fabric initially, their inks lack the flexible binders required to withstand laundering. They will bleed uncontrollably during application, fade to a dull purple or brown after a few washes, and can eventually damage or degrade the fabric fibers due to their acid content.
Do fabric markers wash out over time?
Even high-quality permanent fabric inks will experience gradual fading over dozens of wash cycles due to fiber wear and detergent abrasion. You can maximize the longevity of your designs by properly heat-setting the ink according to the manufacturer’s instructions, washing the garments inside out in cold water, and air-drying them away from direct, harsh sunlight.
How long should I wait before washing a marked garment?
As a general rule, you should wait at least 24 to 72 hours after marking and heat-setting before washing the garment. Washing the item too soon, even if the surface feels dry, can disrupt the chemical curing process of the binder resins, causing the ink to blur, bleed, or wash out during the first laundry cycle.
Community discussion
Share your experience or ask a question. Comments are reviewed before publication.