
Starting your pencil drawing and sketch journey in the Philippines is an exciting creative step, but walking into a local bookstore or browsing online marketplaces can quickly become overwhelming. With rows of different numbers, letters, and price points, finding the right tools requires a clear understanding of what makes a pencil suitable for artistic work. For a beginner, the best approach is not to buy the most expensive professional set, but to select a versatile range of graphite grades that allow you to practice essential techniques like outlining, shading, and blending. By focusing on how graphite interacts with paper under local environmental conditions, such as high tropical humidity, you can build a highly functional starter kit that fits your budget in ₱ and supports your artistic growth.
Understanding Pencil Grading Systems for Sketching
To navigate the world of pencil drawing and sketch work, you must first decode the letters and numbers stamped on the side of each pencil. This grading system indicates the hardness and darkness of the graphite core, which is actually a mixture of graphite and clay binder. The letter “H” stands for “hard,” meaning the core contains more clay and less graphite. These pencils produce light, clean, and precise lines that resist smudging. On the opposite end of the spectrum, the letter “B” stands for “black” or “soft,” indicating a higher proportion of graphite to clay. These pencils yield dark, rich, and easily blendable marks. The familiar “HB” pencil sits right in the middle of this scale, offering a balanced medium hardness that is highly versatile for both writing and basic sketching.
When planning your drawing stages, different grades serve distinct purposes. Harder grades, such as 2H or H, are excellent for laying down initial guidelines, perspective grids, and light underdrawings because they can be easily erased without leaving dark ghost images. Mid-tone grades like HB, B, and 2B are the workhorses of shading, allowing you to transition smoothly from light outlines to soft shadows. For deep shadows, high-contrast areas, and expressive dark strokes, softer grades like 4B, 6B, or even 8B are essential.
Products mentioned in this guide
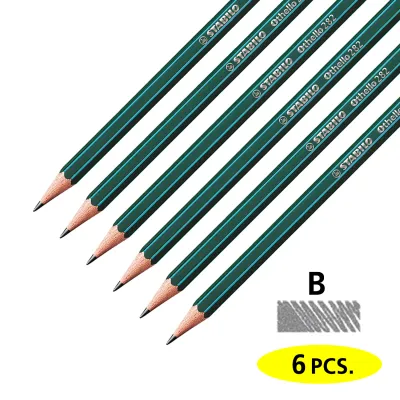
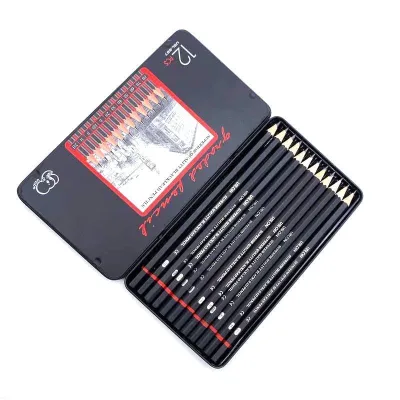
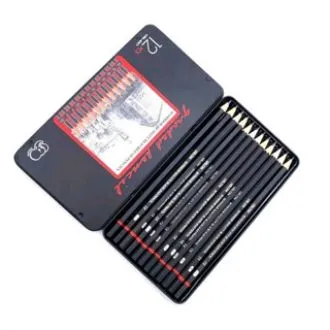
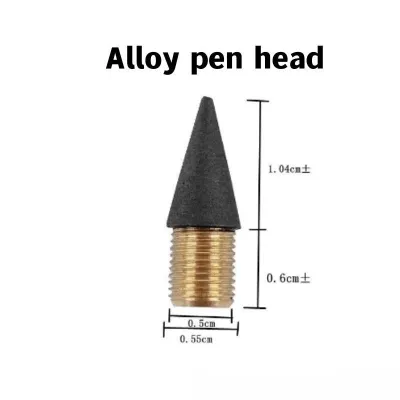
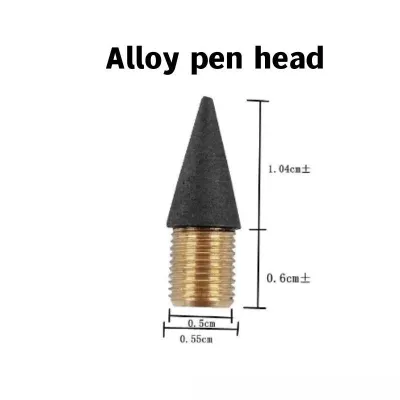
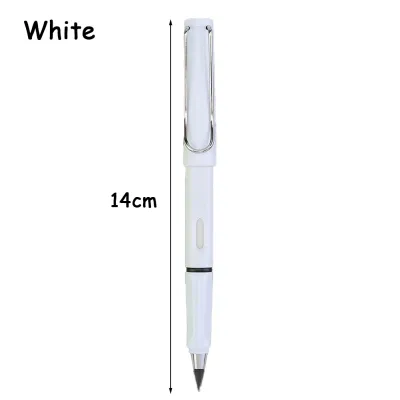
Prices are valid at publication and may change. Please refer to the product page for the latest price.
It is important to note that grading consistency is not universally standardized across all manufacturers. A 2B pencil from one brand might feel noticeably harder or lighter than a 2B from another brand, often due to regional manufacturing differences or proprietary clay-to-graphite ratios. Additionally, you may occasionally encounter the “F” grade, which stands for “fine.” The F pencil is a unique alternative that sits between H and HB; it is formulated to hold a sharp, fine point for a longer duration, making it highly useful for intricate detail work, hair textures, or precise hatching where a blunt tip would ruin the effect.
Key Features to Check When Buying Drawing Pencils
When selecting sketching pencils at a local stationery store or an online marketplace, looking beyond the brand name to evaluate physical construction is crucial for a frustration-free drawing experience. The first feature to inspect is the quality of the wood casing. High-quality drawing pencils typically use straight-grained cedar or similar premium woods that shave away smoothly during sharpening. Poor-quality wood casings tend to splinter, crack, or split down the side, which can leave the delicate graphite core unsupported and prone to snapping under light pressure.

Another critical factor is the centering of the graphite core within the wooden barrel. If you look at the unsharpened end of a pencil, the dark circle of graphite should sit precisely in the geometric center of the wood. If the core is off-center, one side of the wooden casing will always be thinner than the other when sharpened. This imbalance leads to uneven wear, makes it difficult to maintain a consistent line thickness, and often causes the exposed graphite tip to break repeatedly during sharpening.
The physical shape of the pencil barrel also plays a significant role in your sketching comfort. Hexagonal and triangular barrels are the most common ergonomic designs for drawing. Hexagonal barrels provide flat surfaces for your fingers to grip securely, reducing hand fatigue during long sketching sessions, and they prevent the pencil from rolling off your drawing table and shattering its internal core on the floor. Triangular barrels offer an even more structured grip that naturally guides your hand into a comfortable tripod position, which is particularly helpful for beginners learning to control their line weight.
Lastly, always verify the presence of non-toxic safety certifications on the packaging, such as the AP (Approved Product) seal or regional safety compliance marks. This is especially important if the pencils will be used in shared household spaces, art workshops, or educational environments where children might handle them. Ensuring the materials are free from harmful levels of toxins or heavy metals provides peace of mind as you focus on your creative practice.
Building Your First Sketching Pencil Set
As a beginner, you do not need a massive 24-piece pencil set to create stunning drawings. In fact, having too many options can complicate the learning process. A highly effective and practical starter kit can be built around a core range of five essential grades: 2H, HB, 2B, 4B, and 6B. This selection provides a complete tonal range, allowing you to handle everything from faint initial layouts with the 2H, to mid-tone shading with the HB and 2B, and finally to deep, dramatic contrasts with the 4B and 6B.
As your skills progress and you begin to tackle more complex subjects, you can selectively expand your collection. If you find yourself drawn to highly detailed, realistic portraits or architectural drawings, you might add harder grades like 3H or 4H for fine skin textures and crisp lines. Conversely, if you prefer expressive, high-contrast landscapes or dark, moody still lifes, adding an 8B or a woodless graphite pencil will give you the extra depth and coverage you need.
When considering your budget in ₱, you must decide whether to buy a pre-packaged set or purchase individual open-stock pencils. Pre-packaged sets are often convenient and sometimes offer a slight discount per pencil, making them a great starting point. However, buying individual pencils allows you to customize your set precisely to your needs and replace only the specific grades you use most frequently—such as 2B or 4B—without being forced to buy a whole new set. This open-stock approach is often more cost-effective in the long run for budget-conscious artists in the Philippines.
To complete your starter setup, you should budget for a few essential complementary tools. A kneaded eraser is indispensable for sketching; unlike standard vinyl erasers, it can be molded into precise shapes to lift highlights out of dark graphite areas without damaging the paper fibers. A blending stump, or tortillon, is excellent for smoothing out transitions and creating soft, smoky textures. Finally, a high-quality manual sharpener with a sharp, replaceable steel blade is vital to ensure clean cuts and prevent your pencil cores from fracturing during maintenance.
Matching Pencils to Sketching Paper and Techniques
Achieving the best results in your pencil drawing and sketch practice requires understanding how different graphite grades interact with various paper surfaces. The texture of drawing paper is referred to as its “tooth.” Toothy paper has a rough, microscopic texture that acts like a grater, shaving off and holding onto more graphite as you draw. Softer B-grade pencils pair beautifully with toothy paper because the rough surface easily pulls the soft graphite from the core, allowing you to achieve deep, rich darks and smooth, blended gradients.
In contrast, harder H-grade pencils are best suited for smoother paper surfaces, such as bristol board or hot-press sketchbooks. The smooth surface allows the hard, fine tip of an H pencil to glide effortlessly, making it perfect for technical drawings, fine details, and light guidelines that can be cleanly erased. If you try to use a hard H pencil on very rough paper, the hard tip can catch on the texture, resulting in scratchy, uneven lines and potentially tearing the paper fibers.
Your physical drawing technique must also adapt to the pencil grade you are using. When working with hard H pencils, it is crucial to use a light hand. Applying excessive pressure with a hard pencil will indent the paper, creating permanent grooves that cannot be erased and will catch graphite awkwardly during subsequent shading steps. When using soft B pencils, let the weight of the pencil do the work; pressing too hard will not only make the graphite difficult to erase but can also cause a shiny, metallic burnished effect that ruins the depth of your shadows.
Because local environmental factors in the Philippines, such as high humidity, can absorb into paper and make it slightly softer and more delicate, it is highly recommended to test new pencil and paper combinations on a scrap piece before starting your final artwork. This simple step allows you to observe how easily the graphite smudges, how cleanly it erases, and how much pressure the paper can handle under current weather conditions, ensuring a successful and enjoyable drawing process.
Frequently Asked Questions (FAQ)
How do I prevent my sketching pencils from breaking inside the wood casing?
Preventing internal graphite breakage starts with proper sharpening and handling. Always use a sharp, high-quality manual sharpener; a dull blade will tug and twist the wood casing unevenly, putting immense lateral stress on the graphite core and causing it to snap. When sharpening, hold the pencil firmly and rotate the pencil itself rather than twisting the sharpener around it, which ensures a more even distribution of force. Additionally, avoid dropping your pencils on hard surfaces like tile floors. Even if the outer wood casing remains perfectly intact, the shock of the impact can shatter the fragile graphite core inside into dozens of tiny pieces, which will fall out repeatedly every time you try to sharpen the pencil.
Can I use standard writing pencils for beginner sketching?
Yes, you can absolutely use a standard yellow writing pencil—which is typically an HB grade—for basic outlines, quick thumbnail sketches, and practicing simple line work. However, standard writing pencils are formulated primarily for legibility and durability on cheap paper, meaning they lack the broad tonal range and smooth blending capabilities of dedicated artist-grade sketching pencils. As you progress to practicing value control, smooth shading, and deep contrasts, you will find the single HB grade highly limiting. Transitioning to a small set of dedicated B-grade sketching pencils will immediately improve your ability to create depth, texture, and realistic shadows in your artwork.
What is the best way to store and protect my drawing pencils?
Proper storage is essential to protect your pencils from physical damage and environmental wear, especially in a humid tropical climate. A roll-up canvas pencil case or a compartmentalized tin box is highly recommended, as these keep individual pencils separated and prevent them from rolling around and colliding with one another. Store your pencils in a cool, dry place inside your home to prevent the wooden casings from absorbing excess moisture, which can cause the wood to warp or the internal glue holding the core to degrade. Finally, always keep your sharpened pencils separated from your unsharpened ones, or use protective plastic caps on the sharpened tips, to prevent the exposed graphite from snapping or smudging the interior of your storage case.

Community discussion
Share your experience or ask a question. Comments are reviewed before publication.