
Helping a child learn to write their name is a major developmental milestone, marking their first step toward independent literacy and self-expression. While it is tempting to grab any colorful pad from the school supplies aisle, the right tracing notebook can make a significant difference in how quickly and comfortably a child develops this skill. Early writers are still building hand strength and fine motor coordination, meaning they require specific visual cues, appropriate line spacing, and durable materials to succeed.
In tropical climates like the Philippines, choosing the right stationery involves unique practical considerations. High humidity can soften cheap, thin paper fibers, making them highly susceptible to tearing under the heavy pressure of a toddler’s pencil or the friction of frequent erasing. By understanding how to evaluate paper weight, guideline designs, and notebook formats, you can select a high-quality tool that keeps practice sessions engaging, productive, and frustration-free.
Essential Design Features for Effective Name Tracing
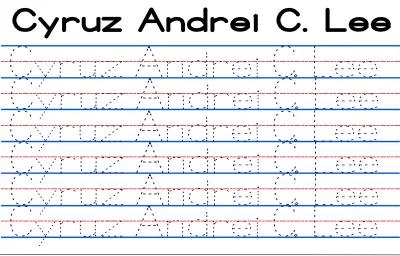
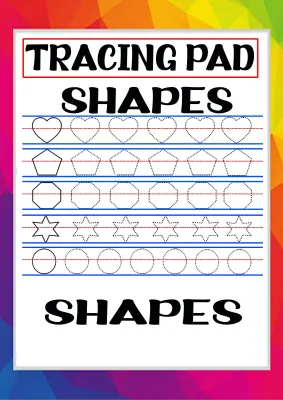
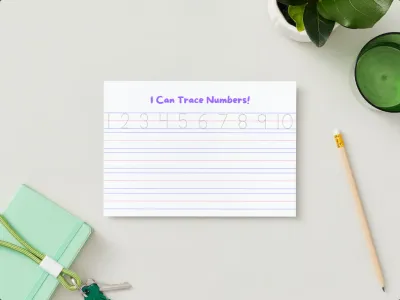
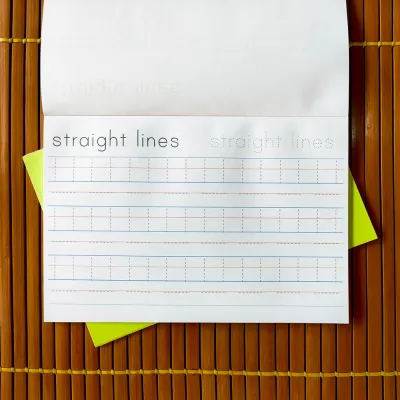
When evaluating tracing notebooks, the layout of the page is the most critical factor in guiding a child’s hand. Effective tracing books do not simply present blank lines; they use structured visual systems to teach spatial awareness. Look for pages that feature dotted midlines sandwiched between solid top and bottom lines. This classic three-line format helps children understand letter proportions, showing them exactly how high capital letters should reach and where lowercase letters like “a” or “m” should sit.
Products mentioned in this guide
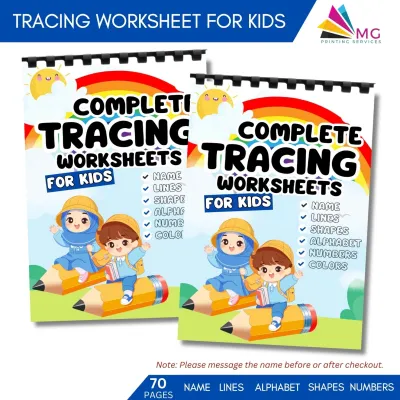
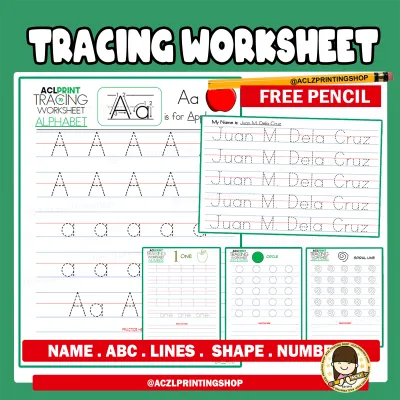
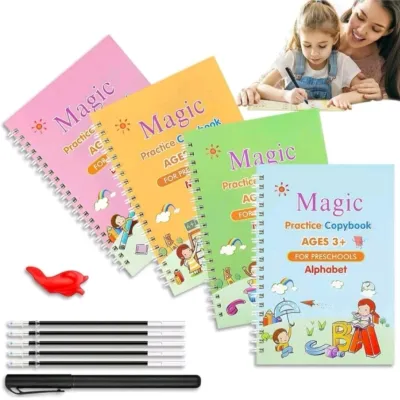
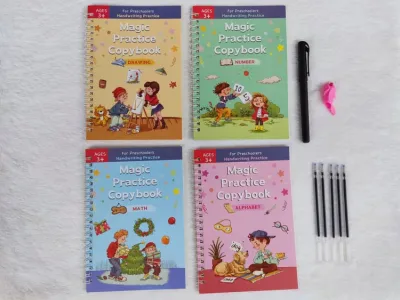
Prices are valid at publication and may change. Please refer to the product page for the latest price.
For beginners, directional arrows and numbered starting dots are invaluable. Children do not naturally know where to begin a stroke or which direction to pull their pencil. Visual cues that show a starting dot at the top of a letter, accompanied by a small arrow pointing downward, teach proper stroke order from day one. This prevents the development of inefficient writing habits, such as drawing letters from the bottom up, which can slow down their writing speed as they grow older.
The size of the guidelines must also match your child’s developmental stage. Early writers who are just transitioning from scribbling to letter formation need large guidelines, typically around one inch (25 mm) in height. This generous spacing accommodates their larger, less controlled arm and wrist movements. As their fine motor skills mature and their grip becomes more refined, they can gradually transition to medium guidelines of about half an inch (12 mm) before moving on to standard wide-ruled paper.
A well-designed notebook should also offer a clear visual progression. The best tracing books start with high-contrast dotted letters for direct tracing, progress to lighter gray outlines, transition to pages with only starting dots, and finally conclude with blank guidelines for independent writing. This gradual removal of visual support—known as scaffolding—builds confidence and ensures the child is actually learning the muscle memory of writing their name rather than just mindlessly following a dotted line.
Comparing Reusable and Traditional Tracing Notebook Formats
Parents today can choose between traditional paper notebooks and modern reusable formats, each offering distinct advantages depending on your child’s learning style and your household budget. Reusable tracing books typically feature laminated, wipe-clean pages or heavy-duty plastic pocket sleeves. These formats allow children to practice writing their names hundreds of times using dry-erase markers or specialized wet-erase crayons, making them highly cost-effective and environmentally friendly.

However, reusable formats have specific trade-offs, particularly in warm, humid environments. Laminated surfaces can sometimes become sticky or smudge easily if hands are warm, and dry-erase marker ink can dry out quickly if caps are left off during long practice sessions. More importantly, writing with a smooth marker on a glossy plastic surface offers very little physical resistance. While this is easy for tiny hands, it does not build the same hand strength and fine motor control as writing on paper.
Traditional paper notebooks, on the other hand, provide excellent tactile feedback. The natural friction between a graphite pencil or wax crayon and a textured sheet of paper helps children feel the strokes they are making, which is essential for developing muscle memory. Paper notebooks also serve as a wonderful physical archive of your child’s progress. Being able to flip back through the pages and see how their handwriting has improved over weeks and months is incredibly rewarding for both parents and children.
For a highly personalized and budget-friendly approach, customizable blank tracing books are an excellent alternative. Instead of buying a pre-printed book that may not feature your child’s specific name, you can purchase a blank wide-ruled notebook—often available for under ₱100 at local stationery stores—and hand-write their name using a light yellow or green highlighter. Your child can then trace directly over your hand-drawn letters with a pencil. This method allows you to customize the practice pages to focus on the exact letters your child finds most challenging.
How to Evaluate Paper Quality and Binding Durability
Before purchasing any tracing notebook, it is essential to inspect its physical construction to ensure it can withstand the enthusiastic, often heavy-handed writing style of a young child. The first specification to check is the paper weight, which is measured in grams per square meter (GSM). For tracing books, look for paper that is at least 80 GSM, though 100 GSM or higher is ideal. Thick paper prevents ink from markers or heavy wax crayons from bleeding through to the other side, allowing both sides of every page to be fully utilized.
In addition to weight, pay close attention to the paper’s texture and erasability. Children learning to write their names will inevitably make mistakes and need to erase frequently. High-quality, slightly textured paper can handle repeated erasing without thinning, pilling, or tearing. If you are shopping in a physical store, run your fingers over the page; it should feel sturdy and smooth but not glossy. You can also perform a quick, localized test in the corner of a page with a soft pencil to see how cleanly it erases without leaving deep grooves or dark smudges.
The binding of the notebook is just as important as the paper quality. For early writers, the notebook must lay completely flat on the table. Spiral-bound or wire-o notebooks are highly recommended because they can be folded back 360 degrees, allowing the book to sit flat even on small study desks. This design ensures that left-handed and right-handed children alike can write comfortably without their wrists bumping against a raised, stiff spine. Stitched or thread-bound books are also durable options that can lay flat with a bit of gentle training, whereas cheap glue-bound pads tend to lose pages easily or snap shut during use.
Finally, keep safety features in mind when selecting children’s stationery. Look for notebooks designed with rounded corners to prevent accidental paper cuts on delicate hands. If you choose a spiral-bound notebook, inspect the ends of the wire coil to ensure they are tucked inward and smoothly finished, preventing any sharp metal edges from scratching your child or snagging their clothing during practice.
Building a Custom Name Tracing Routine at Home
Selecting the perfect tracing notebook is only the first step; establishing a positive, consistent routine at home is what translates that tool into real progress. Start by pairing the notebook with the right writing instruments. For beginners, standard thin yellow pencils can be difficult to grip and can cause hand fatigue. Instead, opt for thick, jumbo-sized pencils or triangular-shaped crayons. These ergonomic shapes naturally guide little fingers into a comfortable tripod grip, reducing strain and making the writing experience much more enjoyable.
Keep practice sessions short, focused, and stress-free. A daily session of just five to ten minutes is far more effective than a single, grueling thirty-minute session once a week. Young children have short attention spans, and their hand muscles tire quickly. If you notice your child shaking their hand, pressing too hard, or becoming frustrated, it is time to close the notebook and try again tomorrow. The goal is to build confidence and positive associations with writing, not to turn it into a chore.
As your child becomes more comfortable tracing the dotted lines, encourage them to use the blank spaces or the reverse sides of the pages for unguided attempts. Let them try writing the first letter of their name independently, gradually adding the remaining letters as their confidence grows. Do not worry about perfect alignment or neatness in the beginning; celebrate their effort and the fact that they are attempting to write on their own.
While every child develops at their own pace, it is important to observe their progress mindfully. If your child shows persistent difficulty holding a writing tool, experiences physical pain or extreme fatigue after writing just one or two letters, or struggles to follow basic top-to-bottom stroke directions after several weeks of consistent, gentle practice, consider pausing the routine. In such cases, consulting an early childhood educator or a pediatric occupational therapist can provide you with tailored strategies to support their fine motor development.
Frequently Asked Questions (FAQ)
At what age should a child start tracing their name?
Most children are ready to begin basic name tracing between the ages of three and five, but readiness is determined by developmental milestones rather than a strict age number. Before introducing structured tracing, look for signs of fine motor readiness. Your child should be able to hold a thick crayon comfortably, make controlled scribbles, copy simple vertical and horizontal lines, and show an interest in letters. They should also be able to recognize the letters of their own name when they see them printed on a label or toy bin.
Can I use regular notebooks instead of specialized tracing books?
Yes, you can easily adapt standard wide-ruled notebooks or blank drawing pads for personalized name practice. A highly effective method is to write your child’s name in large, clear letters using a light yellow or pink highlighter, and then have them trace over your strokes with a soft pencil or a darker crayon. This custom approach is highly budget-friendly and allows you to adjust the size of the letters to match your child’s current grip control. However, keep in mind that standard school notebooks often feature thin paper (around 50 to 60 GSM) that may tear easily under heavy erasing or bleed when using markers.
What writing tools work best with tracing notebooks?
For traditional paper tracing notebooks, soft lead pencils (such as 2B or HB) are ideal because they leave a dark, clear line without requiring the child to press down with excessive force. Triangular-shaped crayons and jumbo colored pencils are also excellent for beginners as they naturally promote a proper finger grip. If your notebook features thick, high-quality paper (100 GSM or higher), washable, non-toxic markers can be a fun, high-contrast option that requires very little pressure to write. Always check product labels to ensure all writing tools are certified non-toxic and safe for young children.
Community discussion
Share your experience or ask a question. Comments are reviewed before publication.