
Finding the ideal 5D diamond painting set for school art projects or beginner crafting in the Philippines requires looking beyond flashy product photos. Since the quality of canvases, adhesives, and resin drills can vary significantly across online marketplaces, students and parents need a reliable framework to evaluate kits. This guide breaks down the essential features, difficulty levels, and accessory checks to help you build a shortlist of beginner-friendly sets that offer a smooth and frustration-free crafting experience. Selecting the right kit ensures that a student’s first experience with this mosaic-style craft is rewarding rather than tedious, resulting in a beautiful piece of art they can proudly display.
Understanding 5D Diamond Painting for Beginners
5D diamond painting is a popular, highly structured craft that combines the principles of paint-by-numbers with mosaic art. Instead of using paint, crafters apply tiny, sparkling resin facets—commonly referred to as “drills” or “diamonds”—onto a pre-printed, adhesive-coated canvas. The “5D” designation refers to the specific cut of these resin pieces. While standard 3D drills feature nine facets to reflect light, 5D drills are cut with fifteen or more facets. This increased facet count allows the drills to catch and reflect light from multiple angles, giving the finished artwork a brilliant, shimmering texture that mimics real gemstones.
The core workflow of diamond painting is exceptionally straightforward, making it highly accessible to beginners who may not have formal artistic training. Each canvas is printed with a detailed grid of symbols, with each symbol corresponding to a specific color of resin drill. To begin, the crafter peels back a portion of the protective plastic film covering the canvas to expose the sticky adhesive layer. Using a specialized applicator pen dipped in a small amount of sticky wax, the crafter picks up a single drill from a sorting tray and presses it onto its matching symbol on the canvas. This repetitive, color-matching process continues until the entire design is filled.
Products mentioned in this guide
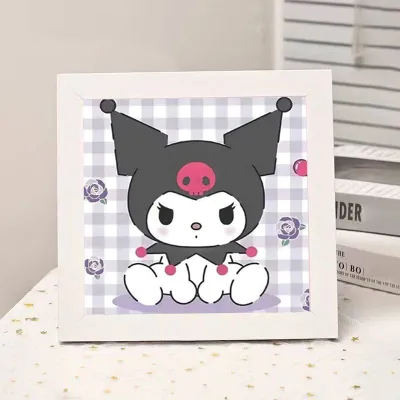
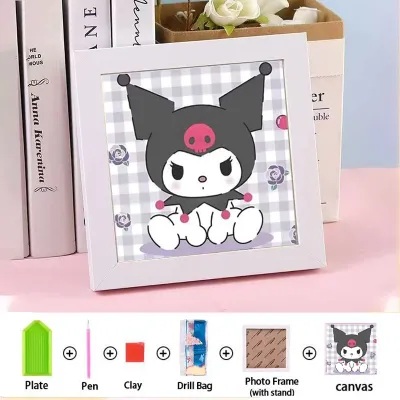
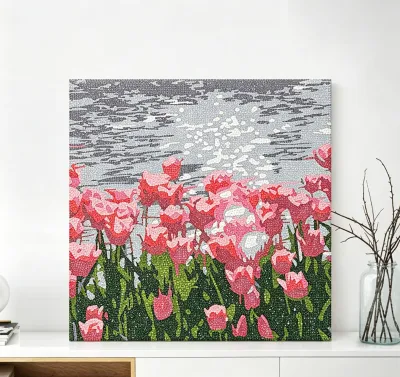

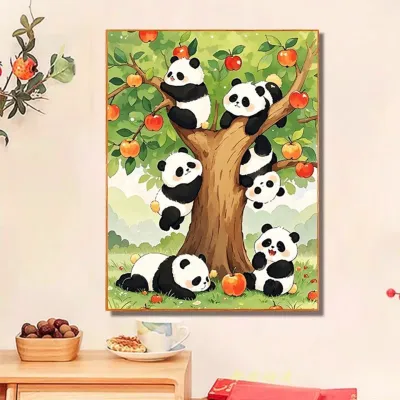
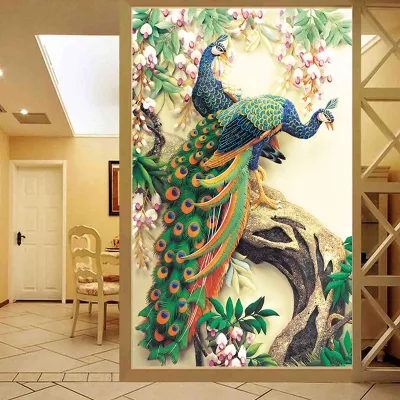

Prices are valid at publication and may change. Please refer to the product page for the latest price.
For students, this craft offers several developmental and educational benefits that extend beyond the creation of a beautiful art piece. The precise action of picking up tiny 2.5 mm drills and placing them onto exact coordinates helps refine fine motor skills and hand-eye coordination. It also reinforces cognitive skills such as color recognition, pattern matching, and spatial awareness as students navigate the symbol key. Furthermore, completing a diamond painting requires sustained focus and patience, providing a calming, screen-free activity that helps students practice mindfulness and goal-directed persistence in a relaxed setting.
Key Features to Look for in Student-Friendly Sets
The foundation of any successful diamond painting project is the canvas itself. When selecting a kit for a student or beginner, look for a heavy-duty, wrinkle-resistant fabric canvas rather than cheap, thin plastic sheets. High-quality canvases are designed to lay flat on a study desk almost immediately after being unrolled, without requiring hours of heavy books piled on top or excessive masking tape to hold down curling edges. A sturdy canvas also resists tearing, creasing, and warping when handled repeatedly during school art classes or transported in a backpack.

Adhesive quality is another critical factor, especially in the warm and humid climate of the Philippines. The adhesive layer must be strong enough to hold the resin drills securely in place for years, yet forgiving enough to allow for minor adjustments during placement. Look for kits that utilize a poured-glue adhesive layer rather than double-sided tape. Poured glue remains tacky for months, even when exposed to ambient humidity, and does not dry out easily if the protective film is left off for short periods. The adhesive should be covered by a clear protective film that allows the student to see the design underneath while keeping dust, pet hair, and lint off the sticky surface.
Print clarity is essential for reducing eye strain and preventing frustration during long crafting sessions. The symbols printed on the canvas must be sharp, high-contrast, and perfectly aligned with the grid. If the symbols are blurry, faded, or too similar to one another—such as a dark letter “B” next to a dark number “8”—the crafting process becomes physically tiring. Before starting, check that the symbol key on the side of the canvas is easy to read under standard indoor lighting, ensuring that students can work comfortably without needing specialized magnifying tools or constant guesswork.
Evaluating Difficulty Levels and Canvas Sizes
For absolute beginners and students working on school projects with tight deadlines, canvas size is the most important factor to consider. A small canvas, such as 15×15 cm or 20×20 cm, is ideal because it can be completed in a few hours or over a single weekend. These smaller sizes provide a quick sense of accomplishment and are easy to transport to and from school. Medium canvases, ranging from 30×30 cm to 30×40 cm, are better suited for holiday breaks or ongoing hobby crafting. Large canvases exceeding 40×50 cm should be avoided by beginners, as they require dozens of hours of labor and can easily become overwhelming.
Beyond physical size, the complexity of the design dictates the difficulty level of the kit. Beginners should look for designs featuring large “color blocks”—areas where a single color symbol is grouped together in a large cluster. This allows the crafter to place drills quickly and easily. Conversely, designs with “confetti”—where dozens of different colors are scattered individually in a small area—require constant tool switching and color sorting, which can frustrate a novice. Simple cartoon characters, basic geometric patterns, or bold, minimalist landscapes are excellent starting points for students.
Diamond painting kits are also categorized as either “partial drill” or “full drill.” In a partial drill kit, only certain elements of the design are covered with resin diamonds, while the background remains printed canvas. In a full drill kit, the entire canvas surface is covered in diamonds. While partial drill kits are faster to complete, full drill kits offer a much more cohesive, sparkling, and satisfying finished appearance. For students, a small full-drill kit strikes the perfect balance between manageable completion time and a premium-looking final art piece that looks complete and professional.
Essential Accessories and Tool Quality Checks
A standard diamond painting kit should include at least one basic applicator pen, which features a hollow metal tip designed to hold a small amount of pink wax or mounting putty. When pressed into the wax, the tip creates a sticky seal that easily picks up a resin drill from the tray and releases it when pressed onto the sticky canvas. For students who plan to work on their projects for more than an hour at a time, look for pens that include a soft foam ergonomic grip to prevent finger cramping. Some advanced kits also include multi-placer tips, which allow the user to pick up multiple drills at once for faster application on large color blocks.
The sorting tray is a simple but vital tool that organizes the drills for easy pickup. It features parallel grooves along the bottom; when you gently shake the tray horizontally, the resin drills naturally align themselves dome-side up in the grooves. Ensure the kit includes a sturdy, rigid plastic tray with a small spout or opening at one end. This design makes it easy to pour unused drills back into their storage bags without spilling them across the workspace. Flimsy, ultra-thin trays should be avoided as they can easily bend and scatter drills.
While not always included in basic kits, tweezers and plastic alignment tools are incredibly helpful for beginners. Tweezers are useful for picking up stray drills, correcting misaligned pieces, or peeling back stubborn protective film. A plastic correction tool, which looks like a flat spatula, can be pressed against a row of placed drills to push them into a perfectly straight line. Verifying whether these accessories are included, or purchasing a cheap supplementary tool kit, can significantly elevate the quality of the finished project and make the crafting process much smoother.
How to Build Your Shortlist on Online Marketplaces
When browsing popular e-commerce platforms in the Philippines, avoid generic searches like “craft kits.” Instead, use highly specific search terms such as “5D diamond painting kit full drill small” or “beginner diamond painting cartoon.” This filters out unrelated items and helps you find kits designed specifically for quick completion. You can also search for “diamond painting with frame” if the school project requires a finished display piece, as some kits come pre-mounted on a lightweight wooden canvas frame, saving you the trouble of finding a matching frame later.
Do not rely solely on the overall star rating or the seller’s promotional images, which are often digital mockups rather than photos of the actual finished product. Scroll down to the customer review section and look specifically for user-uploaded photos. Examine these photos to check the actual print clarity of the canvas, the vibrancy of the resin drill colors, and whether the drills are uniform in size or contain a lot of deformed, unusable pieces. Reviews written by parents or students often provide honest feedback on whether the kit was manageable for a beginner.
Prioritize established shops that specialize in art supplies or stationery rather than general merchandise sellers. Reliable sellers often provide clear communication channels and are responsive to inquiries about missing parts. Look for listings that explicitly state the package contents, including the canvas size, drill shape (round drills are generally easier for beginners to align than square drills), and the inclusion of a complete tool set. Checking the seller’s return policy or customer service rating can save you from frustration if a kit arrives with damaged packaging or missing color packets.
Setting Up and Maintaining Your Diamond Painting Workspace
Because diamond painting involves working with tiny symbols and small resin pieces, proper workspace setup is essential to prevent physical strain. Choose a flat, stable surface like a study desk or dining table. Ensure the area is well-lit; a bright desk lamp positioned directly over the canvas will make the symbols much easier to read and reduce eye strain. Encourage students to maintain good posture, taking regular breaks every 30 to 45 minutes to stretch their neck, shoulders, and back, as it is easy to lose track of time while focused on the canvas.
Keeping the workspace organized is key to preventing lost pieces and mixed colors. Standard kits often package drills in small, non-resealable plastic bags. Once opened, these bags can easily spill. To prevent this, use small, sealable plastic ziplock bags or a dedicated plastic bead organizer with individual compartments. Label each compartment or bag with the corresponding symbol or color code from the canvas key. This keeps the workspace tidy and ensures that drills do not get lost on the floor or mixed together, which can ruin the design.
Once the painting is complete, a few simple steps will preserve it for display. Press down firmly across the entire canvas using a rolling pin or a heavy book to ensure all drills are securely bonded to the adhesive. To protect the finished piece from dust, moisture, and the humid Philippine climate, consider applying a thin layer of specialized diamond painting sealer or water-based craft varnish. This seals the gaps between the drills and prevents them from popping off over time. The finished canvas can then be mounted in a standard picture frame, hung using a magnetic poster hanger, or submitted for school grading.
Frequently Asked Questions (FAQ)
Are 5D diamond painting sets safe for young students?
Yes, diamond painting is generally safe, but it requires careful consideration of the student’s age. The tiny resin drills (usually only 2.5 mm to 2.8 mm in size) present a significant choking hazard for toddlers and very young children. For students in early elementary school, adult supervision is highly recommended during both the crafting process and the cleanup phase to ensure drills are not swallowed or lost. Additionally, parents should check product specifications to ensure the adhesive and plastic materials are labeled as non-toxic and safe for prolonged skin contact.
What should I do if my kit is missing some diamond drills?
If you discover you are short on a specific color, first check the extra bags included in the kit, as manufacturers typically pack 20% to 30% extra drills to account for spills or deformed pieces. If a color is completely missing, contact the e-commerce seller immediately through the platform’s messaging system, providing a photo of the canvas key and the specific color code (often matching the standard DMC color chart). Keeping a record of the color codes is also useful because you can easily purchase inexpensive replacement drills from local craft shops or online specialty stores if the original seller is unresponsive.
Community discussion
Share your experience or ask a question. Comments are reviewed before publication.