
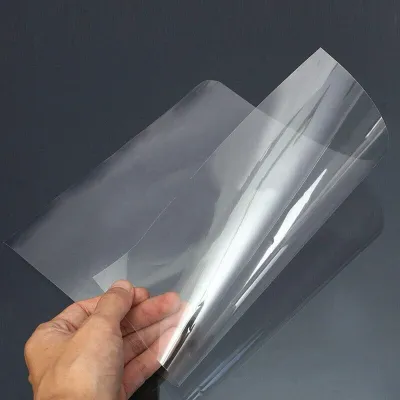
Choosing the right acetate plastic sheet thickness for pattern making depends on whether you need a flexible guide that drapes over a dress form or a rigid template that resists a rotary blade. For delicate garment drafting and curved draping, thin sheets ranging from 0.1 mm to 0.3 mm offer the necessary pliability. Conversely, heavy-duty quilting templates and straight-edge cutting guides require sturdier sheets between 0.5 mm and 1.0 mm to prevent warping and guide cutting tools safely. Matching the physical properties of the plastic to your specific sewing workflow ensures clean lines, accurate fabric cuts, and templates that last through repeated use.
Understanding How Thickness Affects Pattern Flexibility
The physical thickness of an acetate plastic sheet directly dictates how it behaves on your cutting table and how long it will endure in a busy sewing workspace. Thinner sheets bend easily, allowing you to wrap them around curved surfaces or pin them directly to a dress form to check the drape of a pattern. However, this high flexibility comes with a trade-off: thin sheets lack the structural integrity to guide heavy marking tools, as the edges can easily buckle or lift under pressure.
For flat pattern drafting, a thicker sheet provides the necessary edge stability. When you run a rotary cutter or a tracing wheel along the edge of a rigid acetate template, the material must resist shaving or nicking. If the plastic is too thin, the blade can easily climb over the edge, ruining both your pattern and your fabric.
Products mentioned in this guide

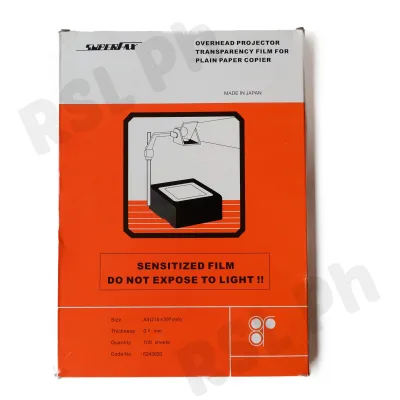
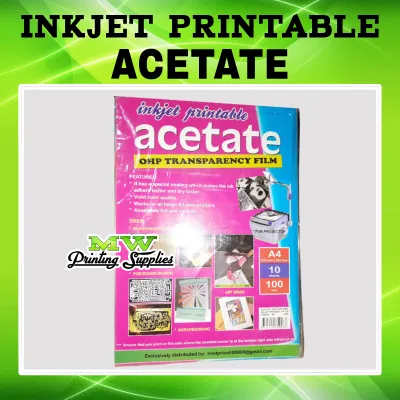
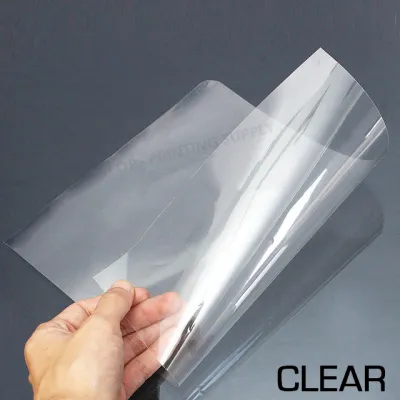
Prices are valid at publication and may change. Please refer to the product page for the latest price.
Because terms like “medium weight” or “heavy duty” vary wildly between brands, always check the manufacturer’s technical specifications for exact decimal measurements in millimeters or microns. In humid tropical environments, where paper patterns can absorb moisture and warp, a dimensionally stable acetate sheet of verified thickness provides a reliable, moisture-resistant alternative that maintains its shape year-round.
Matching Thickness to Your Specific Sewing Tasks
Selecting the ideal acetate plastic sheet requires matching the material’s stiffness to the physical demands of your project. Different sewing tasks subject the template to varying levels of bending, tool contact, and handling.

Drafting, Draping, and Flexible Patterns
When drafting complex garment blocks, sleeves, or necklines, you need a material that can easily conform to three-dimensional shapes. A thin acetate sheet with a low bend radius allows you to manipulate the pattern around body contours without creasing or cracking the plastic. This flexibility is essential for verifying how pattern pieces align on a dress form before cutting your fashion fabric.
Before committing to a thin sheet, test its material memory. High-quality acetate should return to a perfectly flat state after being rolled up for storage or bent during a fitting session. If the plastic retains a permanent curl, it will be difficult to lay flat on your fabric for tracing, which can lead to cutting inaccuracies. These flexible sheets are highly suited for tracing intricate, multi-curve garment blocks where visibility and ease of manipulation are paramount.
Quilting Templates and Rigid Cutting Guides
Quilting and repetitive block piecing demand absolute geometric precision, which only a rigid template can provide. For these tasks, choose a thicker acetate sheet that resists warping when pressed down onto the fabric. The material must be sturdy enough to withstand repeated passes of a rotary cutter without losing its shape or developing rough, jagged edges.
Smooth, burr-free edges are critical when working with delicate textiles. Any tiny nick or rough spot on the plastic edge can snag fine fabric threads, causing permanent damage to your material. Additionally, verify that the chosen thickness provides enough physical weight and substance to stay firmly in place under your hand or acrylic ruler, minimizing the risk of the template slipping mid-cut.
Evaluating Size, Transparency, and Surface Finish
Beyond thickness, several secondary specifications influence how easily you can work with acetate sheets on a daily basis. First, consider the overall dimensions of the sheet. Ensure the plastic fits comfortably on your standard cutting mats and aligns with your primary drafting rulers. Working with sheets that are too large for your workspace can lead to awkward handling and accidental creasing, while sheets that are too small will require taped seams, which can obscure your lines.
Transparency is another critical factor. High-clarity acetate allows you to see the underlying fabric grain, stripes, or patterns clearly. This visibility is indispensable for fussy cutting in quilting or matching fabric patterns across garment seams. If you cannot see the fabric details through the template, you lose one of the primary advantages of using plastic over traditional pattern paper.
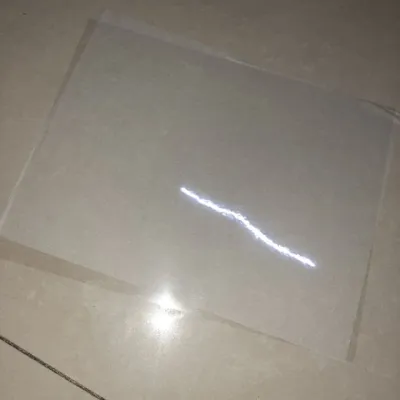
However, high transparency can sometimes cause glare under bright studio lights, leading to eye strain during long drafting sessions. To mitigate this, look for acetate sheets with an anti-glare or matte surface finish on at least one side. A matte finish not only diffuses harsh light but also provides a slightly textured surface that prevents rulers and marking tools from slipping while you trace.
Inspecting and Testing Your Acetate Sheets Before Use
Before starting a major pattern-making project, conduct a thorough physical inspection of your acetate sheets. Check the surface under good lighting for manufacturing defects such as air bubbles, deep scratches, or warped edges. These imperfections can distort your tracing lines or cause your cutting tools to veer off course.
Next, perform a marker compatibility test on a small scrap piece of the plastic. Because ink drying times, bleed resistance, and erasability depend on the specific combination of marker ink and plastic surface, write a few test lines using your preferred sewing pens or permanent markers. In warm, humid climates, some inks may take longer to dry or may smudge easily on non-porous surfaces. Verify how easily the ink can be wiped away if you plan to reuse the templates, or ensure it adheres permanently if you want to create a lasting pattern library.
If your project involves specialized template stacking or requires highly precise tolerances, use a pair of calipers to measure the thickness at several points across the sheet. Consistent thickness ensures that your templates stack evenly and that your cutting tools experience uniform resistance along every edge.
Frequently Asked Questions (FAQ)
Can I cut acetate plastic sheets with standard fabric scissors?
No, you should avoid using your high-quality fabric scissors to cut acetate plastic sheets. Cutting plastic with shears designed for textiles will quickly dull the blades and can misalign the pivot screw, ruining their ability to cut fabric cleanly. Instead, use dedicated craft scissors, heavy-duty utility shears, or a scoring tool and a metal ruler to snap the plastic along a clean line. Always check the manufacturer’s guidelines for the specific sheet thickness, as thicker sheets may require a specialized rotary cutter blade or a utility knife.
How do I remove permanent marker stains from my template?
To remove stubborn permanent marker ink from your acetate templates without damaging the plastic, try the dry-erase marker trick. Scribble directly over the permanent ink with a fresh dry-erase marker, wait a few seconds, and wipe it away with a soft cloth; the solvents in the dry-erase ink will often lift the permanent pigment. Alternatively, use a mild solvent like isopropyl alcohol on a cotton swab. Avoid using abrasive scrubbing pads, harsh chemical solvents, or acetone, as these can permanently cloud, scratch, or melt the acetate surface. Always test any cleaning agent on an inconspicuous corner of the sheet first.
Community discussion
Share your experience or ask a question. Comments are reviewed before publication.