
Selecting the right acrylic marker depends entirely on the porosity, texture, and intended durability of your target surface. There is no single universal marker for all crafts; instead, you must match the ink formulation, nib type, and curing requirements to materials like glass, fabric, or stone. This guide outlines the core specifications to check on product labels so you can confidently choose the right variant for your specific project. In tropical climates like the Philippines, where high humidity can affect drying times and paint adhesion, understanding these technical details is even more critical to prevent your hard work from peeling or smudging.
Understanding Acrylic Marker Ink and Tip Variations
To choose the right tool, you must first understand how acrylic markers are engineered. Unlike standard felt-tip pens, acrylic markers contain actual acrylic paint suspended in a water-based or solvent-based solution. The opacity of this ink determines how well it covers dark or transparent surfaces. High-opacity formulations contain a higher concentration of pigments, which is essential when you want a vibrant design on a dark rock or a clear glass bottle. Lower-opacity or translucent inks may require multiple coats, which can lead to clumping if the previous layer is not fully dry.
The nib, or tip, of the marker dictates both the detail level and how the pen interacts with different textures. Nibs are typically made of polyester, acrylic, or plastic. Fine and extra-fine plastic tips are excellent for detailed linework on smooth surfaces but will quickly clog or wear down on rough materials. Bullet and chisel tips made of durable polyester are better suited for rougher textures, as they can withstand abrasion without fraying. Brush tips offer flexibility for sweeping strokes, making them ideal for soft, flexible surfaces like fabric.
Products mentioned in this guide
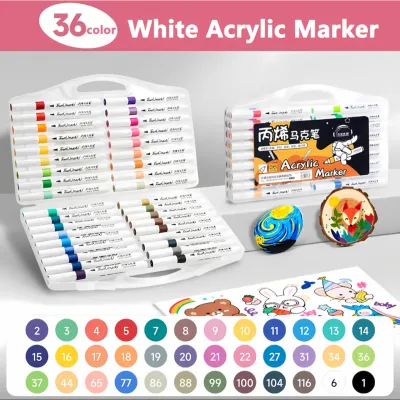
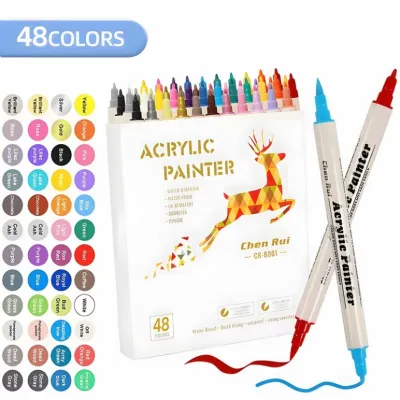
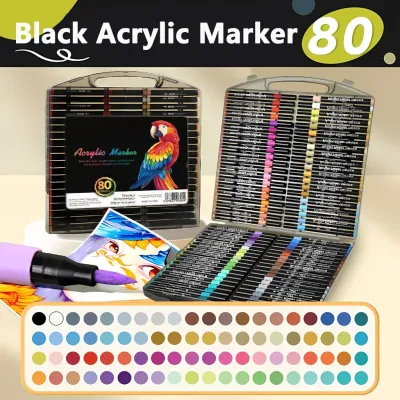
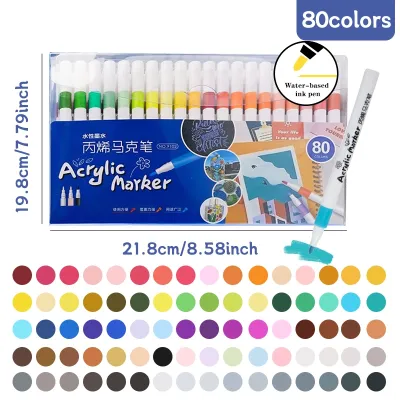
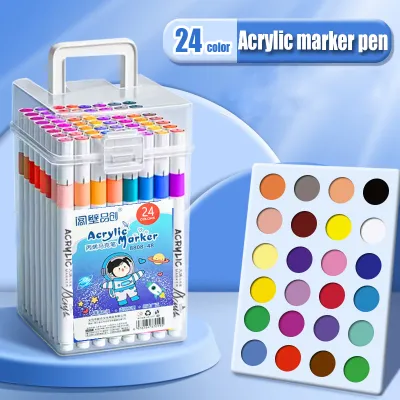

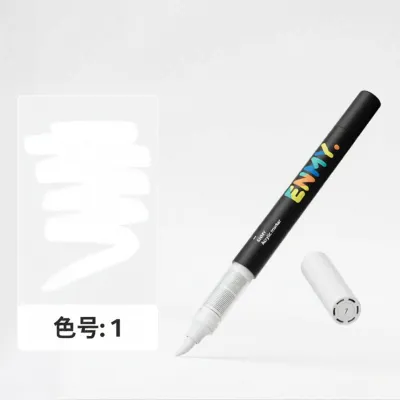
Prices are valid at publication and may change. Please refer to the product page for the latest price.
Another critical distinction is the ink delivery system. Capillary markers work like traditional markers, where ink flows naturally to the tip through gravity and capillary action. These are convenient and ready to use but may struggle with thick, highly pigmented acrylic paint. Valve-action markers, on the other hand, require shaking to mix the paint (often aided by an internal mixing ball) and pressing down on the nib to pump ink into the tip. This system allows for a much thicker, more opaque paint flow, though it requires careful control to prevent pooling or flooding on non-porous surfaces.
Matching Markers to Specific Craft Surfaces
Different craft materials interact with paint in distinct ways based on their physical properties. To streamline your selection process, group your target surfaces into two main categories: porous and non-porous. Porous materials, such as raw wood, terracotta, and fabric, absorb liquid quickly, which can cause ink to bleed or colors to appear dull. Non-porous materials, such as glass, glazed ceramics, and plastics, do not absorb ink at all, meaning the paint must adhere entirely to the surface, making it highly susceptible to scratching or peeling if not properly cured.

Each material category presents unique failure points that you must anticipate. On smooth, non-porous surfaces, the primary issue is poor adhesion, leading to peeling or scraping. On woven textiles, the main challenges are ink bleeding along the fibers and cracking once the fabric bends or is washed. On rough, abrasive stones, the physical friction can shred delicate marker tips within minutes, while the porous nature of the rock can swallow the paint, leaving a faded, uneven finish. Matching your marker’s specifications to these challenges is the key to a successful project.
Glass and Smooth Non-Porous Surfaces
When working on glass, glazed ceramics, or smooth plastics, you need an acrylic marker with high-opacity ink that can cling to a slick surface without pooling or running. Because glass is transparent, low-opacity inks will look washed out when light passes through them. Look for markers specifically labeled as highly opaque or multi-surface. Fine to medium nibs are generally preferred for glass projects, such as decorating jars or painting window panes, as they provide the precision needed to control the paint flow on a slippery surface where there is no natural friction to guide your hand.
Adhesion is temporary on glass unless the paint is properly cured. When browsing marker options, check the packaging for glass-compatibility claims and specific curing instructions. Many markers designed for glass and ceramics require a “bake-to-cure” process, where the finished piece is placed in a home oven at a specified temperature to bake the paint into a durable, water-resistant finish. If your project cannot be baked—such as a large window or a delicate plastic item—ensure the label indicates that the ink will cure to a water-resistant state through air-drying alone, though these air-dried designs will still require gentle hand-washing.
Fabric and Textiles
Painting on fabric, such as canvas tote bags, cotton t-shirts, or denim jackets, requires markers that can penetrate fibers without spreading uncontrollably. Standard acrylic paint can dry stiff and brittle, causing the design to crack and peel when the fabric moves. To prevent this, look for fabric-specific acrylic markers or multi-surface markers that explicitly list textiles on their packaging. These formulations contain flexible binders that allow the dried paint to stretch and bend along with the woven fibers, maintaining the integrity of your artwork over time.
The choice of nib is equally important when working on textiles. Fine plastic tips will catch on the weave of the fabric, causing splatters and uneven lines. Instead, opt for broader bullet tips or flexible brush tips, which glide smoothly over woven textures and allow you to press the ink deeper into the fibers for better saturation. Before washing your decorated fabric, verify the washability claims on the marker label. Most fabric-compatible acrylic inks require heat-setting—usually done by running a dry iron over the back of the painted area—to lock the pigment into the fibers and ensure it survives repeated laundry cycles.
Rocks, Stone, and Rough Porous Surfaces
Rocks, pebbles, and concrete surfaces are highly abrasive and porous, presenting a double challenge for crafters. To paint on these surfaces without ruining your tools, select markers equipped with sturdy, heavy-duty nibs. Chisel or broad bullet tips made of compressed acrylic or hard polyester are highly resistant to fraying on rough stone. Avoid delicate plastic or fine fiber tips, as the rough texture of the rock will quickly shred them, rendering the marker unusable long before the ink runs out.
Because stone is highly porous, it can absorb the liquid vehicle of the paint rapidly, leaving behind a dull, patchy layer of pigment. Valve-action markers are highly recommended here, as their high-flow delivery systems allow you to pump a generous amount of thick paint to fill the porous gaps. To save ink and achieve vibrant colors, consider applying a base coat or primer to the stone first. A simple layer of gesso or a flat outdoor acrylic primer seals the pores, creating a smooth, non-absorptive surface that allows your marker colors to pop with minimal effort.
Checking Product Labels and Preparation Requirements
Before purchasing any acrylic markers, establish a pre-purchase verification routine by carefully reading the product packaging. Manufacturers print critical compatibility charts, drying times, and safety warnings directly on the label or outer box. Look for explicit mentions of your intended surface, as well as icons indicating water resistance, lightfastness, and non-toxicity. If a marker does not list your specific surface, it is best to assume it will require extra preparation or a protective topcoat to achieve lasting results.
Proper surface preparation is just as important as choosing the right marker. For non-porous surfaces like glass, always clean the area thoroughly with rubbing alcohol to remove oils, dust, and fingerprints that can prevent paint adhesion. For rough surfaces like rocks, scrub away dirt and loose debris with water and a stiff brush, then allow them to dry completely. If you are working in a highly humid environment, such as during the rainy season in the Philippines, ensure your materials are completely dry before painting, as trapped moisture will severely compromise the paint’s bond and double the required drying time.
Finally, never overlook safety warnings and ventilation requirements. While many water-based acrylic markers are non-toxic and low-odor, some solvent-based or specialty formulations release strong fumes that require a well-ventilated workspace. Always work in an open area or near a fan, especially when applying primers or spray sealants. Keep markers capped tightly when not in use to prevent the tips from drying out prematurely in warm tropical climates, and store them horizontally to maintain an even distribution of pigment within the barrel.
Sealing and Curing for Long-Lasting Results
Once your design is complete, protecting it from wear, moisture, and UV exposure is the final step to ensuring longevity. Acrylic paint dries quickly to the touch, but drying is not the same as curing. Drying refers to the evaporation of water or solvents, while curing is the chemical process where the acrylic polymers fully bond and harden. Depending on the marker formulation and the surface, curing can take anywhere from a few hours to several weeks. Always refer to the label instructions to distinguish whether your project requires air-drying, heat-setting, or oven-baking.
Selecting the correct topcoat or sealant is vital to prevent your artwork from smudging or washing away. For glass and glazed ceramics that cannot be baked, a clear, water-resistant acrylic varnish or polyurethane sealer is recommended. For fabrics, applying a specialized fabric medium or heat-setting with an iron is usually sufficient to lock in the design without needing an external spray. When sealing rocks or outdoor crafts, look for a UV-resistant, waterproof clear coat to protect the pigments from fading under the intense tropical sun and peeling during heavy downpours.
Before applying any sealant over your finished piece, verify its compatibility with the acrylic ink. Some solvent-based spray sealers can react chemically with water-based acrylics, causing the paint to run, wrinkle, or dissolve entirely. To avoid ruining hours of work, perform an observable trial: paint a small test stroke on a scrap piece of the same material, let it dry and cure fully according to the marker’s instructions, and apply your chosen sealant. If the test area remains clear and intact without bleeding or bubbling, you can safely apply the topcoat to your final project.
Frequently Asked Questions (FAQ)
Can I use the same acrylic marker on both glass and fabric?
While many multi-surface acrylic markers claim they can be used on both glass and fabric, doing so involves significant trade-offs. General-purpose acrylic ink is formulated to dry to a semi-rigid state, which works well on rigid, non-porous surfaces like glass but will crack and peel when applied to flexible fabrics that stretch and bend. Furthermore, the curing methods conflict: glass requires baking or a hard varnish to resist scratching, while fabric requires heat-setting with an iron to bond with the fibers. For the best durability, it is highly recommended to use specialized formulas tailored to each material.
Why is my acrylic marker skipping on rocks?
If your marker is skipping or leaving patchy lines on rocks, it is usually due to nib wear, debris clogging, or high surface porosity. Rough stone surfaces act like sandpaper, quickly wearing down delicate nibs and clogging the fibers with fine stone dust, which blocks the ink flow. Additionally, untreated rocks absorb the liquid paint so fast that the marker cannot feed ink quickly enough to keep up. To resolve this, gently wipe the nib clean on a damp cloth, pump the marker to restore ink flow, and always apply a primer or base coat to seal the rock’s pores before drawing.
Community discussion
Share your experience or ask a question. Comments are reviewed before publication.