
Choosing the right acrylic marker depends on matching the nib size to your design’s detail level and selecting an ink formulation compatible with your target surface. Whether you are customizing a canvas tote, painting terracotta pots for a tropical garden, or detailing a glass jar, understanding how surface porosity and tip dimensions interact ensures vibrant, long-lasting results. By evaluating these factors before purchasing, you can avoid common issues like ink bleeding, clogged tips, or premature peeling.
Quick Diagnostic: Matching Acrylic Markers to Your Project
Before browsing online marketplaces or visiting a local art supply store, a quick self-assessment can save you time and prevent purchasing the wrong tools. Start by defining the physical scale of your project, the level of detail required, and where the finished piece will be displayed. A small, highly detailed illustration on a smooth coaster requires a completely different marker setup than a bold, outdoor wooden sign exposed to tropical weather.
Next, identify the porosity of your target material. Porous surfaces absorb ink and create a strong mechanical bond, whereas non-porous surfaces hold the paint on top, requiring excellent chemical adhesion and often a protective topcoat.
Products mentioned in this guide
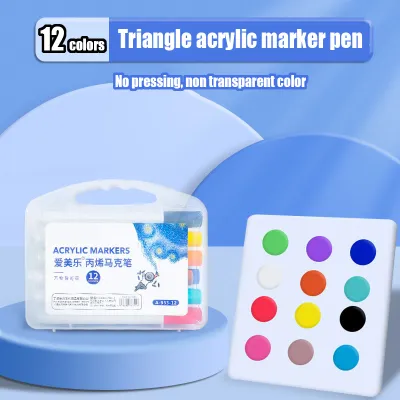
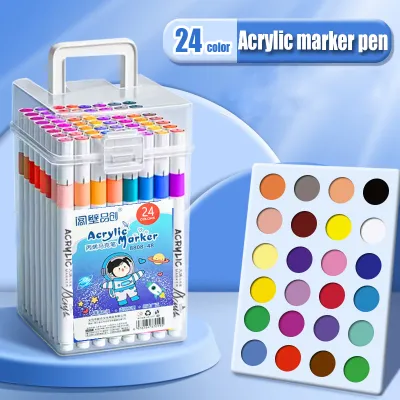
Prices are valid at publication and may change. Please refer to the product page for the latest price.
Finally, decide if your project calls for a single, versatile marker or a specialized set. If you are a beginner, a medium bullet tip offers the most flexibility across various tasks, while advanced crafters may want to invest in specialized brush or chisel tips for specific artistic effects.
Step 1: Assess Your Target Surface
The material you choose to paint on dictates how the acrylic ink behaves as it dries. Porous surfaces, such as paper, canvas, cardboard, and untreated wood, draw the liquid ink deep into their fibers. This absorption creates a highly durable bond, making the paint exceptionally permanent once dry. However, highly porous materials can also cause the ink to bleed along the fibers, which can soften sharp lines and require multiple coats to achieve full color saturation.

Non-porous surfaces, including glass, glazed ceramics, plastics, and metals, do not absorb any liquid. The acrylic paint rests entirely on top of the material, relying on surface tension and chemical binders to stay in place. Because there is no physical penetration, dried paint on non-porous surfaces is highly susceptible to scratching, scraping, or peeling. To ensure durability, these materials often require specific curing steps, such as baking glazed ceramics in a home oven or applying a clear, weather-resistant acrylic sealant.
When selecting your markers, always check the manufacturer’s label or product description for explicit surface compatibility. Some formulations are optimized for multi-surface use, while others are tailored specifically for paper or textiles.
In the humid tropical climate of the Philippines, moisture in the air can significantly prolong drying and curing times. A paint layer that dries in minutes in an air-conditioned room may remain tacky for hours in a humid outdoor workshop.
To prevent ruined projects, always perform a small, hidden test patch on your actual material before starting. Apply a single stroke of the marker, let it dry completely under your local environmental conditions, and check for bleeding, color shifting, or easy scratching. This simple trial ensures the ink adheres correctly and behaves as expected.
Step 2: Determine the Ideal Tip Size and Shape
The nib of an acrylic marker determines both the precision of your lines and the speed at which you can cover a surface. Selecting the wrong size can lead to frustration, such as trying to fill a large background with a needle-thin point or attempting fine lettering with a chunky chisel tip.
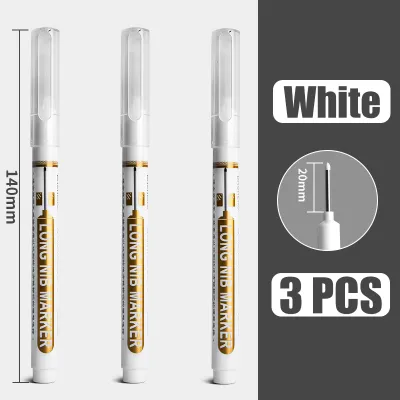
Fine and extra-fine tips, typically ranging from 0.7mm to 1mm, are designed for intricate line work, detailed illustrations, outlining, and precise lettering. These tips allow for high control but can easily clog if used on rough, fibrous surfaces like unsanded wood, which can fray the delicate synthetic fibers of the nib.
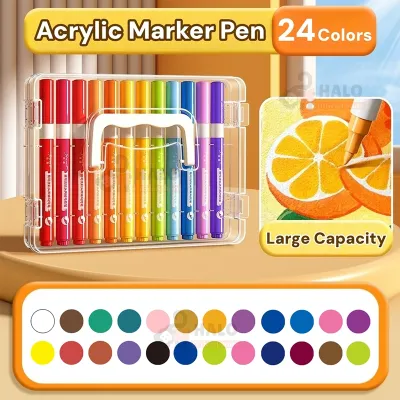
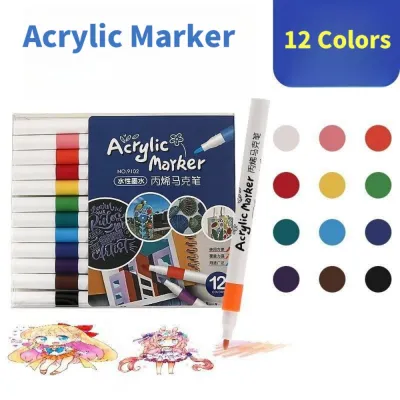
Medium tips, usually measuring between 2mm and 4mm, are the most versatile option for general crafting. They offer a balance between detail and coverage, making them ideal for bold outlines, coloring medium-sized shapes, and general crafting. Broad and chisel tips, ranging from 8mm up to 15mm, are reserved for filling large background areas, creating wide poster lettering, or working on large-scale murals.
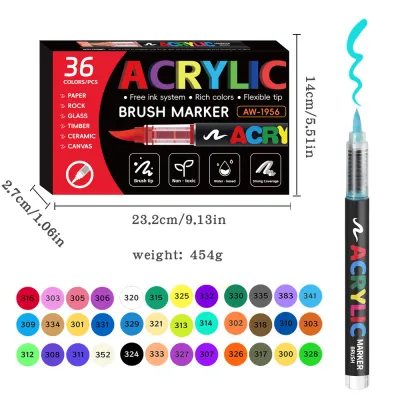
Brush tips feature a flexible, tapered nib that responds to pressure, allowing you to transition smoothly from thin lines to thick strokes. This flexibility makes brush tips excellent for modern calligraphy, organic illustrations, and painting curved or uneven surfaces.
Most high-quality acrylic markers utilize a valve-action system to regulate ink flow. Before your first use, or if the marker has been sitting idle, you must prime the nib. This involves shaking the capped marker thoroughly to mix the pigment and binder, then gently pressing the tip down repeatedly on a scrap piece of paper until the ink visibly saturates the nib.
Step 3: Evaluate Ink Opacity and Finish Requirements
Acrylic marker inks vary widely in their opacity, which refers to how well the paint hides the surface underneath. High-opacity markers contain a dense concentration of pigments, allowing them to cover dark or highly textured backgrounds completely in a single coat.
If you are working on dark cardstock, black plastic, or deep-toned wood, look for markers explicitly labeled as highly opaque or pigmented. Standard or translucent inks will sink into dark backgrounds, appearing dull, muddy, or nearly invisible once dry.
For layering techniques, blending, or working on bright white paper, standard opacity markers are highly effective. They allow you to build up gradients and soft transitions by layering lighter colors over darker ones, or vice versa, before the paint fully cures.
The final appearance of the dried paint is another critical choice. Most standard acrylic markers dry to a clean, velvety matte finish, which is excellent for scanning artwork or achieving a modern, flat look.
If you prefer a shiny, reflective surface, look for gloss-finish markers, or plan to apply a glossy clear coat over your finished piece. Metallic finishes, such as gold, silver, and bronze, contain fine reflective particles that add a shimmering effect, perfect for holiday decorations, personalized gifts, or accent lines.
Step 4: Build Your Marker Shortlist and Verify Specifications
With your surface type, tip size, and finish preferences defined, you can create a simple requirement matrix to guide your purchase. This matrix helps you filter through the vast array of options available on online marketplaces or at local art supply stores in the Philippines.
If your crafting projects involve children, or if you plan to use the markers for extended periods in enclosed spaces, prioritize safety by checking the packaging for non-toxic certifications. Look for standard safety labels, such as AP (Approved Product) non-toxic seals, which indicate the formulation is safe for studio and classroom use.
Consider the long-term value and environmental impact of your purchase by checking if the markers are refillable or if replacement nibs are available. Being able to swap out a frayed nib or top up the ink reservoir can save you from buying an entirely new marker set when only one color runs dry.
Proper storage is essential to maximize the lifespan of your acrylic paint pens. Always store your markers horizontally when not in use; this prevents the heavy paint pigments from settling entirely at the bottom of the barrel or clogging the valve mechanism in the tip. Ensure the caps click tightly into place to prevent the acrylic binder from drying out.
Frequently Asked Questions (FAQ)
Can I use acrylic markers on fabric, and will they survive washing?
Yes, acrylic markers can be used on many fabrics, but their washability depends heavily on the ink formulation and proper post-treatment. Always check the manufacturer’s label to verify if the ink is suitable for textiles.
To make the design permanent and wash-resistant, you must heat-set the paint once it is completely dry. This is typically done by ironing the reverse side of the fabric on a medium, dry setting for several minutes without steam.
Before wearing or washing your finished garment, perform a test wash on a scrap piece of the same fabric. Wash it inside out in cold water on a gentle cycle to observe if any fading, cracking, or bleeding occurs.
How do I fix an acrylic marker that seems dried out or won't flow?
If your marker stops flowing, it is often due to settled pigment or a dry nib rather than a completely empty barrel. Start by reviewing the priming instructions: cap the marker tightly, shake it vigorously for at least thirty seconds, and gently pump the nib on a scrap piece of paper to reactivate the valve.
If the nib itself has dried paint crusting on the outside, you can carefully remove the nib and rinse it under warm water to dissolve the dried acrylic. Dry the nib thoroughly with a paper towel before reinserting it and priming the marker again.
If the acrylic paint inside the main barrel has fully cured due to a loose cap or prolonged exposure to air, the marker cannot be revived. In this case, stop using the marker to avoid damaging your project surface and replace it with a fresh pen.
Community discussion
Share your experience or ask a question. Comments are reviewed before publication.