
Selecting the ideal alphabet letters trace book requires matching the workbook’s design to your child’s physical development and coordination. Rather than choosing a book based solely on colorful covers, the decision should rest on line thickness, paper durability, and the progression of writing guides. A child who is just learning to hold a crayon needs a completely different layout than a preschooler preparing for kindergarten. By aligning the book’s structural features with your child’s current fine motor skills, you can foster a frustration-free learning experience that builds genuine confidence.
Assess Your Child's Current Fine Motor and Tracing Skills
Before purchasing any tracing material, take a few days to observe how your child interacts with writing tools during unstructured play. Watch their pencil grip when they color or draw at their small study table. Younger children typically start with a fisted grasp, using their whole hand to hold a crayon, which limits their control to large shoulder and elbow movements. As hand muscles mature, they transition to a five-finger grasp and eventually a mature three-finger tripod grip.
Next, evaluate their ability to control lines and shapes. Draw a few straight lines, gentle curves, and circles on a blank sheet of paper and ask your child to trace over them. Note whether they can follow the path consistently or if their lines wobble significantly. If they can easily trace a circle without drifting off course, they possess the spatial awareness and hand-eye coordination needed for complex letterforms like “B” or “S”.
Products mentioned in this guide
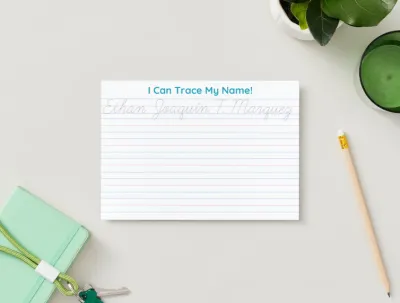
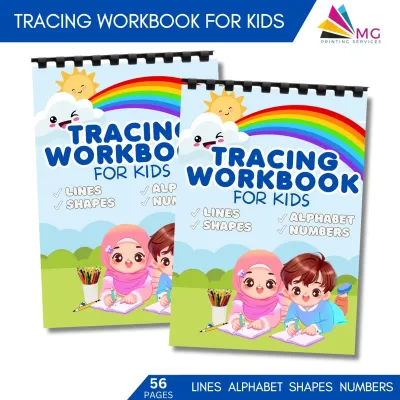
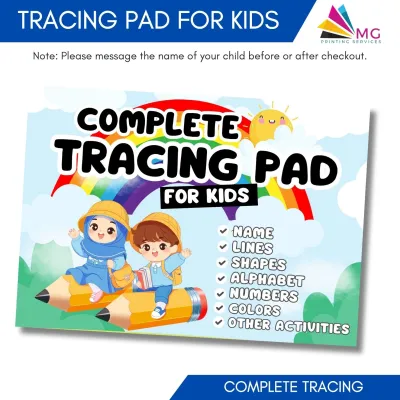
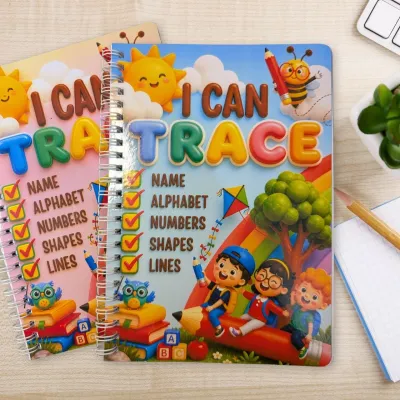
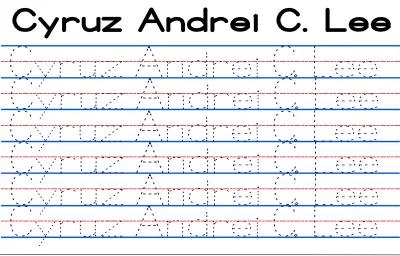
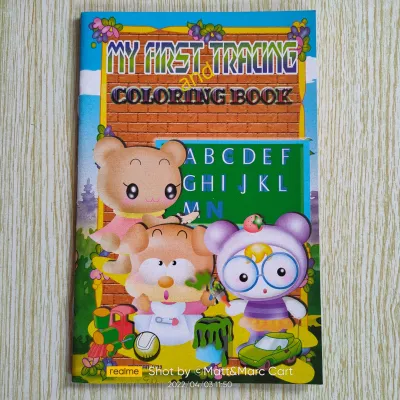
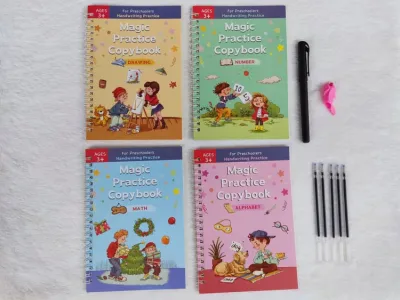
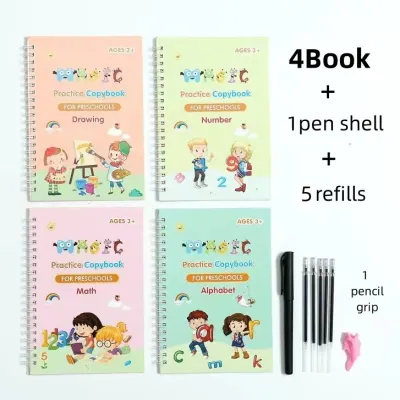
Prices are valid at publication and may change. Please refer to the product page for the latest price.
Finally, pay close attention to physical cues of fatigue and frustration. In warm, humid tropical climates, sweaty palms can cause pencils to slip, forcing children to grip harder and tire out quickly. If you notice your child shaking their hand, pressing down with extreme force, or losing focus after just a few minutes, the workbook’s difficulty level may be too high. Adjusting your expectations and choosing a book with larger, more forgiving tracing paths will prevent burnout.
Match Book Features to Developmental Stages
An effective alphabet letters trace book acts as a scaffold, offering maximum support at the beginning and gradually removing guides as your child’s skills develop. The layout, line spacing, and visual cues must evolve alongside their fine motor control. Understanding this progression helps you select a book that challenges your child without causing unnecessary struggle.

Toddlers and Pre-Writers (Early Exposure)
For toddlers and very young learners, the primary goal is developing basic hand-eye coordination rather than perfect letter formation. Look for books that feature exceptionally thick, bold tracing lines and oversized letters that fill most of the page. These large tracing areas accommodate the broad, sweeping hand movements typical of early writers. The tracing paths should be simple and continuous, avoiding complex directional changes.
Paper durability is incredibly important at this stage. Young children often apply intense, uneven pressure and may erase the same spot repeatedly, which easily shreds thin paper. Opt for workbooks with heavy-duty, thick paper pages that can withstand enthusiastic coloring and heavy erasing. Additionally, choose books that dedicate an entire page to a single letter, accompanied by a single, clear illustration to minimize visual clutter.
Preschoolers and Kindergarteners (Skill Building)
As children prepare for formal schooling, they need to transition from freeform tracing to structured letter sizing and alignment. For this stage, select books that feature standard primary ruling, which consists of solid top and bottom lines with a dotted midline. This layout teaches children where capital and lowercase letters should sit. Clear directional arrows and numbered starting dots are also essential, as they guide the child through the correct stroke order.
The workbook should offer a clear learning progression on every page. A well-designed layout starts with fully guided tracing letters, transitions to semi-guided letters with only starting dots, and ends with a blank lined section for independent practice. Ensure the paper surface is smooth and thick enough to handle standard beginner graphite pencils or washable markers without excessive bleed-through.
Evaluate Paper Quality, Binding, and Safety for Young Learners
The physical construction of a tracing book directly impacts how comfortable and successful your child will be during practice. High-quality paper is a necessity, not a luxury. Look for workbooks featuring paper with a slight texture or “tooth,” which provides helpful tactile feedback to graphite pencils, helping children control their strokes. While a budget-friendly workbook might cost around ₱50 to ₱100, investing ₱150 to ₱300 in a high-quality workbook with thicker paper prevents frustration. In humid environments, low-grade paper tends to absorb moisture from the air, making it soft and highly susceptible to tearing during erasing.
Binding is another critical factor that parents often overlook. Standard perfect-bound books with glued spines tend to snap shut automatically, forcing the child to use one hand constantly to hold the book open. This is particularly frustrating for young writers who need to cross the center gutter of the page. Spiral-bound books or lay-flat designs are highly superior for writing practice, as they lie completely flat on the desk, allowing your child to focus both hands on writing.
Safety should always be verified when selecting stationery for young children. Ensure the workbook is printed using non-toxic, child-safe inks, especially since young learners frequently touch their faces or mouths during study time. Check the physical edges of the book as well; workbooks designed with rounded corners are much safer, as they prevent painful paper cuts on delicate fingers during eager page-turning.
Create a Practice Routine and Track Progress
Introducing an alphabet letters trace book should be a positive, low-pressure addition to your child’s daily routine. Keep practice sessions short and highly consistent, aiming for just five to ten minutes a day. This brief window aligns perfectly with a young child’s natural attention span and prevents physical hand fatigue. It is far better to complete one high-quality line of letters daily than to force a frustrated child to complete five pages in a single, stressful sitting.
To maximize your investment and allow for endless repetition, consider using clear dry-erase pockets or reusable plastic sleeves. You can slide the workbook pages inside these sleeves, allowing your child to practice their strokes using colorful dry-erase markers. Once they master the stroke flow on the plastic surface, they can write directly on the paper page with a pencil as a final milestone. This method is especially useful for families with multiple children, as it keeps the original book clean.
Regularly monitor your child’s progress by looking back at their earliest attempts. Compare the line stability, letter sizing, and stroke consistency from a month ago to their current work. When you observe that your child can write letters with consistent spacing and correct stroke order without looking at the guide arrows or starting dots, they are ready to transition. At this point, you can confidently graduate them to a more advanced workbook or a simple pad of primary lined paper.
Frequently Asked Questions (FAQ)
Can I use regular markers in a standard alphabet letters trace book?
Whether you can use regular markers depends entirely on the paper weight and coating of the workbook. Standard tracing books with thin, lightweight paper will experience significant ink bleed-through and feathering, which can ruin the exercises on the opposite side of the page. If the book features thick, premium paper or a light protective coating, it can handle washable markers easily.
To avoid ruining the book, always perform a small test stroke on an unused back page or margin. If you notice the ink spreading or showing through the other side, stick to colored pencils, wax crayons, or specialized low-bleed writing tools for everyday practice.
When should my child move from tracing to independent writing?
Your child is ready to transition to independent writing when they demonstrate consistent control over their pencil and can form letters from memory. Watch for observable signs, such as the ability to write a letter smoothly without relying on the dotted guide lines or starting dots. If they can maintain uniform letter sizing and keep their writing relatively straight on a page with only a single baseline, they have developed the necessary muscle memory. You can then introduce blank primary writing pads to encourage freeform writing.
Community discussion
Share your experience or ask a question. Comments are reviewed before publication.