
Selecting the right bracelet maker is the first step toward a rewarding crafting hobby. For beginners starting at home, the ideal choice is not the largest or most expensive kit on the shelf, but the one that aligns directly with the specific style of bracelet you want to create. A mismatched kit leads to immediate frustration, whereas the right tool simplifies the learning curve and ensures early success.
In the Philippines, where crafting is a popular way to spend rainy afternoons or create personalized gifts for friends, choosing durable materials is essential. High tropical humidity can affect how natural fibers behave and how metal components age, making your choice of both the tool and the accompanying materials highly consequential. By understanding the core differences between weaving, looming, and braiding, you can select a kit that provides lasting value and fits your creative goals.
Identify Your Bracelet Style Before Buying
The term “bracelet maker” does not refer to a single, universal device. Instead, it encompasses a wide range of specialized tools designed for entirely different crafting techniques. Before spending your budget, you must decide which aesthetic appeals to you most, as this choice dictates the primary tool you will need.
Products mentioned in this guide
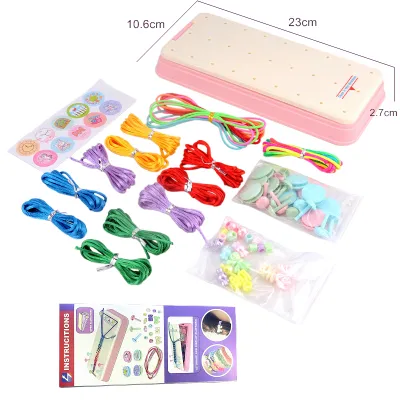
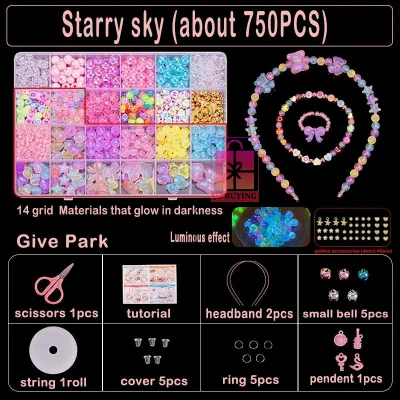
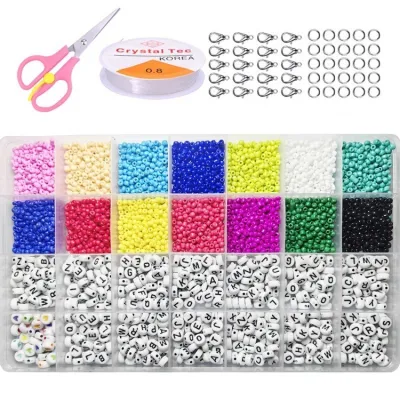
![[Free Gift] 5000 Pcs beads for bracelet making set beads set kit with tools diy bracelet kit set beads accessories kit set with lock beads set kit complete bravelet making set](https://img.lazcdn.com/g/p/924b5012c03ea19460b1c189336c0dd0.jpg_400x400q80.jpg_.webp)
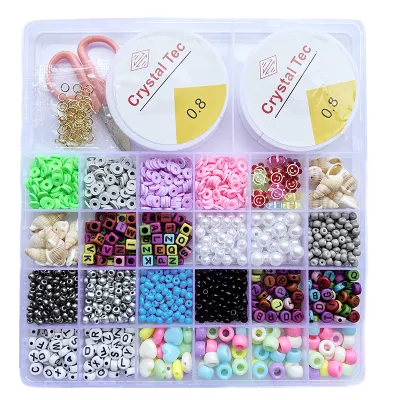
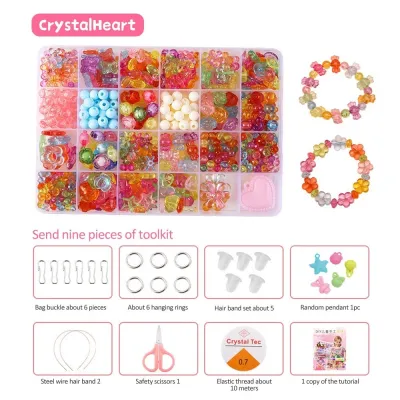
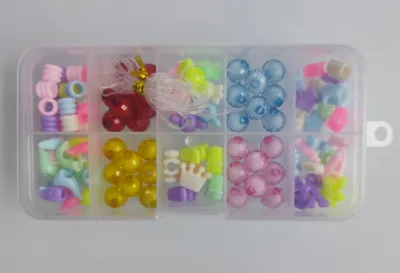
Prices are valid at publication and may change. Please refer to the product page for the latest price.
If you picture classic, flat, patterned thread designs—often shared as friendship bracelets during school events or music concerts—your primary tool will be a knotting board or a slotted foam organizer. These tools keep multiple embroidery threads organized and under consistent tension while you tie manual knots, preventing the threads from tangling as you work.
If you prefer intricate, geometric, pixel-art style designs made of tiny, uniform glass beads, you will need a bead loom. This tool holds parallel warp threads tightly so you can weave rows of beads across them using a needle and thread. It requires patience and fine motor skills but produces highly detailed, professional-looking bands.
If you are drawn to thick, rounded, or hollow corded bracelets that can hold heavy charms, a Kumihimo braiding disk is the appropriate choice. This circular or square foam tool allows you to braid thick cords, yarns, or satin ribbons in systematic patterns. Aligning your purchase with one of these specific styles prevents the common mistake of buying a tool that cannot produce the look you actually want to wear.
Key Features to Evaluate in a Beginner Kit
When shopping for a beginner kit, it is easy to be distracted by colorful packaging and high piece counts. To ensure you get a tool that is functional and durable, evaluate the following technical features before making your purchase.

Tool Build and Stability
A stable foundation is critical for maintaining even tension throughout your project. Flimsy plastic frames or lightweight boards that slide across your table make it difficult to keep your knots or beads aligned. Look for kits that feature weighted bases, non-slip rubber feet, or sturdy wooden construction that remains stationary while you work.
Material Compatibility and Sizing
A common point of failure in cheap kits is a mismatch between the provided components. The bead holes must be large enough for the needle and thread to pass through multiple times, especially in loom weaving. Additionally, the loom or board must be wide and long enough to accommodate standard wrist sizes, typically ranging from 14 to 18 centimeters, without requiring complex modifications.
Instruction Quality
Since you are starting from scratch, clear instructions are your most valuable asset. A good kit should include highly detailed, step-by-step visual diagrams that illustrate how to start, secure, and finish a bracelet. Many modern kits also provide QR codes linking to official video tutorials, which are incredibly helpful for visual learners struggling with complex knotting patterns.
Replacement and Expansion Potential
Your first kit should not lock you into a proprietary system. Ensure the tool can accept standard, widely available materials that you can easily purchase from local craft stores or online platforms. If a kit requires custom-sized refill cartridges or unique thread spools that are difficult to find, the tool will become useless once the initial supplies run out.
Tropical Durability
In a humid climate, metal parts can corrode, and cheap adhesives can fail. Opt for plastic, high-density foam, or sealed wooden tools. Ensure any included metal findings, such as clasps and jump rings, are made of stainless steel or brass to resist tarnish from sweat and moisture. Nylon or polyester threads are also preferable to cheap cotton, as they resist rot and maintain tension better in humid conditions.
Recommended Bracelet Maker Categories by Project Type
To help you choose, let us look closely at the three main types of beginner-friendly bracelet makers, examining what they do best and where they fall short. Basic kits typically range from ₱300 to ₱800, while comprehensive, high-quality kits can cost between ₱1,000 and ₱2,500.
Friendship Bracelet Makers for Woven Bands
These tools typically consist of a hard plastic clipping board, a slotted foam board, or a mechanical wheel with rotating pegs. They are designed to hold embroidery floss or thin nylon threads secure while you execute forward and backward knots.
- Best for: This category is ideal for beginners who want to create classic flat bands, chevron patterns, or name bracelets. The clipping mechanism replaces the old-fashioned method of taping threads to a desk, allowing you to take your project anywhere and work on it during commutes or breaks.
- Limitations: These makers are generally optimized for standard six-strand embroidery floss. If you wish to use thicker paracord or delicate bead strings, the clips or slots may not hold them securely. Mechanical dial-based makers, while fun, often limit you to a few pre-set patterns and can jam if the thread tension is uneven.
Bead Loom Kits for Seed Bead Patterns
A bead loom is a frame—usually made of wood, metal, or rigid plastic—with a series of coils or notches at each end. These notches hold the warp threads parallel and taut, creating a grid where you can weave tiny glass seed beads.
- Best for: This setup is perfect for crafters who love detailed, geometric, or ethnic-inspired patterns. It allows you to create highly professional-looking, wide bands that resemble fabric woven with beads.
- Limitations: Working with a bead loom requires excellent lighting, steady hands, and a high degree of patience. Setting up the warp threads (warping the loom) can be confusing for absolute beginners. Furthermore, if a single warp thread snaps due to excessive tension, the entire project can unravel quickly.
Kumihimo Braiding Disks for Corded Designs
Originating from traditional Japanese braiding, Kumihimo disks are thick, lightweight foam wheels with numbered slots around the perimeter. By moving strands of cord across the disk in a specific sequence, you create a dense, braided rope.
- Best for: This tool is excellent for making sturdy, round, or flat braided cords using thicker materials like rattail satin cord, embroidery floss, or wool yarn. It is highly forgiving, portable, and allows you to easily slide large-hole beads or charms into the braid as you work.
- Limitations: The resulting bracelets are naturally bulkier and less delicate than those made on a bead loom or a friendship bracelet board. Because the process consumes a large volume of cord, you will need to purchase separate bobbins to keep your long strands from tangling while you braid.
Common Beginner Mistakes to Avoid When Shopping
Avoiding common pitfalls when choosing your first kit will save you money and keep your crafting experience enjoyable. Keep these guidelines in mind as you browse your options.
- Buying "Mega Kits" with Poor Quality Tools: It is tempting to buy a massive plastic suitcase filled with thousands of colorful beads and multiple tools for a low price. However, these kits often contain irregular beads with blocked holes, weak threads that snap under minimal tension, and flimsy plastic tools that bend during use. Investing in a smaller, focused kit with a sturdy, single-purpose tool and high-quality materials is a much better decision.
- Ignoring Thread and Bead Compatibility: Many beginners purchase a loom kit only to find that the included needles are too thick to pass through the holes of the included seed beads. Always verify the specifications: for standard size 11/0 seed beads (approx. 2mm), you generally need a very fine size 10 or 12 beading needle and a thin, strong thread like nylon size D or 0.15mm monofilament.
- Overlooking Workspace Requirements: Consider where you will actually use the tool. A large, traditional wooden bead loom requires a flat, stable table and dedicated storage space. If you prefer to craft on the couch, in bed, or while traveling, a compact foam Kumihimo disk or a lightweight, portable clipping board is a much more practical choice.
- Assuming All "Kits" Include Everything: Do not assume that a product labeled as a "bracelet maker" includes all the beads, threads, and closures needed to finish a project. Some packages contain only the physical loom or board. Always read the contents list carefully to ensure it includes warp thread, weft thread, beading needles, and clasps if you want a complete, out-of-the-box experience.
Smart Upgrades: What to Skip in Your First Kit
When starting out, it is easy to get carried away by advanced accessories that promise to make the process faster or more glamorous. However, many of these add-ons are unnecessary for a beginner and can complicate the learning process.
Avoid spending extra money on kits featuring genuine gemstone beads, delicate freshwater pearls, or precious metal-plated findings. Your first few bracelets will inevitably have uneven tension or minor mistakes; it is much better to practice your technique using inexpensive, uniform glass or acrylic beads before moving on to premium materials.
Skip complex metal finishing hardware such as crimp beads, fold-over cord ends, and specialized jewelry pliers. These tools require precise physical technique and can easily crush or cut your thread if applied incorrectly. Instead, focus on learning simple, reliable finishing methods like braided ties, sliding knots, or basic glue-in end caps that require only a drop of household adhesive.
Lastly, hold off on buying motorized or electronic bead spinners. While they are excellent for stringing hundreds of beads quickly, they are expensive and unnecessary for basic loom weaving or braided designs. Master the manual rhythm of picking up beads first; you can always upgrade to a spinner later if you decide to produce bracelets in high volumes.
Frequently Asked Questions (FAQ)
Can I use regular sewing thread instead of specialized bracelet thread?
While standard cotton sewing thread is fine for practicing basic braiding techniques, it is not recommended for finished bracelets. Regular sewing thread lacks the tensile strength required to withstand the constant friction of loom weaving or tight knotting, and it can easily fray or snap. For durable bracelets, use specialized nylon, polyester, or silk beading threads (such as Nymo, C-Lon, or FireLine) which are designed to resist stretching and moisture.
Are bracelet maker kits safe for young children?
Most standard bracelet maker kits are designed for older children (typically ages 8 and up) and adults due to the fine motor skills required. Seed beads, small metal clasps, and sharp beading needles pose a severe choking and puncture hazard for children under three. If you are shopping for a younger child, look for kits that feature large wooden or plastic pony beads, thick yarn or paracord, and blunt plastic needles, and always check the manufacturer’s age rating on the box.
How do I finish a bracelet if the kit doesn't include clasps?
You do not need metal clasps to finish a beautiful bracelet. For friendship bracelets, you can simply braid the remaining threads at each end and tie them together around your wrist. For corded or beaded designs, a sliding macramé knot (using a square knot pattern over the overlapping tail ends) creates a highly functional, adjustable closure. Alternatively, you can tie a secure double-knot and apply a tiny drop of clear jewelry glue or clear nail polish to lock the knot in place before trimming the excess thread.
Community discussion
Share your experience or ask a question. Comments are reviewed before publication.