
Diamond painting has become a highly popular creative outlet for students and hobbyists in the Philippines, offering a meditative way to create vibrant mosaic art. For a beginner, the key to a successful first project lies in selecting an all-inclusive kit that matches your patience level, workspace, and fine motor skills. Because the local tropical climate brings high humidity, understanding how canvas adhesives and materials behave is crucial to ensuring your drills stay securely in place. By focusing on manageable canvas sizes, clear symbol printing, and complete toolsets, first-time crafters can avoid common frustrations and enjoy a smooth, rewarding introduction to this craft.
What to Look for in a Beginner-Friendly Diamond Painting Kit
For students balancing schoolwork or crafters with limited desk space, starting small is essential. A canvas measuring 15×15 cm, 20×20 cm, or 30×30 cm is highly recommended for your first project. These compact dimensions allow you to complete a project within a few study breaks or over a single weekend, preventing the fatigue that often comes with massive canvases.
There are two primary adhesive methods used on diamond painting canvases: poured glue and double-sided tape. Poured glue is widely considered the more reliable option for beginners, especially in warm, humid environments. It is a clear, liquid adhesive poured onto the canvas and cured, creating a highly flexible, durable, and forgiving sticky layer. If you accidentally place a drill incorrectly, poured glue allows you to slide it into place without losing tackiness.
Products mentioned in this guide
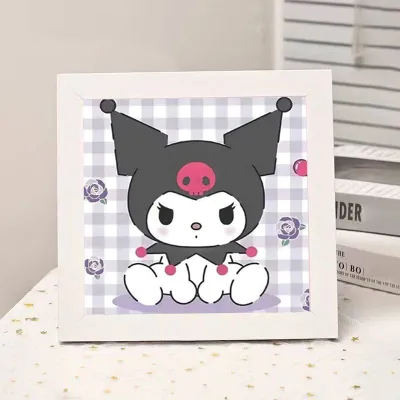
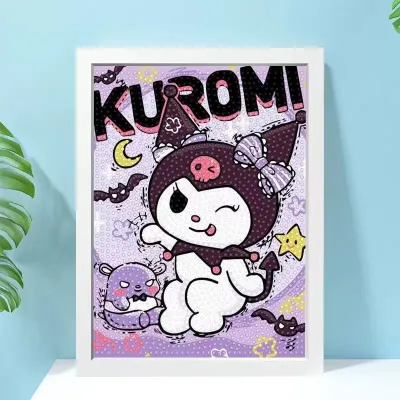
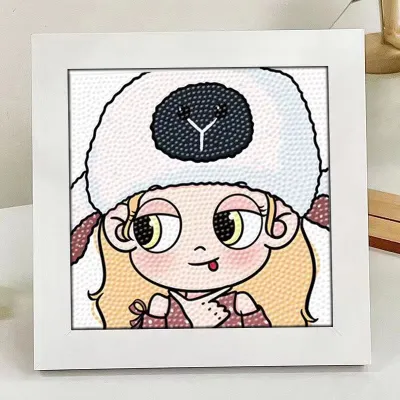
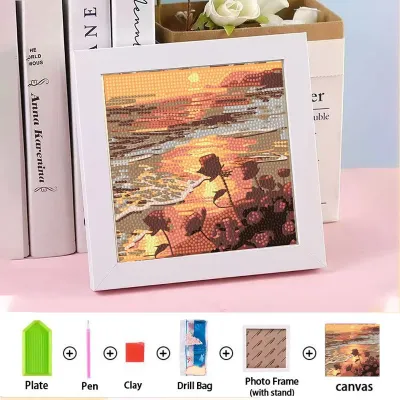
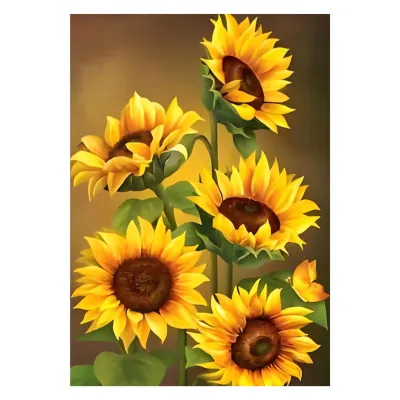



Prices are valid at publication and may change. Please refer to the product page for the latest price.
Double-sided tape, on the other hand, uses a dry adhesive sheet applied to the canvas. It is prone to bubbling, lifting, and losing its stickiness when exposed to humidity or when peeled back too quickly. When shopping, look for product descriptions that explicitly mention poured glue to ensure your canvas remains sticky throughout the crafting process.
A high-quality kit features a canvas with crisp, high-contrast symbols that correspond clearly to the drill colors. If the symbols are blurry, faded, or too similar to one another, it can lead to severe eye strain and mistakes. Before starting, inspect the canvas grid to ensure every letter, number, or icon is easily distinguishable under normal room lighting.
Beginners should look for designs with “color blocking,” which refers to large areas where a single color is used. This allows you to practice your placement rhythm without constantly switching drill colors. Avoid designs with heavy “confetti,” which refers to areas where many different colors are scattered closely together, requiring frequent tool changes and intense concentration.
Essential Tools and Accessories That Must Be Included
An all-inclusive kit is vital for students who want to start crafting immediately without making extra trips to local stationery or craft stores. The standard toolkit must contain an applicator pen, crafting wax or clay, a grooved sorting tray, and a basic pair of tweezers. The applicator pen is the primary tool used to pick up and place the drills, while the wax provides the temporary stickiness needed to lift each drill from the tray.

A good sorting tray features raised, parallel grooves that align the drills dome-side up when you gently shake the tray side-to-side. This alignment makes it incredibly easy to tap the applicator pen onto the top of the drill. Tweezers are also highly useful for adjusting misplaced drills or picking up stray fibers that might land on the sticky canvas.
Look for kits that promise extra drills, typically twenty to thirty percent more than required for the design. Because these tiny resin pieces are easy to drop or lose, having a generous surplus prevents the frustration of running out of a specific color mid-project. The drills should arrive in clearly labeled, color-coded bags that match the canvas legend.
Ziplock bags are highly preferred over heat-sealed cellophane bags, as they allow you to store leftover drills securely without them spilling across your study desk. If your kit comes with non-reusable bags, preparing small plastic containers or small jewelry bags beforehand can save you from accidental spills.
The small square of pink wax or blue clay included in the kit should be soft and pliable. If the wax is dried out, crumbly, or too hard, it will fail to stick to the applicator pen tip, making it impossible to pick up the drills. You can check the wax’s condition by pressing the pen tip firmly into it; it should fill the hollow tip smoothly and hold its stickiness through dozens of drill placements.
Round vs. Square Diamonds: Which is Better for First-Timers?
The choice between round and square diamonds, often called drills, significantly impacts both the crafting process and the final appearance of your artwork. For absolute beginners and younger students, round diamonds are almost always the recommended starting point. Round drills are incredibly forgiving because they do not require precise rotational alignment.
You can place a round drill onto its designated circle at any angle, and it will look perfectly fine, allowing for a faster, more relaxed crafting pace. Round drills leave tiny gaps between each other on the canvas, showing a bit of the background color. This design choice creates a sparkling, glittery effect as light reflects off the rounded facets from different angles.
Because the placement does not need to be mathematically perfect, round drills are excellent for developing fine motor skills and hand-eye coordination without causing frustration. They are highly suited for quick weekend projects or casual crafting sessions between study hours.
Square diamonds, conversely, demand a higher level of patience and precision. Each square drill must be aligned perfectly parallel to its neighbors. If one drill is placed slightly crooked, it can create a domino effect, causing subsequent rows to look uneven or preventing the drills from fitting into their designated spaces.
However, the reward for this extra effort is a seamless, gapless finish that resembles a solid mosaic. When completed, a square drill painting has a neat, full-coverage look that many experienced crafters prefer. For a first project, it is wise to start with a small round-drill kit to master the basic technique of picking, waxing, and placing before transitioning to square drills.
Where to Buy and How to Verify Kit Quality Online
When shopping on online marketplaces or e-commerce platforms, navigating the vast sea of options requires a careful, systematic approach to avoid low-quality products. Start by thoroughly examining seller ratings and customer reviews. Pay close attention to user-uploaded photos of the actual canvases and tools.
These real-world images are far more reliable than the polished, digitally rendered product mockups provided by sellers, as they reveal the true print clarity of the canvas and the actual color vibrancy of the drills. Look for reviews that specifically mention whether the kit arrived with all the necessary tools and if the canvas adhesive was strong.
Watch out for common red flags in product listings. Be skeptical of listings with suspiciously low prices that do not explicitly list the included tools. Some sellers offer “canvas-only” options or “drill refills” under the same listing to lower the displayed price, which can mislead beginners into buying an incomplete set.
Many online listings display beautiful, highly detailed images of large finished paintings but sell them in tiny sizes like twenty by twenty centimeters. A highly detailed portrait or landscape compressed into a small canvas will look pixelated and unrecognizable once completed. For small beginner canvases, stick to simple, bold designs like cartoon characters, basic geometric patterns, or minimalist shapes.
Lastly, evaluate the seller’s responsiveness and return policies. Reliable sellers are quick to answer questions about drill shortages or damaged items. Since missing drills are a common issue in the hobby, choosing a seller with a proven track record of sending replacement drills or offering clear return options provides peace of mind as you begin your diamond painting journey.
Frequently Asked Questions (FAQ)
Do I need to seal my diamond painting after finishing?
Sealing your finished diamond painting is not strictly mandatory, but it is highly recommended if you plan to frame and display your artwork long-term. A dedicated sealant protects the canvas from dust, pet hair, and moisture, which can degrade the adhesive over time. It also locks the drills firmly in place, preventing them from popping off if the canvas is flexed or bumped. If you decide to seal your painting, look for a water-based, non-yellowing craft sealer or a specialized diamond painting topcoat. Ensure the canvas is completely clean and free of hair or dust before applying a thin, even layer with a soft brush or sponge applicator.
How long does a typical beginner kit take to complete?
The time required to complete a beginner kit depends largely on the canvas size, the drill shape, and your individual crafting speed. A small twenty by twenty centimeter canvas with round drills typically takes between three to six hours of focused work. This makes it an ideal project to spread across a weekend or divide into short, relaxing thirty-minute sessions after school. Square-drill kits of the same size may take slightly longer, often four to eight hours, due to the extra care needed to align each piece. Using manufacturer size guides and checking the total color count can help you estimate the commitment before peeling back the protective film.
Community discussion
Share your experience or ask a question. Comments are reviewed before publication.