
Choosing the right dot markers for kids depends on matching the marker’s physical design—such as grip thickness, tip durability, and ink flow—to your child’s current fine motor stage. Instead of buying a generic set, observing how your child holds objects and controls pressure ensures you select a tool that builds confidence rather than causing frustration. In tropical climates like the Philippines, where high humidity can affect paper absorption and ink drying times, selecting the right combination of marker properties and paper weight is key to a successful creative session.
Assessing Your Child's Fine Motor Readiness
Before purchasing a set of dot markers, take a few moments to observe how your child interacts with their current coloring tools. Watch how they hold a thick crayon or a pencil. Younger children typically use a full fist grip, also known as a palmar grasp, where they wrap their entire hand around the tool. Older children or those with more developed fine motor skills will begin to transition to a transitional grasp or a mature tripod grasp, using their fingers to guide the marker.
Next, pay attention to the amount of pressure they apply during play. Some children naturally press down with significant force, which can easily crush delicate felt tips or tear standard drawing paper. Others may have a lighter touch, requiring a marker that releases ink with minimal effort. If your child tends to slam toys or crayons onto the table, they will need a highly durable, spring-loaded or heavy-duty sponge tip that can withstand impact.
Products mentioned in this guide
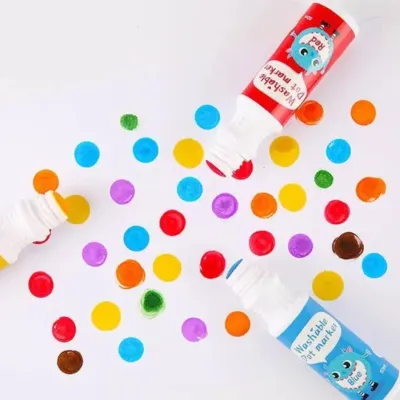
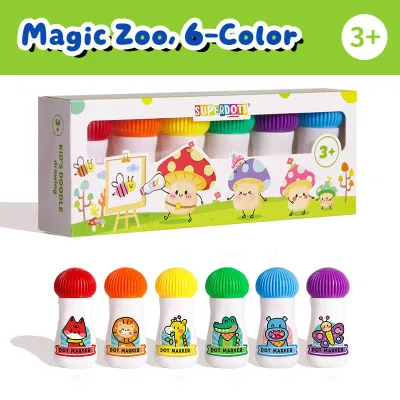
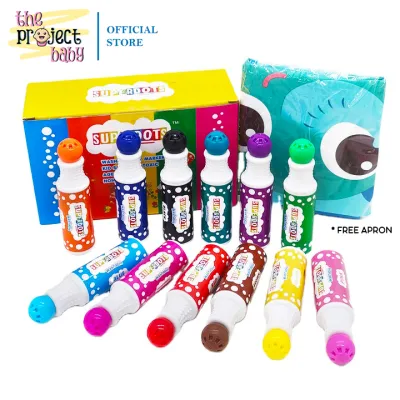
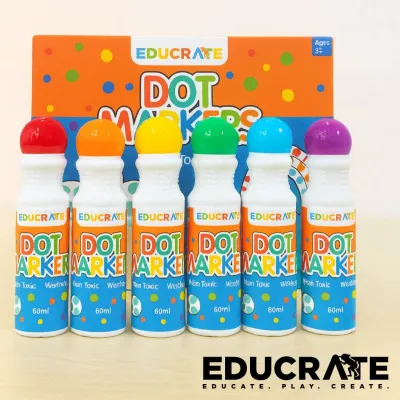
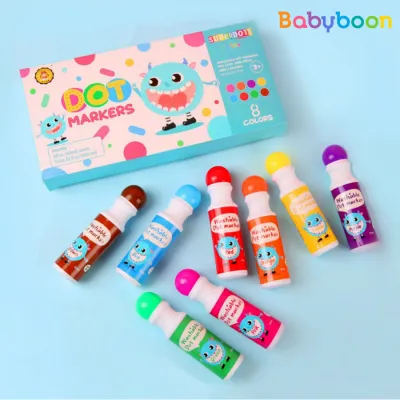
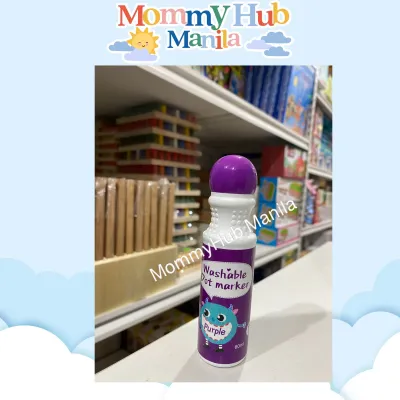
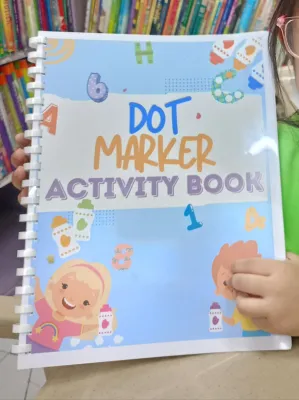
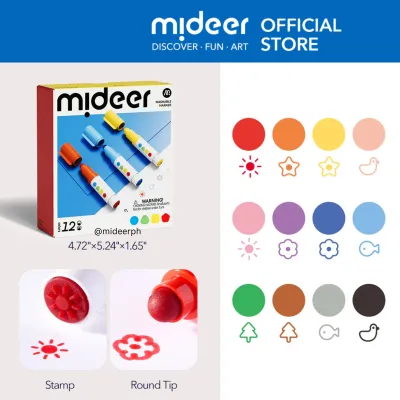
Prices are valid at publication and may change. Please refer to the product page for the latest price.
Finally, note their frustration levels and overall stamina when coloring. If a child quickly tires of trying to color within broad boundaries, dot markers can offer a satisfying alternative by filling space quickly. However, if the ink pools too fast or the marker is too heavy, they may lose interest. Matching the tool to their physical endurance ensures that art time remains an engaging, positive experience.
Matching Tip Size and Ink Flow to Skill Levels
The tip of a dot marker, often called the nib, determines both the size of the dot and how easily the ink transfers to the page. For beginners and younger toddlers, large sponge-like tips are highly effective. These wide, rounded tips are designed for broad stamping, allowing children to make large, satisfying marks even if their hand-eye coordination is still developing. The sponge material is resilient and absorbs the shock of heavy-handed stamping.

As children grow and refine their control, they can transition to firmer, smaller felt tips. These tips require more targeted pressure and a lighter touch, making them excellent for older preschoolers and early elementary students. Smaller tips allow for precise dotting inside narrow templates, dot-to-dot activities, and even basic writing exercises. They also prevent the excessive ink release that can occur when a younger child holds a sponge tip down for too long.
When evaluating different brands, check the packaging or product descriptions for details on ink flow consistency. You want to look for markers that offer a steady, controlled flow to prevent pooling, which is especially common in humid environments. Excessively wet ink can saturate standard paper quickly, leading to tears and long drying times. Conversely, markers with poor flow will skip or dry out mid-dot, causing frustration for a child trying to complete a picture.
Selecting Grip Designs for Developing Hands
The shape and size of the marker barrel play a critical role in supporting your child’s current grasping stage. For toddlers who are still using a palmar grasp, chunky, spherical, or egg-shaped barrels are ideal. These wide designs fit naturally into a small fist, allowing the child to apply downward pressure using their larger arm muscles rather than straining their delicate finger joints.
As your child transitions to a preschool age and begins developing a tripod grip, look for cylindrical barrels that feature textured rings, rubberized grips, or molded indentations. These physical cues guide small fingers into the correct positioning without constant parental correction. A slightly tapered barrel can also help children learn how to balance the writing instrument closer to the tip.
Weight and balance are equally important factors to consider. When a child holds a marker horizontally or at an angle, a heavy or poorly balanced barrel can cause rapid hand fatigue. Opt for lightweight plastic barrels that are easy to maneuver. If you are shopping in local stationery stores or browsing online marketplaces, look for user feedback regarding the physical weight of the markers to ensure they are comfortable for extended play sessions.
Selection Paths by Developmental Stage
To simplify your decision, you can categorize your choice into three primary developmental stages. For toddlers aged eighteen months to three years, prioritize chunky grips, large sponge tips, and easy-to-open caps. At this stage, the goal is sensory exploration and basic cause-and-effect stamping. The markers should require minimal pressure to leave a bright mark, and the caps should be large enough for small hands to grasp, yet secure enough to prevent drying.
For preschoolers aged three to five years, transition to standard-sized cylindrical barrels and medium-sized tips. This is the stage where children begin to enjoy guided dotting activities, such as filling in circles on custom activity sheets. Look for sets that include activity books or downloadable templates. The markers should offer a slightly firmer tip to help them practice precision and control as they aim for specific spots on the page.
For early elementary students aged five years and older, introduce smaller precision tips and standard pen-like grips. Children in this group can handle complex dot-to-dot tasks, patterns, and even shading. They can also manage multi-step art projects that combine dotting with traditional drawing. At this stage, a wider variety of colors, including pastels or metallic shades, can help sustain their interest in creative projects.
Safety Checks and Everyday Maintenance
Safety should always be a primary consideration when selecting art supplies for children. Always verify that the packaging displays a non-toxic certification label, which ensures the materials are safe for skin contact and accidental ingestion. Additionally, look for explicit “washable” claims. Washable inks are formulated to release easily from skin, clothing, and household surfaces with simple soap and water, saving you from permanent stains.
Cap designs also require careful inspection. Look for ventilated caps, which feature small air passages designed to prevent choking if a child accidentally swallows one. The caps should fit snugly to keep the ink fresh, but they should not be so tight that a child cannot remove them independently, as this can lead to frequent interruptions during art time.
Proper storage is essential for extending the lifespan of your dot markers. In the warm, tropical climate of the Philippines, storing markers horizontally or tip-down is highly recommended. This keeps the sponge or felt tips saturated with ink, preventing them from drying out prematurely. If stored tip-up, the gravity-fed ink will drain back into the barrel, resulting in faint or dry dots during the next use.
Frequently Asked Questions (FAQ)
Can regular markers be used instead of specific dot markers?
While regular markers can make small dots, they are not designed for the stamping motion of dot markers. Standard markers have fine, pointed felt tips that can easily bend, split, or push back into the barrel under heavy downward pressure. Additionally, dot markers hold a much larger volume of ink and feature wide, flat tips specifically engineered to create perfect circles in a single tap, making them far more suitable for stamping activities.
How do I clean dot marker ink from skin and clothes?
To clean washable dot marker ink from skin, gently wash the area with warm water and mild soap. For clothing, it is best to treat the stain immediately before the ink dries. Flush the fabric from the underside with cold water to push the ink out, then apply a small amount of liquid laundry detergent directly to the spot. Wash the garment according to its care label, and avoid putting it in the dryer until you verify the stain is completely gone.
What should I do if a dot marker dries out?
If a water-based dot marker begins to dry out, you can often revive it with a simple, reversible step. Try adding a few drops of clean water directly onto the sponge tip, then cap the marker tightly and store it tip-down for a few hours to allow the moisture to distribute. If the ink inside the barrel has completely hardened or if the marker still fails to produce color after this process, the ink is permanently compromised and the marker should be discarded.
Community discussion
Share your experience or ask a question. Comments are reviewed before publication.