
Selecting the perfect felt paper sheet for your creative projects involves more than just picking a vibrant color from a shelf or an online marketplace listing. To ensure your project maintains its shape, resists wear, and handles beautifully under a needle, you must match the material’s physical properties to your specific design demands. The ideal choice hinges on evaluating three core pillars: fiber composition, structural density, and thickness. By understanding how these elements interact, you can confidently select a material that behaves predictably during cutting, stitching, and long-term display.
In tropical environments like the Philippines, where high humidity and ambient warmth are constant factors, material selection becomes even more critical. Excess moisture in the air can cause low-quality fibers to lose their structural integrity, sag, or even harbor musty odors over time. Whether you are crafting delicate hair accessories, constructing structured bags, or preparing classroom materials, taking a systematic approach to evaluating your felt sheets will save you time, money, and creative frustration.
Identify Material Composition and Quality Indicators
The foundation of any high-quality felt paper sheet lies in its fiber composition, which dictates how the material drapes, stretches, and ages. When browsing options at local stationery shops or online craft suppliers, always check the product labels or specifications for fiber content. The three most common categories you will encounter are 100% wool, wool-blend, and synthetic fibers like acrylic or polyester. Each of these materials possesses distinct physical characteristics that influence its suitability for different crafting techniques.
Products mentioned in this guide
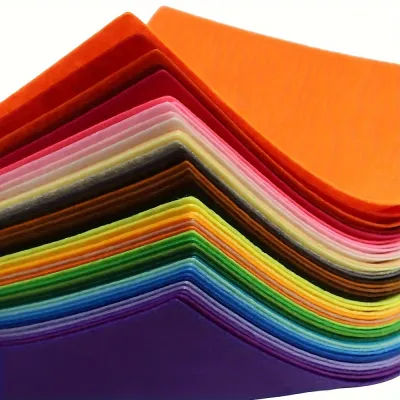
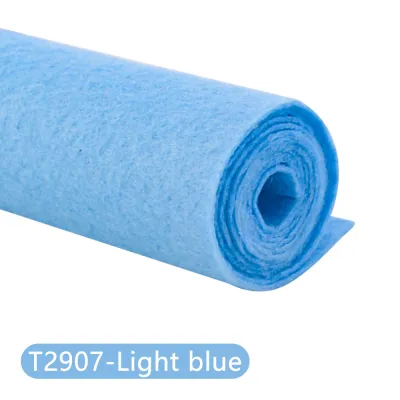
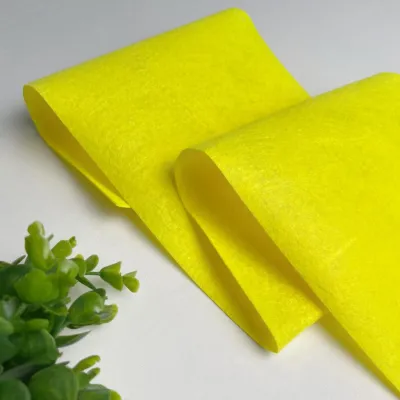
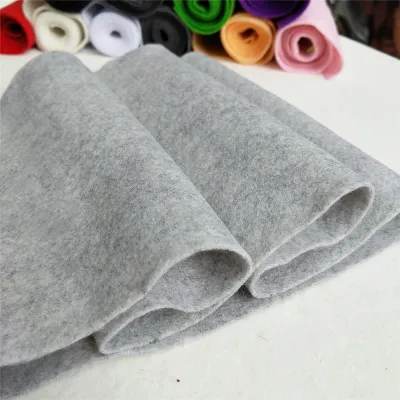
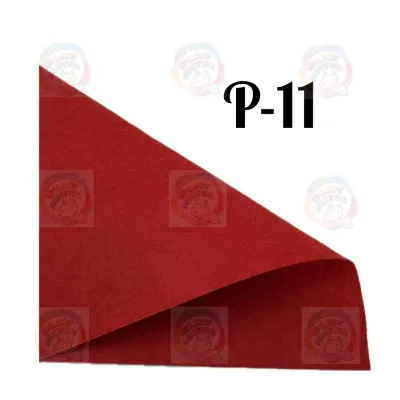
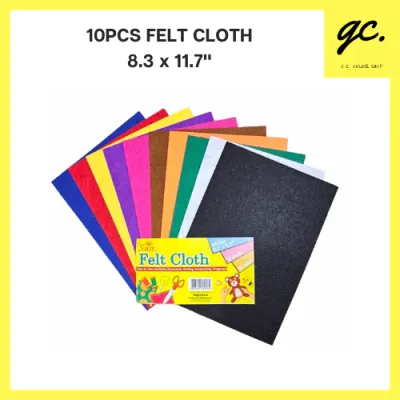
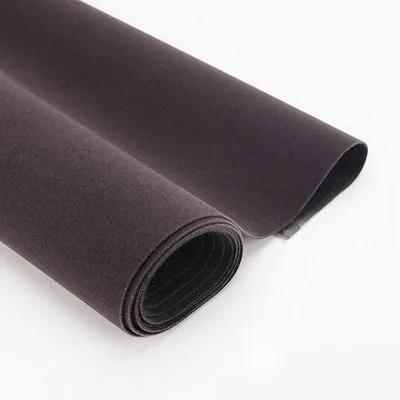
Prices are valid at publication and may change. Please refer to the product page for the latest price.
Synthetic felt sheets, typically made from acrylic or polyester, are highly accessible and budget-friendly. They offer excellent color vibrancy and resist moisture, making them highly resilient against the humid conditions common in tropical climates. However, synthetic fibers tend to be stiffer, have a shinier finish, and are more prone to pilling over time when subjected to friction. These sheets are excellent for temporary decorations, school projects, and flat appliqués where drape and soft texture are not primary concerns.
For projects requiring a premium feel, superior durability, and excellent stitch definition, wool-blend or 100% wool felt is the preferred choice. Wool fibers feature natural crimp and scales that lock together tightly during the felting process, resulting in a dense, matte surface that resists fraying even when cut into intricate shapes. Wool-blend sheets, which often combine wool with rayon or polyester, offer a middle ground by providing the softness and rich texture of wool at a more accessible price point. These premium grades are highly recommended for heirloom sewing, soft toys, and detailed hand-embroidery.
To evaluate the manufacturing quality of a felt sheet in person, observe its surface texture and fiber bonding under good lighting. High-quality felt should display a uniform, dense appearance across the entire sheet, with no visible loose fibers or thin, translucent spots when held up to the light. Lower-grade sheets often suffer from uneven fiber distribution, which can lead to weak points that tear easily during stitching or stuffing. If you are purchasing online, look for detailed close-up photos of the fabric texture and check customer reviews specifically mentioning the density and weight of the sheets.
Match Thickness and Density to Your Project Requirements
Selecting the correct thickness and density is crucial for ensuring your project has the right balance of flexibility and structural support. Felt paper sheets are manufactured in a wide range of thicknesses, each suited to specific applications. Choosing a sheet that is too thin can cause your project to sag or tear, while a sheet that is too thick may strain your sewing equipment and prove difficult to manipulate.

Thin felt sheets, typically measuring 1mm or less, are highly flexible and easy to drape. These sheets are ideal for delicate appliqué work, lining the interiors of boxes or pouches, and intricate die-cutting where sharp, clean edges are required. Because they offer minimal structural support, they are best used when adhered to a sturdier backing material or when layered together. When working with thin synthetics, be mindful that high needle tension can cause the fabric to pucker or gather, so adjusting your machine settings is often necessary.
Medium-thickness sheets, ranging from approximately 1.5mm to 2mm, serve as the standard workhorse for most sewing and crafting projects. This thickness strikes an excellent balance between structural stiffness and ease of needle penetration, making it the go-to choice for hand-sewing soft toys, creating embroidery bases, and assembling classroom crafts. Medium felt holds its shape well when stuffed, resists tearing along seam lines, and can be easily sewn with standard hand needles or domestic sewing machines without requiring specialized attachments.
For heavy-duty applications that demand maximum structural integrity, reserve thick, high-density sheets measuring 3mm and above. These robust sheets are perfect for constructing bag bases, coasters, storage bins, and protective sleeves for electronic devices. High-density felt does not require additional interfacing or stabilizers to stand upright, allowing you to create clean, minimalist designs with exposed edges. However, working with these thick sheets requires careful planning regarding your tools and equipment.
Before committing to a thick felt sheet, verify that your sewing machine or hand needles can cleanly penetrate multiple layers of the material. Standard domestic sewing machines may struggle with multiple layers of 3mm felt, leading to skipped stitches, bent needles, or motor strain. When machine-sewing thick felt, use a heavy-duty needle, such as a denim or leather needle, and increase your stitch length to ensure smooth feeding. For hand-sewing, a sharp, thick embroidery needle or a chenille needle paired with a thimble will help you push through the dense fibers without hand fatigue.
Perform Pre-Purchase and Pre-Cut Inspections
Before you make your first cut or finalize a bulk purchase, performing a few simple, observable checks can save you from working with defective or low-quality material. Physical inspections allow you to verify the structural integrity and consistency of the felt paper sheet, ensuring that your finished project looks professional and lasts for years.
Begin by conducting a gentle stretch test on a corner or a small sample piece of the felt. Pull the material gently in different directions to assess its recovery and check for excessive distortion. High-quality felt should offer moderate resistance and spring back to its original shape without leaving permanent bumps or thinning along the stretch line. If the fibers separate easily, tear, or remain permanently warped after a light tug, the sheet lacks the density required for durable sewing projects.
Next, inspect the edges and surface of the sheet for manufacturing defects under natural light. Look closely for uneven thickness across the sheet, calendering marks (shiny, flattened areas caused by heated rollers during manufacturing), or premature pilling. Uneven thickness can cause inconsistent stitch tension, while surface defects will mar the visual appeal of your final product. If you notice a high volume of loose, fuzzy fibers shedding from the surface during basic handling, this is a clear indicator of poor fiber bonding.
Color consistency is another critical factor, especially if your project requires multiple sheets of the same hue. Inspect the sheets side-by-side under natural daylight to check for subtle shading variations or dye streaks. In tropical regions, prolonged exposure to sunlight and humidity in retail displays can cause uneven fading, so always check that the color is uniform from edge to edge. If you detect a strong, sharp chemical odor that does not dissipate after a few minutes of airing out, it may indicate the use of harsh chemical dyes or finishing agents, which could be problematic for items intended for close personal contact.
Plan Sheet Sizes and Layouts to Minimize Waste
Efficient planning of your felt sheet layouts not only stretches your crafting budget but also minimizes environmental waste. Felt paper sheets are commonly sold in standard pre-cut dimensions, such as 9×12 inches or A4 sizes, as well as by continuous yardage from large rolls. Choosing the right format depends on the scale of your pattern pieces and how tightly you can nest them together.
For small, detailed projects like hair bows, ornaments, or small plushies, pre-cut sheets are highly convenient and allow you to acquire a wide palette of colors without a significant financial investment. However, if your pattern pieces are larger than the standard pre-cut dimensions, attempting to piece them together will result in unsightly seams and structural weak points. In such cases, purchasing continuous yardage is the more efficient and professional choice, as it allows you to cut large, uninterrupted pattern pieces.
Before cutting into your felt, map out your pattern pieces on a paper template of the exact sheet dimensions. Arrange the pieces as closely as possible, nesting curved edges together to maximize layout efficiency. If your felt has a directional nap or a brushed surface texture, ensure that all your pattern pieces are aligned in the same direction so the finished item has a uniform appearance. Remember to factor in necessary seam allowances and turning margins, especially when working with thicker felt sheets that take up more physical space when seams are pressed open or turned inside out.
Additionally, consider the potential for material shrinkage if your finished project will require washing or blocking. While synthetic felt is generally stable and does not shrink, wool and wool-blend sheets are highly sensitive to moisture and heat. If you plan to wash the finished item, it is essential to pre-wash and pre-shrink your wool felt sheets using a gentle hand-wash method before cutting your pattern pieces. This step ensures that your carefully calculated dimensions remain accurate after the project is assembled.
Frequently Asked Questions (FAQ)
Can I use acrylic felt paper sheets for embroidery?
Yes, you can use acrylic felt paper sheets for embroidery, but they require careful handling due to their lower fiber density. Because synthetic fibers are less densely packed than wool, high-tension embroidery stitches can easily pull through the material, causing the fabric to pucker or distort. To achieve clean, professional results, always use a tear-away or cut-away stabilizer on the back of the felt to support the stitches. Additionally, avoid using a tight embroidery hoop directly on the felt, as it can leave permanent crease marks; instead, use a hoopless method or tension the stabilizer rather than the felt itself.
How do I prevent thin felt sheets from fraying when cutting?
To prevent thin felt sheets from fraying or developing fuzzy, jagged edges during cutting, always use extremely sharp cutting tools. Dedicated fabric shears, rotary cutters, or precision craft knives are far superior to standard household scissors, which tend to chew and bend the loose fibers rather than slicing through them cleanly. If you are working with a highly delicate or low-density felt that is prone to edge separation, applying a temporary fabric stiffener spray or iron-on backing stabilizer before cutting can lock the fibers in place. Once your pieces are cut, you can also apply a tiny amount of fabric glue or fray check along the edges to secure them.

Community discussion
Share your experience or ask a question. Comments are reviewed before publication.