
Selecting the perfect fuse beads for your next craft project requires balancing three essential factors: bead size, bead shape, and plastic quality. For most crafters, the decision begins with choosing between standard 5-millimeter beads for structural durability and ease of use, or mini 2.6-millimeter beads for high-resolution pixel art and jewelry. From there, evaluating the bead shape—classic round or interlocking square—and verifying plastic consistency ensures your finished design melts evenly and stands up to daily handling.
Whether you are designing a custom keychain, building a three-dimensional model, or crafting detailed retro gaming sprites, matching the material to your specific goals prevents wasted hours and ruined designs. In tropical climates like the Philippines, where ambient humidity and temperature can subtly affect how plastics behave under heat, understanding these technical differences is even more critical to achieving a clean, professional finish.
Define Your Project Goals and Detail Requirements
Before purchasing any supplies, clarify the scope, scale, and ultimate purpose of your project. Fuse bead designs can range from simple, flat coasters to complex, multi-layered 3D sculptures. The physical size of the final piece and where it will be displayed or used will dictate the type of beads you need to buy.
Products mentioned in this guide
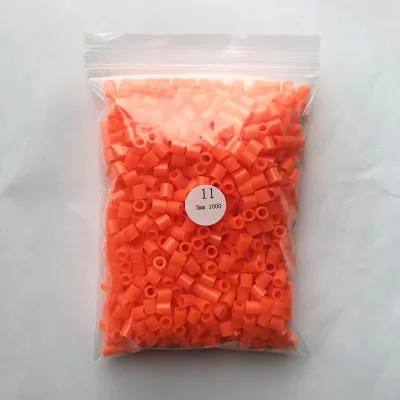
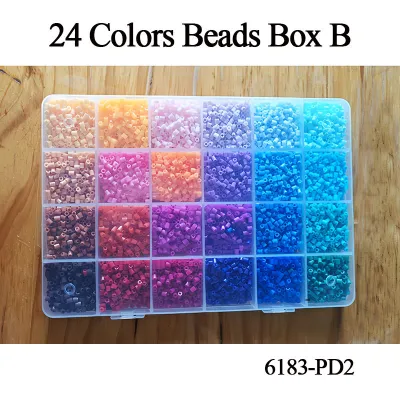
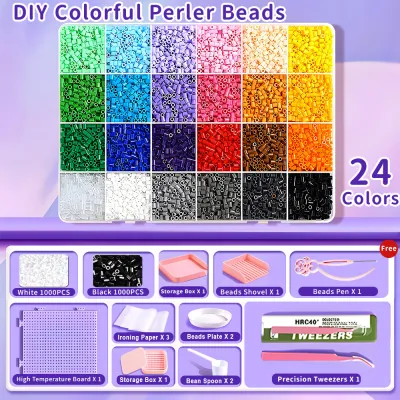
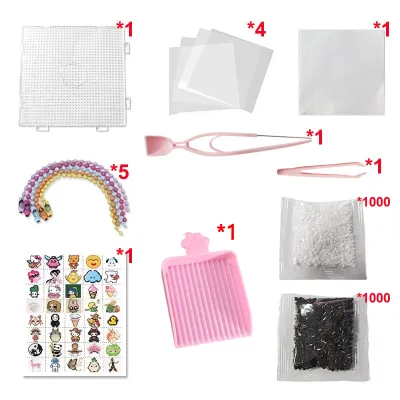

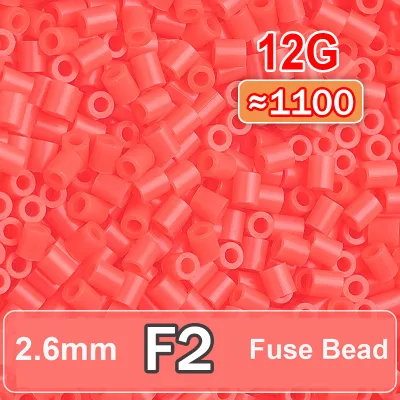
Prices are valid at publication and may change. Please refer to the product page for the latest price.
If you want to create highly detailed pixel art, think of your beads as physical pixels. The smaller the bead, the higher the “pixel density” or resolution of your finished piece. A large, intricate character portrait will require thousands of tiny beads to capture subtle shading and fine lines. Conversely, a functional household item like a cup coaster or a decorative wall sign benefit from larger, sturdier beads that cover a wide surface area quickly and offer structural rigidity.
Consider who will be assembling the project. Working with fuse beads requires a high degree of hand-eye coordination and fine motor control. Young children or beginners often struggle with tiny, slippery components, making larger beads the logical choice to prevent frustration. Adult hobbyists and experienced crafters, on the other hand, usually prefer the challenge and refined aesthetic of smaller, highly detailed beads.
Finally, consider the environmental exposure of the finished item. Will the item be handled frequently, like a keychain or a bag charm, or will it sit safely in a display frame? Daily-use items require robust plastics that fuse deeply and resist snapping under physical stress, while display-only pieces can prioritize color variety and precise geometric alignment over sheer physical strength.
Compare Fuse Bead Sizes: Standard vs. Mini
Bead size is the most fundamental decision you will make, as it determines the pegboards you must use, the tools required for assembly, and the overall scale of your design. The market is dominated by two primary sizes, each suited to entirely different crafting styles.

Standard Size Beads
Standard fuse beads measure 5 millimeters in diameter and are the most widely recognized variety on the market. Their generous size makes them incredibly easy to handle with bare fingers, reducing the need for specialized tools during the layout phase. This accessibility makes them the standard choice for classrooms, children’s rainy-day activities, and casual hobbyists looking for a relaxing, low-stress craft.
Because of their thicker walls and larger surface area, standard beads provide excellent structural integrity once fused. They are ideal for creating robust, functional items such as coasters, small storage bowls, and interlocking 3D models. Standard beads also melt more forgivingly under a household iron, making it easier for beginners to achieve a uniform melt without accidentally warping the entire design.
Mini Size Beads
Mini fuse beads typically measure 2.6 millimeters in diameter, which is roughly half the size of the standard variety. This reduction in size means you can fit approximately four times as many mini beads into the same physical footprint as standard beads. The result is an incredibly high-level of detail, allowing crafters to recreate complex retro video game sprites, detailed portraits, and intricate geometric patterns that look refined and professional.
However, working with mini beads demands a high level of patience, excellent lighting, and steady hands. Placing these tiny plastic cylinders onto a pegboard is nearly impossible without fine-tipped precision tweezers. Because they are so lightweight and small, they are highly sensitive to static electricity and accidental bumps to the workspace. They are not recommended for young children or anyone who finds prolonged, highly detailed focal work fatiguing.
Evaluate Bead Shapes and Their Best Uses
While standard round cylinders are the default shape for most brands, alternative shapes and styles exist. The physical geometry of the bead affects how the pieces align on the pegboard, how they react to heat, and the final texture of the fused design.
Round and Square Beads
Round beads are classic cylinders with open centers. When placed on a standard pegboard grid, they touch only at their widest outer curves, leaving small, natural diamond-shaped gaps between them. When ironed lightly, these gaps remain visible, giving the finished piece a charming, distinctly beaded texture. When ironed heavily (a technique known as a “flat melt”), the plastic flows inward to close these gaps, creating a solid but slightly wavy surface.
Square beads feature flat, straight outer walls that sit flush against one another on the grid. This interlocking geometry eliminates empty space between the beads even before heat is applied. When ironed, square beads fuse into a perfectly flat, seamless sheet of solid plastic with razor-sharp lines and solid blocks of color. Choose square beads if you want your project to mimic a clean, modern digital screen, and stick to round beads if you prefer a classic, handmade look.
Specialty Shapes
Some manufacturers offer novelty beads molded into specific shapes, such as hearts, stars, triangles, or flowers. These specialty shapes are designed to be used on matching, custom-shaped pegboards to create quick, single-motif ornaments or borders. They are excellent for fast holiday crafts or simple jewelry accents.
However, you should avoid mixing specialty shapes with standard round or square beads on a single grid board. Because specialty shapes often have different wall thicknesses, heights, and melting characteristics, they will not align correctly with standard grid pins. During the ironing process, the heat will distribute unevenly, leaving some areas completely melted and distorted while others remain loose and structurally weak.
Check Quality Indicators Before You Buy
Not all fuse beads are created equal. Low-quality, unbranded bulk bags sold on cheap online marketplaces often lead to frustrating crafting experiences, uneven melts, and fragile finished pieces. Knowing what to look for on the packaging and in product reviews will save you time and money.
- Size and Cut Uniformity: Examine the beads closely. High-quality brands feature perfectly uniform heights and clean, flat-cut edges. Cheap, generic beads often suffer from inconsistent heights or jagged plastic fringe (known as "flash"). When beads vary in height, your iron will only make contact with the tallest pieces, leaving the shorter beads completely unfused and prone to falling apart.
- Color Consistency: Premium brands maintain strict quality control over their dye lots, ensuring that a shade of blue bought today matches the same shade bought six months from now. Low-quality brands often exhibit noticeable color shifting within the same bag, which can ruin smooth color gradients in large pixel art projects.
- Material Composition: Most reputable fuse beads are manufactured from Low-Density Polyethylene (LDPE) or Ethylene-Vinyl Acetate (EVA). EVA beads are slightly softer and remain somewhat flexible after fusing, making them highly durable and resistant to snapping. LDPE beads fuse into a very rigid, hard structure, which is excellent for standing 3D displays. Always check the manufacturer's label to identify the plastic type, and never mix different plastic formulations in a single project, as they melt at different temperatures.
- Melting Behavior: High-quality beads melt predictably and smoothly, transitioning from solid cylinders to a uniform, jelly-like state under medium heat. Low-quality plastics often have unpredictable melting points; they may liquefy instantly into a messy puddle or resist melting entirely, scorching under the iron before they fuse.
Before committing to a massive, time-consuming project with a new brand of beads, always perform a small test melt. Arrange a 5×5 square of beads on a scrap pegboard, apply heat, and observe how quickly they fuse, how well they retain their color, and how flexible the cooled piece remains.
Match Bead Types to Specific Craft Projects
To simplify your buying decisions, match the physical properties of the bead to the functional requirements of your intended project. Below are the most common craft categories and the ideal bead specifications for each.
- Keychains and Bag Charms: Choose mini 2.6-millimeter round beads made of EVA plastic. The mini size keeps the finished keychain lightweight and compact enough to fit comfortably in a pocket or hang from a zipper without adding bulk. The natural flexibility of EVA plastic prevents the keychain from snapping when bent or dropped onto hard surfaces.
- Coasters and Trivets: Opt for standard 5-millimeter round beads. Standard beads provide a thick, sturdy barrier that easily insulates surfaces from hot mugs or cold, sweating glasses. Iron both sides of the coaster to a semi-flat melt to ensure maximum structural stability and a flat, level surface for cups to rest on.
- 3D Structures and Storage Boxes: Select high-quality standard 5-millimeter LDPE beads. The rigid nature of LDPE is essential for building vertical walls that will not sag or bend over time. Uniform bead height is absolutely critical here, as the interlocking tabs of your 3D panels must match perfectly to snap together without adhesive.
- Detailed Pixel Art and Sprites: Use mini 2.6-millimeter beads (either round or square) from a brand that offers a vast color palette. Detailed shading requires subtle transitions between tones, so look for brands that sell individual color packs rather than mixed assortments, allowing you to stock up on specific shades of gray, skin tones, and primary colors.
Essential Tools and Materials for Fusing
Once you have selected and purchased your beads, assembling the proper toolkit is the final step to ensuring a successful craft. Using the correct auxiliary materials protects your equipment and ensures a clean, professional fuse.
First, secure the correct pegboards. Ensure your pegboards match the size of your beads (5mm boards for standard beads, 2.6mm boards for mini beads). Interlocking square boards are highly recommended, as they can be linked together like puzzle pieces to accommodate larger designs as your skills progress.
Second, choose your ironing paper wisely. High-quality parchment paper (baking paper) is the gold standard for a clean, matte finish. It is highly heat-resistant, reusable, and allows steam to escape naturally. Never use wax paper, as the heat of the iron will melt the wax directly onto your beads and your iron’s soleplate, ruining both. For a shiny, glass-like finish, you can use specialized clear ironing film, but this requires precise temperature control to avoid melting the film into the plastic design.
Third, prepare a reliable household iron. A dry iron or a steam iron with the steam function completely turned off is essential. Moisture from steam will trap water droplets inside the bead cavities, causing uneven heat distribution, bubbling, and unsightly white spots on the finished plastic. Set your iron to a medium, dry heat setting.
For mini beads, fine-tipped stainless steel tweezers are mandatory. For larger designs, consider using the “masking tape method.” This technique involves applying high-quality painter’s tape over your completed design on the pegboard, rubbing it down firmly to secure the beads, peeling the tape (and the beads) off the board, and ironing the design on a flat, heat-resistant work surface. This method completely protects your expensive plastic pegboards from warping under the heat of the iron.
Finally, prioritize safety. Ironing involves hot surfaces and melting plastics. Work in a well-ventilated room to disperse any mild plastic odors, and always ensure that the ironing process is performed by an adult or under strict adult supervision to prevent accidental burns.
Frequently Asked Questions (FAQ)
Can I mix different brands of fuse beads in one project?
It is highly discouraged to mix different brands of fuse beads in a single design unless you have thoroughly tested them beforehand. Different manufacturers use unique plastic formulations, color pigments, and wall thicknesses. Consequently, different brands often have distinct melting temperatures. Mixing them can result in an uneven melt, where some beads liquefy and warp while neighboring beads remain completely unfused, leading to structural weak points.
How do I store fuse beads to keep them organized and in good condition?
The most efficient way to store fuse beads is in clear, stackable plastic organizers with adjustable dividers or individual screw-top jars. Sorting your beads by color saves hours of searching during the assembly process. In the tropical, highly humid climate of the Philippines, keep your storage containers airtight. High humidity and dust can cause the plastic surfaces to become sticky over time, while direct, intense tropical sunlight can fade bright pigments. Store your organized containers in a cool, dry place away from windows.
Community discussion
Share your experience or ask a question. Comments are reviewed before publication.