
Selecting the right glow-in-the-dark paint requires matching the paint’s chemical base to your specific surface, understanding its light-charging requirements, and verifying its opacity and safety features. Whether you are painting a bedroom mural, customizing a t-shirt, or detailing a canvas, choosing a compatible formulation ensures the luminescent effect lasts without peeling or cracking.
Identify Your Project Surface and Paint Base Compatibility
Choosing a glow-in-the-dark paint begins with analyzing the material you plan to paint. Different surfaces require specific binders to ensure the pigment adheres permanently. For instance, painting on textiles requires a dedicated fabric-based glow paint that remains flexible after drying, preventing the design from cracking or peeling when the fabric bends or goes through a wash cycle. If you use standard craft acrylics on a t-shirt, the paint will likely stiffen and flake off after a single wash.
For rigid surfaces like wood, plaster, or primed canvas, acrylic-based glow paints are highly effective. However, if you are working on non-porous surfaces like glass, plastic, or metal, standard craft acrylics often struggle to grip the material and may peel off easily. In these cases, you must check the manufacturer’s label to verify multi-surface compatibility or apply a specialized primer beforehand. A primer creates a textured key that allows the glow paint to bond securely to the smooth surface.
Products mentioned in this guide
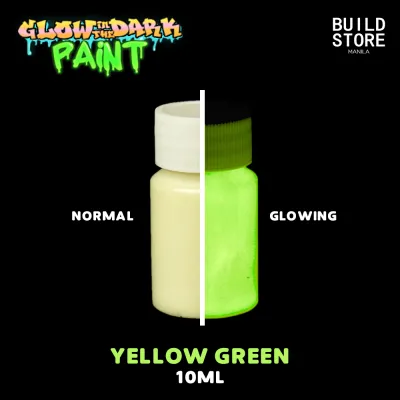
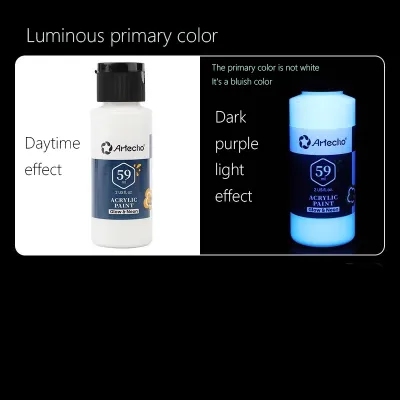
Prices are valid at publication and may change. Please refer to the product page for the latest price.
In the warm and humid climate of the Philippines, surface preparation is particularly critical. High humidity can interfere with how paint bonds to a surface, making a high-quality base coat or primer essential for preventing moisture from trapping underneath the paint layer. Always ensure your surface is completely dry and free of dust before application, and consider applying a compatible outdoor-grade sealant if your project will be exposed to the elements. This extra step protects the luminescent layer from moisture damage and physical wear.
Evaluate Glow Intensity and Light Charging Needs
The brightness and duration of your paint’s glow depend heavily on the specific phosphor chemistry used in the formulation. Most modern glow paints utilize either zinc sulfide or strontium aluminate. Strontium aluminate options generally offer a brighter and longer-lasting glow under standard conditions, though they may carry a higher price tag in local art supply shops. Zinc sulfide is more affordable but glows for a shorter duration and requires more frequent recharging.

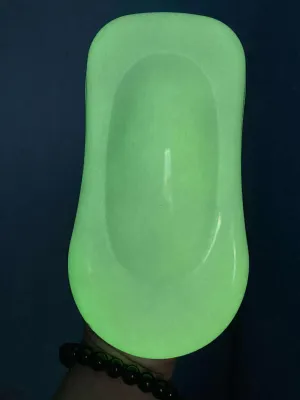
To activate the luminescent properties, the painted surface must be exposed to a reliable light source. Natural sunlight, bright indoor LED bulbs, and specialized UV or blacklights are all effective charging methods. If your project is situated in a dim room with minimal natural light, you will need to plan for a dedicated UV light source to charge the paint before viewing. A quick charge under a UV flashlight can make the paint glow intensely in just a few seconds.
The background color of your surface also plays a major role in the final visual output. Applying glow paint directly over a dark or black background will absorb the emitted light, resulting in a weak and disappointing glow. For the most vibrant results, always apply a white or light-colored base coat first, which acts as a reflective mirror that bounces the glow outward. This simple preparation step can double the perceived brightness of your finished artwork.
Assess Application, Drying, and Finish Characteristics
Glow-in-the-dark paints vary widely in their opacity, drying times, and final finishes. Many formulations dry to a semi-translucent or almost clear finish under normal light, which allows you to layer them over existing artwork without completely obscuring the underlying colors. Other options are highly opaque and will cover any details painted beneath them. Knowing which finish you are buying helps you plan your design layers effectively.
Understanding the drying and curing times is essential when planning your layering process. Applying subsequent coats too quickly can re-wet the previous layer, leading to clumping and uneven pigment distribution. In humid tropical environments, drying times can be significantly longer than the estimates printed on the bottle, so allowing extra time between coats is a practical necessity. Patience during the drying phase ensures a smooth, professional finish without unwanted texture.
Finally, consider the cleanup process and the tools you plan to use. Water-based acrylic glow paints are highly convenient because they can be cleaned up with simple soap and water while still wet. Solvent-based or aerosol options, however, require specific thinners or mineral spirits for cleanup, which demands a more robust studio setup and careful tool maintenance. Make sure you have the appropriate cleaning agents on hand before you begin painting.
Review Safety, Ventilation, and Storage Guidelines
Safety should always be a priority when working with specialty art mediums. Solvent-based glow paints and aerosol sprays release strong fumes that require excellent ventilation. If you are working indoors, set up a fan to circulate the air or move your workspace to an open outdoor area like a garage or veranda to avoid inhaling harmful vapors. Wearing a suitable mask can also provide an extra layer of protection when spraying.
If your art project involves children, community workshops, or school activities, look for products with clear non-toxic certifications. Water-based acrylics are generally the safest choice for younger artists, but you should still check the manufacturer’s age recommendations on the packaging. Always supervise children to ensure they do not ingest the paint or get it in their eyes. Keeping a clean workspace with designated washing stations helps prevent accidental ingestion.
Proper storage is key to preserving the shelf life of your glow paint. Ensure the container lid is sealed tightly after every use to prevent the paint from drying out or forming a skin. In warm climates, store your paint bottles in a cool, dry cupboard away from direct sunlight, as prolonged heat exposure can degrade the binder and cause the phosphor particles to settle into a hard, unusable clump at the bottom. Gently shaking or stirring the paint before each use helps redistribute the glowing particles evenly.
Your Final Selection Checklist
Before purchasing your glow paint, run through this quick checklist to ensure a successful project:
- Confirm that the paint formulation matches your surface's porosity and flexibility, and determine if a primer or sealant is needed.
- Verify the expected glow duration and ensure you have a compatible light source, such as a UV lamp, to charge the phosphors.
- Check the paint's opacity to ensure it aligns with your layering plans, and verify that the cleanup method fits your workspace.
- Ensure the product meets your safety standards, especially regarding ventilation requirements and non-toxic certifications for shared spaces.
Frequently Asked Questions (FAQ)
Can I mix glow-in-the-dark paint with regular acrylic colors?
Mixing regular acrylic pigments directly into glow-in-the-dark paint is generally not recommended. The opaque pigments in standard paint will physically block and cover the phosphor particles, drastically reducing or completely extinguishing the glow effect. If you want to add color to your glowing design, a better technique is to apply the glow paint as a base layer, let it dry completely, and then apply very thin, translucent color glazes or washes over the top.
Why is my glow paint not shining brightly after drying?
A weak glow is usually caused by insufficient charging, an incorrect light spectrum, or a dark background. Standard incandescent bulbs do not emit enough UV light to charge modern phosphors efficiently; using a strong LED light, direct sunlight, or a blacklight will yield much better results. Additionally, if you applied the paint directly onto a dark surface without a white primer, or if the paint layer is too thin, the light will be absorbed rather than reflected, resulting in a dim glow.
Community discussion
Share your experience or ask a question. Comments are reviewed before publication.