
Choosing the right LED light pad is a practical decision that directly impacts your drawing comfort, accuracy, and overall creative output. Instead of searching for a generic, one-size-fits-all model, you must evaluate how your specific artistic workflow—whether it involves delicate calligraphy, multi-frame animation, or heavy-duty sketching—interacts with different paper weights and workspace setups. By matching your medium to the correct dimensions, brightness levels, and surface materials, you can establish a reliable setup that helps minimize eye strain and protects your physical artwork.
Diagnose Your Art Workflow and Size Requirements
Your primary artistic discipline dictates the physical size and portability of the LED pad you need. For instance, single-sheet tracing for tattoo designs or basic sketching requires a straightforward active area that matches standard paper sizes. If you specialize in multi-frame traditional animation, however, you will need a pad that accommodates peg bars or registration marks to keep your sheets accurately aligned. Calligraphers often require extra space around their active drawing area to lay down guide sheets, grid templates, and ink wells without crowding their hands.
When planning your workspace, it is crucial to distinguish between the active illumination area and the overall physical footprint of the device. The active area is the illuminated portion where you actually draw, while the overall footprint includes the outer bezels, power buttons, and frame. An A4 light pad might have an active area suitably sized for standard letter paper, but its physical frame will be slightly larger. If you work on a compact desk or a shared studio table, measuring your available surface area beforehand ensures the device fits comfortably alongside your sketchbooks, pencils, and water cups.
Products mentioned in this guide
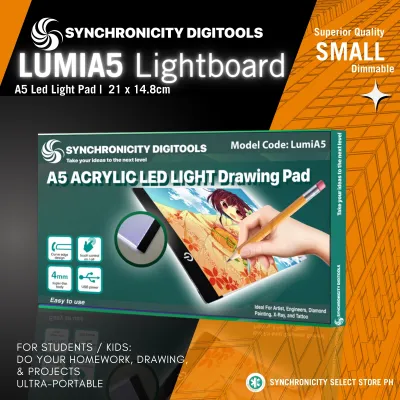
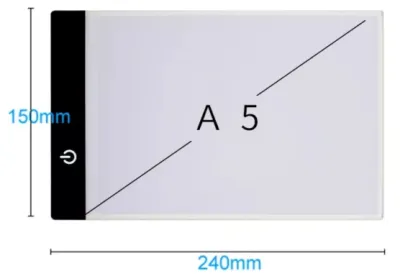
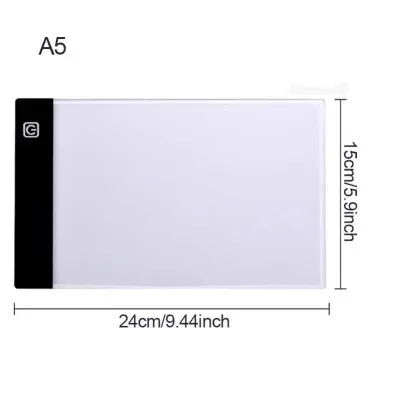
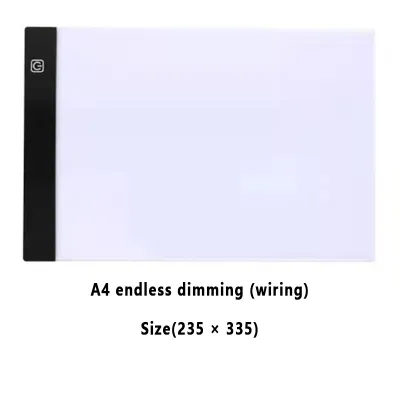
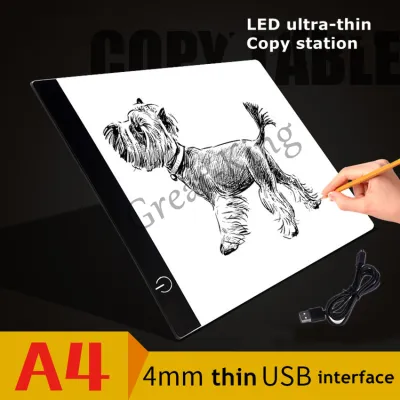
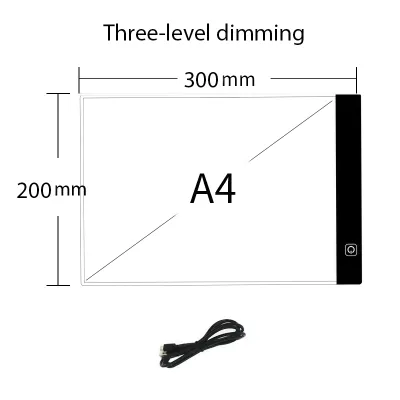
Prices are valid at publication and may change. Please refer to the product page for the latest price.
Portability is another major factor to consider based on your daily routine. If you primarily work in a dedicated home studio, a larger and sturdier A3 or A2 pad provides a spacious canvas that can remain permanently plugged into a wall outlet. Conversely, if you are a student commuting to art classes or a hobbyist who enjoys sketching in local cafes, a lightweight, ultra-thin A4 or A5 pad is much easier to pack. Selecting a model that slides effortlessly into a standard backpack allows you to maintain your creative workflow wherever you go.
Evaluate Essential Technical Specifications
Before purchasing an LED pad, verifying the technical specifications on the product label or online listing will help you avoid common performance issues. Brightness is measured in lux, and having adjustable brightness is essential for adapting to changing ambient light. In a brightly lit room or a workspace with strong overhead fans and lights, you will need a higher brightness level to see through your paper. Look for models featuring stepless dimming controls, which allow you to hold down the power button to smoothly adjust the light intensity to your exact comfort level, rather than being locked into three rigid presets.

Color temperature and flicker-free technology are critical for protecting your eyes during long drawing sessions. Most high-quality light pads utilize cool white LEDs, typically ranging from 5000K to 6500K, which mimic natural daylight and prevent color distortion when working with colored pencils or inks. Additionally, ensure the manufacturer explicitly states the device is flicker-free. You can easily verify this in person by viewing the illuminated pad through your smartphone camera; if you see rolling dark bands or a rapid pulsing effect on your screen, the light is flickering, which can lead to headaches and eye fatigue over time.
The power supply type and cable length determine how flexible your physical setup can be. USB-powered pads are highly versatile because they can run off a laptop, a phone charger, or a portable power bank, making them ideal for areas with limited wall outlets. If you choose a USB-powered model, check the connection type; modern USB-C ports tend to be more durable and less prone to loose connections than older micro-USB ports. Additionally, ensure the included power cable is long enough—at least 1.5 to 2 meters—so you can position the pad comfortably on your drafting table without stretching or straining the cord.
Match the Pad to Your Paper and Medium
The effectiveness of an LED light pad depends heavily on the weight and texture of the paper you use. Standard copy paper (70 to 80 gsm) and dedicated tracing paper require very little light to show underlying guidelines clearly. However, if you work with heavier mediums, such as 200 gsm mixed media paper or 300 gsm watercolor sheets, a standard low-power pad will not be bright enough to penetrate the fibers. Before committing to a pad, consider your primary paper weight and look for a high-output light source that can easily illuminate thick, textured surfaces.
The surface material of the pad affects both its durability and how your drawing tools behave. Most budget-friendly pads feature an acrylic surface, which is lightweight, flexible, and highly shatter-resistant. However, acrylic is susceptible to scratching if you apply heavy pressure with sharp graphite pencils, hard charcoal sticks, or metal drafting tools. If you frequently use sharp tools or heavy-handed sketching techniques, a tempered glass surface offers superior scratch resistance and a highly smooth, rigid plane, though it adds weight and requires more careful handling to prevent breakage.
Uniform light distribution is another essential quality to verify. Lower-quality pads often suffer from “hot spots” near the LED strips along the edges, leaving the center of the drawing area dim and unevenly lit. A well-designed pad utilizes a specialized light guide plate or a fine dot-matrix pattern to distribute the light evenly across the entire surface. When testing a pad, turn it to its highest brightness setting and look for any dark patches or overly bright zones; consistent illumination is vital for maintaining accurate line weights and values across your entire composition.
Plan Your Physical Setup and Ergonomics
Maintaining a comfortable, ergonomic posture is vital for helping reduce physical fatigue during extended drawing sessions. Laying an LED pad completely flat on a desk forces you to bend your neck downward, which can lead to strain in your neck, shoulders, and lower back. To prevent this, look for light pads that come with adjustable stands or built-in tilt legs. Elevating the pad to a 10-to-15-degree angle aligns the drawing surface more naturally with your line of sight, allowing you to sketch comfortably for hours.
Stability is equally important when working on detailed line art or calligraphy. Look for pads equipped with sturdy, anti-slip silicone feet on the underside to prevent the device from sliding around on smooth wooden or glass desks. In warm, humid tropical environments, paper can warp slightly as it absorbs moisture from the air, and sweat from your hands can make the drawing surface slippery. Choosing a pad with built-in paper clips, magnetic pins, or a raised framing edge helps keep both your reference sheet and your drawing paper securely locked in place.
Finally, pay attention to the heat dissipation characteristics of the device. While LEDs are highly efficient and generate far less heat than traditional light boxes, prolonged use can still cause the surface of the pad to warm up. In warm climates, this surface warmth can soften wax-based colored pencils, cause soft graphite to smudge more easily, or even warp delicate tracing papers. Opt for pads designed with aluminum backings or passive cooling vents, which help dissipate heat away from the drawing surface, keeping your hands cool and your art mediums stable.
Frequently Asked Questions (FAQ)
Can I use a regular tablet or monitor as a light pad?
While you can use a tablet or computer monitor in an emergency, they are not ideal substitutes for a dedicated light pad. Consumer tablets generally have much lower maximum brightness levels, making it difficult to trace through thicker sketch paper or watercolor sheets. Furthermore, pressing down on a tablet screen with sharp pencils, charcoal, or drafting tools can easily scratch the expensive display or damage the sensitive digitizer underneath. Tablets also feature capacitive touchscreens that will constantly register accidental inputs from your palm as you draw.
How do I clean the surface of my LED light pad safely?
To clean your LED light pad safely, begin by unplugging the device from its power source to prevent any electrical issues. Use a dry, clean, lint-free microfiber cloth to gently wipe away loose dust, graphite powder, and eraser shavings from the surface. For stubborn smudges, fingerprints, or dried ink, slightly dampen the microfiber cloth with plain water and wipe the surface gently. Avoid using harsh chemical solvents, glass cleaners containing ammonia, or abrasive scrubbing pads, as these can permanently cloud acrylic surfaces and strip away protective coatings.
Community discussion
Share your experience or ask a question. Comments are reviewed before publication.