
Selecting the right light pad requires balancing your physical workspace, the thickness of your preferred drawing paper, and your need for mobility. A light pad—essentially a flat, illuminated panel used to trace, transfer, or refine designs—must provide enough illumination to shine through your chosen medium without causing eye strain or overheating during long sessions. In tropical climates where ambient humidity can soften paper fibers and warm hands can smudge graphite, choosing a device with excellent heat dissipation and a stable, non-slip surface is essential for maintaining clean, precise lines.
To find the ideal model, you must evaluate how the physical dimensions, light output, power configuration, and build quality align with your specific creative workflow. Whether you are a hobbyist learning the basics of lettering or a professional illustrator working on multi-layered comic boards, understanding these technical specifications will help you make an informed decision.
Match the Active Area to Your Canvas and Workspace
When browsing for a light pad, it is crucial to distinguish between the total physical dimensions of the device and its actual active area. The active area is the illuminated portion of the screen where you can trace, and it should closely match or exceed the size of the paper you use most frequently. If you primarily work in standard A4 sketchbooks or on letter-sized loose sheets, a compact A4 light pad is highly efficient, as it provides a perfect fit without taking up excess space on your desk.
Products mentioned in this guide
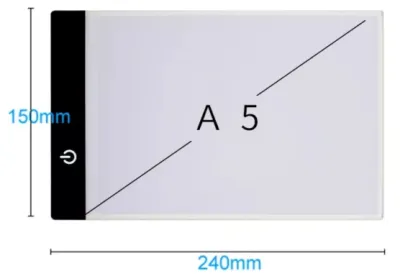
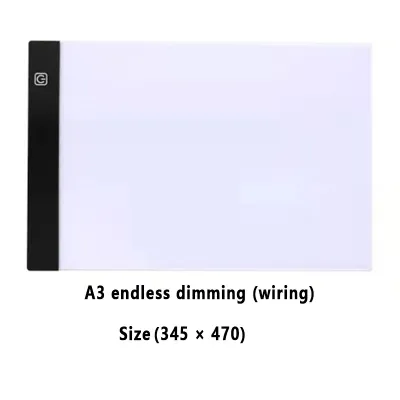

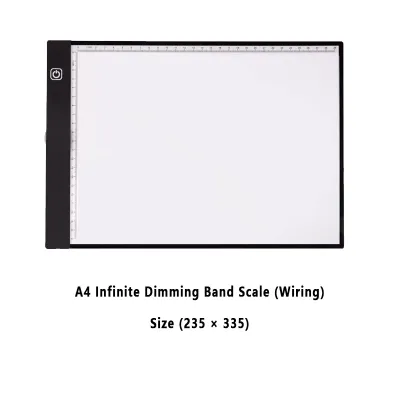
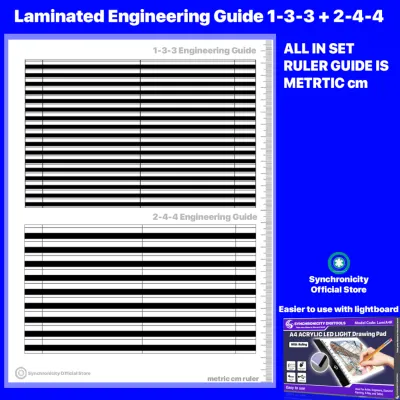
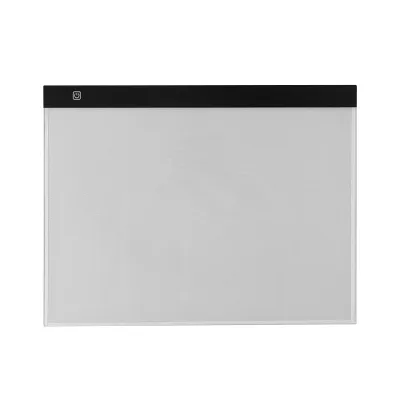
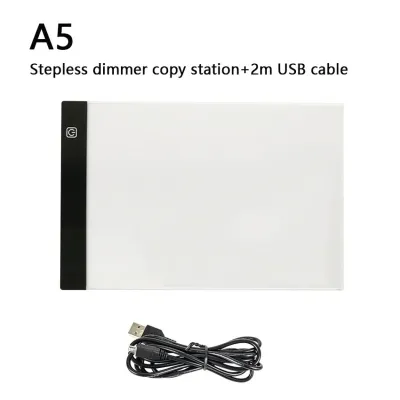
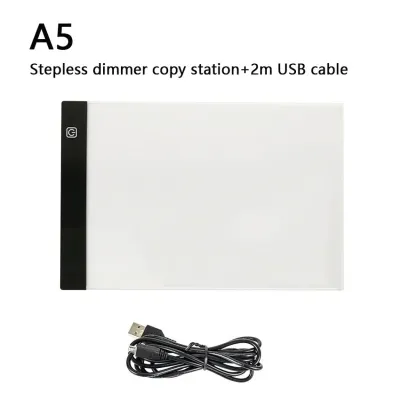
Prices are valid at publication and may change. Please refer to the product page for the latest price.
For artists who work on larger formats, such as A3 comic book boards, detailed architectural plans, or medium-sized illustrations, upgrading to an A3 light pad is highly recommended. An A3 surface allows you to move your paper freely without constantly taping and re-taping different sections of your drawing. However, keep in mind that larger pads require a dedicated, flat workspace; an A2 or A3 pad can easily clutter a small desk and may be difficult to store safely when not in use.
If portability is a priority, the overall thickness and weight of the unit become major decision factors. Modern light pads are incredibly thin, often ranging from 5mm to 8mm, which allows them to slide easily into a standard backpack or art portfolio alongside your sketchbooks. A lightweight, thin pad also reduces wrist fatigue, as the transition from the desk surface to the drawing area is minimal, mimicking the natural feel of drawing on a flat table.
Align Brightness and Uniformity With Your Paper Weight
The thickness and opacity of your drawing paper dictate how much light output you need from your device. Standard copy paper and lightweight tracing sheets (around 70 to 80 gsm) require very little illumination to reveal underlying lines. However, if you prefer heavy sketch paper, bristol board, or mixed-media sheets (ranging from 150 to 300 gsm), you will need a light pad with a high maximum brightness to penetrate the dense paper fibers.

To accommodate these varying paper weights, look for a model that features adjustable brightness levels. Stepless dimming, which allows you to smoothly adjust the light intensity by holding down a touch-sensitive power button, is highly superior to stepped buttons that only offer three or five fixed levels. Stepless control enables you to fine-tune the illumination to the exact level needed for your current paper thickness, preventing the harsh glare that occurs when a light source is too bright for thin paper.
Light uniformity is another critical factor that directly impacts the quality of your work. Low-quality light pads often suffer from uneven light distribution, resulting in bright “hot spots” near the internal LEDs along the edges and dim areas in the center. This unevenness can distort your perception of line weight and shading. When evaluating options, check product specifications for a built-in diffusion layer or eye-protective film designed to scatter light evenly across the entire active area.
Furthermore, pay close attention to the stability of the light output. High-quality dimming circuits prevent flickering, which is a common issue in cheaper models when set to lower brightness levels. Continuous, flicker-free illumination is essential for preventing rapid eye fatigue and headaches during detailed, multi-hour drawing sessions.
Choose the Right Power Setup for Your Mobility Needs
Your preferred drawing environment determines whether you should opt for a USB-powered light pad or an adapter-powered model. USB-powered units (typically running on 5V) offer exceptional flexibility for artists on the go. These models can be powered directly by a laptop, a standard wall charger, or a portable power bank, making them ideal for sketching in cafes, libraries, or outdoor locations where wall outlets are scarce.
When choosing a USB-powered model, verify the connector type used on the device. Models featuring a USB-C port are generally more durable and reliable than those with older Micro-USB connections. Micro-USB ports can become loose or damaged over time with frequent plugging and unplugging, whereas USB-C offers a sturdier, reversible connection that maintains a stable power flow.
For larger light pads, such as A2 formats, or units designed to penetrate exceptionally thick media, a dedicated AC power adapter (often 12V) is usually required. These adapter-powered models provide a highly stable, high-intensity light source that does not drain your laptop battery or require a portable power bank. They are perfect for permanent studio setups where the pad remains on a drafting table near a wall outlet.
Regardless of the power type, consider the length of the included cable. A short cable can restrict your movement and force you into awkward drawing positions close to an outlet or computer. Look for packages that include a cable of at least 1.5 to 2 meters, or ensure the device allows you to use your own high-quality, longer cable without experiencing a drop in light intensity.
Build Your Shortlist: Matching Specs to Your Skill Level
To simplify your shopping experience on online marketplaces or brand websites, it helps to categorize your requirements based on your current skill level and artistic goals. This prevents you from overspending on professional-grade features you may not need, or conversely, buying an entry-level model that limits your creative growth.
- Beginner Profile: If you are just starting out with tracing, calligraphy, or basic sketching, focus on value and simplicity. A compact A4-sized light pad with a USB power connection and basic 3-step brightness control is usually more than sufficient. These models are highly affordable, often costing under ₱1,500, and are easy to store in a drawer when not in use.
- Intermediate Profile: For art students, serious hobbyists, and digital illustrators who frequently transfer hand-drawn sketches, look for an A3-sized pad. Ensure it features stepless dimming to handle a wider variety of paper weights, a durable acrylic surface, and a secure USB-C power connection for improved longevity.
- Professional Profile: If you are a professional animator, comic artist, or architect working long hours, prioritize durability and high performance. Your shortlist should consist of large-format pads (A3 or A2) with high-intensity LEDs (capable of reaching over 3,000 lux), robust aluminum backplates for superior heat dissipation, and flush, bezel-free drawing surfaces.
Rather than relying on generic product titles, use these profiles to scrutinize the technical specifications listed by sellers. Pay close attention to the physical weight, the maximum lux rating, and the materials used in construction to ensure you are getting a tool that matches your daily creative demands.
Verify Surface Texture and Build Quality Before Checkout
The physical construction of the light pad directly affects your drawing comfort and the longevity of the device. A completely slick, glossy acrylic surface can cause your drawing paper or plastic rulers to slide around easily, which can ruin a precise line. Look for models that describe a slightly textured or matte surface, which provides a subtle resistance that mimics the natural feel of paper on a wooden drawing board.
Additionally, examine the bezel design of the frame. A flush surface, where the active illuminated area is perfectly level with the outer frame, is highly recommended. Raised bezels or thick plastic borders can dig into your wrist or palm as you draw near the edges of the pad, causing physical discomfort during long sessions. A seamless, flat edge also allows you to slide larger sheets of paper across the pad without creasing them.
Finally, verify the inclusion of practical accessories in the product description. Non-slip silicone pads on the bottom of the device are essential for keeping the light pad stable on smooth wooden or glass desks. Some packages also include low-tack tracing clips or a protective storage sleeve, which helps prevent scratches on the acrylic surface when the pad is stored or transported in your bag.
Frequently Asked Questions (FAQ)
Can I use a light pad for tracing watercolor paper?
Yes, you can use a light pad for watercolor paper, but you must choose a high-intensity model. Standard watercolor paper is thick, textured, and highly opaque (typically 300 gsm), which scatters light and makes tracing difficult on low-power pads. To successfully project lines through watercolor sheets, look for a professional-grade light pad that outputs at least 3,000 to 4,000 lux. Working in a dimly lit room will also maximize the contrast, making the underlying lines much easier to see.
Does a light pad cause eye strain during long sketching sessions?
A light pad can cause eye strain if the brightness is not properly balanced with your environment. To protect your eyes, always adjust the pad’s light intensity to match the ambient lighting of your room; drawing on a maximum-brightness pad in a pitch-black room creates a harsh contrast that quickly fatigues the eyes. Ensure you choose a flicker-free LED model, keep your workspace comfortably lit, and practice the 20-20-20 rule—every 20 minutes, look at an object 20 feet away for at least 20 seconds to rest your eye muscles.
Community discussion
Share your experience or ask a question. Comments are reviewed before publication.