
Cash stuffing—the practice of allocating physical cash into designated envelopes for different spending categories—has become a highly popular budgeting method for those looking to regain control of their finances. To start this journey successfully, choosing the right money savings binder is the most critical first step. A well-suited binder acts as a portable financial command center, keeping your hard-earned bills organized, secure, and easily accessible.
For beginners in the Philippines, finding a binder that can withstand daily handling, tropical humidity, and frequent opening is essential to building a sustainable budgeting habit. The physical specifications of your binder directly influence how easy it is to stick to your financial goals. A binder that is too bulky might be left at home, while one that is too fragile may fall apart within a few weeks of use.
By understanding the key features of these stationery tools, you can make an informed purchase that fits your lifestyle and budget. Whether you are saving for a specific goal, managing daily household expenses, or building an emergency fund, the right binder will keep your cash secure and your tracking sheets organized.
Products mentioned in this guide
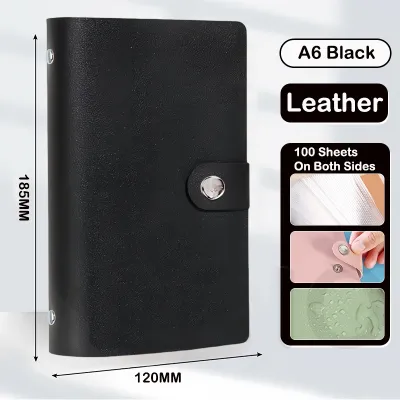
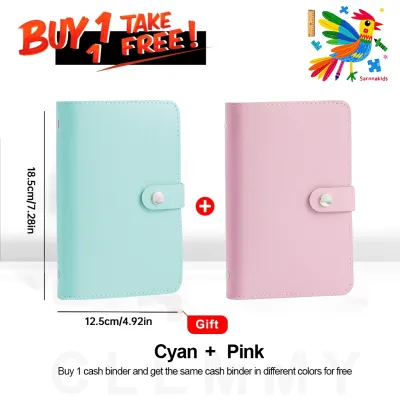
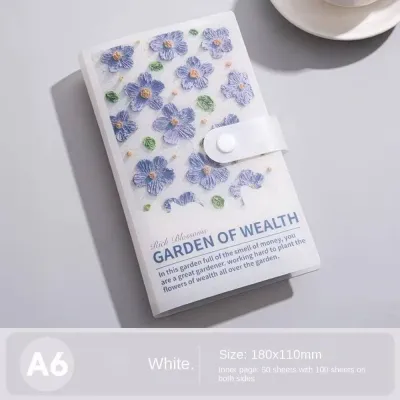
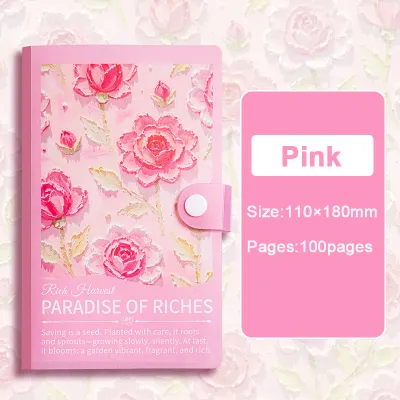
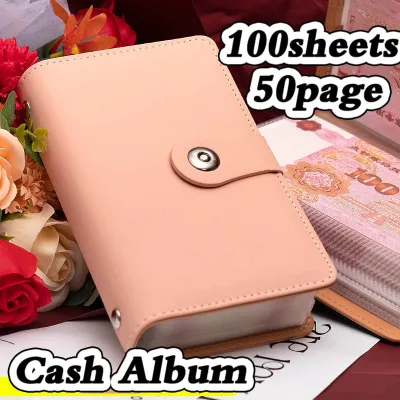
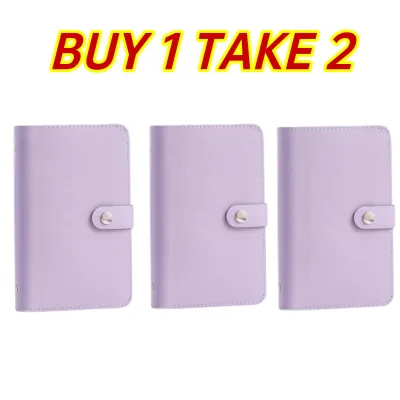
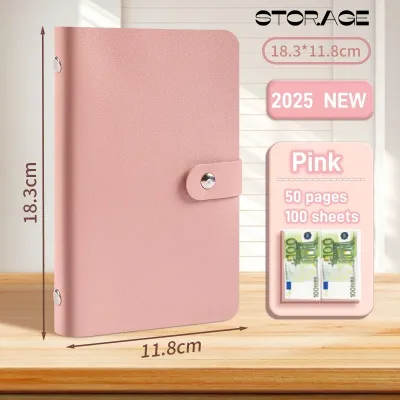
Prices are valid at publication and may change. Please refer to the product page for the latest price.
Core Features to Evaluate in a Money Savings Binder
When selecting a money savings binder, the physical dimensions and build quality are the first elements to evaluate. The most common sizes available are A5 and A6, each serving distinct budgeting styles. An A6 binder is highly favored for its portability, measuring approximately 4.1 by 5.8 inches, which allows it to fit easily into most daily bags, backpacks, or purses. This compact size is ideal if you need to carry your budget with you for daily transactions, commutes, or grocery shopping.
In contrast, an A5 binder is larger, measuring roughly 5.8 by 8.3 inches. While less portable, the A5 size offers significantly more storage capacity and a wider layout for detailed tracking sheets. If your budgeting system involves managing a large household, tracking numerous long-term sinking funds, or storing bulk cash at home, the A5 size provides the necessary physical space without crowding your envelopes.
The ring mechanism inside the binder is another critical component that dictates usability. Most budget binders feature a 6-ring metal mechanism, but the shape and diameter of the rings can vary. O-rings are the most common, but they can cause plastic envelopes to bunch up or catch when turning pages if the binder is full. D-rings, on the other hand, allow the envelopes to stack flatly against one side, maximizing the binder’s capacity and ensuring smoother page turning.
Cover materials must be chosen with durability and local environmental conditions in mind. In a humid tropical climate, materials like polyurethane (PU) leather are highly practical because they resist moisture, sweat, and spills, and can be easily wiped clean with a damp cloth. Clear polyvinyl chloride (PVC) covers are lightweight and allow you to see your trackers instantly, but they can become sticky or yellow over time if exposed to high heat or direct sunlight.
Finally, the closure mechanism determines how secure your cash remains during transport. A wrap-around zipper closure offers the highest level of security, ensuring that loose coins, receipts, or slipped bills cannot fall out of the binder. Snap-button closures and elastic bands are faster to open and close, but they offer less protection if the binder is overstuffed or dropped. For beginners, a secure snap or zipper is highly recommended to prevent accidental spills.
Selecting Envelope Sleeves and Budget Dividers
The internal components of your money savings binder are what physically hold and protect your cash. Envelope sleeves come in several designs, with zipper pouches being the most popular for beginners. These pouches feature a plastic slide zipper that seals the top, providing excellent security for paper bills and coins. However, the plastic zipper sliders add bulk to the spine of the binder, which can cause the binder to bulge unevenly if you use too many sleeves.

Clear button sleeves offer a flatter alternative, utilizing a small plastic snap button to close the envelope. While they keep the binder profile slim, opening and closing multiple button snaps during a budgeting session can be tedious. Open-top pockets or side-loading sleeves offer the fastest access to your cash, but they lack a physical seal. These are best reserved for binders that remain flat on a desk at home rather than those carried in a bag.
Categorizing your cash requires clear dividers, and you must choose between pre-printed and customizable options. Pre-printed dividers often feature standard categories like “Food,” “Rent,” “Utilities,” and “Savings.” While convenient for a quick start, they may not align perfectly with your personal spending habits. Customizable blank index tabs allow you to write or print your own categories, such as specific local utility providers, school tuition, or public transport allowances.
The physical quality of the plastic sleeves is vital for long-term durability. Look for sleeves made from thick, heavy-duty PVC or archival-safe polypropylene to prevent tearing at the seams. The edges of the sleeves should have reinforced heat-sealed seams, as thin plastic can easily split when stuffed with multiple paper bills. Additionally, check that the hole-punch alignment matches your binder’s ring spacing perfectly to avoid tension that can rip the holes over time.
When evaluating paper inserts and budget trackers, paper weight is an important consideration. Standard 70 gsm paper can easily bleed if you use gel pens or markers to track your expenses. Opting for thicker paper inserts, such as 100 gsm or 120 gsm, ensures that your writing remains legible on both sides of the sheet without ink bleeding through or tearing when you flip through the binder.
Recommended Binder Configurations for Beginners
To help you start without feeling overwhelmed, you can choose from three common binder configurations based on your daily routine and financial complexity. The Minimalist Setup is designed for those who want to manage daily variable expenses on the go. This configuration typically utilizes a compact A6 binder equipped with four to six heavy-duty zipper envelopes. The categories are kept to essentials, such as daily food, transportation, and minor miscellaneous expenses, making it lightweight and easy to carry.
The Comprehensive Setup is tailored for detailed monthly planning and long-term financial goals. This configuration is best suited for an A5 binder that remains safely at home. It features ten to twelve envelopes separated by clear dividers, allowing you to manage fixed household bills, insurance payments, and various sinking funds like emergency savings or holiday budgets. The larger size accommodates detailed ledger sheets, making it easy to track every peso over several months.
For the ultimate balance of security and convenience, the Hybrid Setup combines both systems. In this configuration, you maintain a large A5 binder at home to store the bulk of your savings and monthly bill allocations. For daily use, you carry a small A6 binder or a specialized cash-stuffing wallet containing only the cash needed for that specific week or day. This setup minimizes the amount of cash you carry in public, reducing the risk of significant financial loss if your bag is misplaced.
Choosing the right configuration depends on your personal comfort level with carrying physical cash. Beginners often find success starting with the Minimalist Setup to build the habit of physical tracking before expanding into a comprehensive home-based system. Whichever setup you choose, ensure that the physical capacity of the binder matches the number of envelopes you plan to insert to avoid straining the ring mechanism.
Sourcing and Verifying Binders in the Philippines
Finding a reliable money savings binder requires careful navigation of online marketplaces and local stationery stores. When shopping on e-commerce platforms, search terms should be specific to filter out unrelated products. Use precise phrases like “6-ring A6 budget binder set” or “zippered cash stuffing binder” rather than broad terms like “wallet” or “notebook.” This helps locate listings that include the specific ring mechanisms and envelope sizes needed for cash stuffing.
Online listings can sometimes be misleading, so it is crucial to identify common red flags. Be cautious of listings that show a fully stocked binder in the cover photo but only sell the binder shell without any plastic envelopes or tracker sheets. Always read the product description carefully to verify the exact bundle contents. Look for detailed specifications regarding the binder dimensions, ring size, and the number of included accessories to ensure you are getting a complete starter kit.
If you prefer to shop in person, visiting brick-and-mortar stationery stores or local craft shops allows you to physically inspect the product quality. Open and close the ring mechanism several times to ensure it snaps shut tightly without leaving any gaps. A gap in the rings will cause your plastic envelopes to snag and tear when you turn the pages. Feel the texture of the cover material and check the stitching along the edges for any loose threads that could unravel.
Additionally, inspect the quality of the plastic sleeves included in physical store bundles. Squeeze the slide zippers to ensure they glide smoothly along the track without splitting the plastic. If you are buying components separately, bring your binder along to test the hole-punch alignment of the sleeves before purchasing. This simple check prevents the frustration of buying envelopes that do not fit your binder’s specific ring spacing.
Setting Up Your First Cash Stuffing System
Transitioning from purchasing your binder to actively using it requires a structured approach. Before you place any cash inside the envelopes, sit down with a pen and paper to define your budget categories. Calculate your total income and subtract your fixed digital payments first. The remaining amount is what you will allocate to your physical cash categories, ensuring that you do not withdraw more cash than your budget allows.
Once your categories are defined, label your envelope sleeves clearly. You can use pre-printed sticker labels, write directly on the plastic with a permanent marker, or use a label maker for a clean, uniform look. Arrange the envelopes in your binder in order of priority or frequency of use. For example, place daily expenses like food and transport at the front of the binder, and monthly savings or sinking funds toward the back.
Establish a consistent routine for withdrawing and stuffing your cash. Many budgeters find it easiest to align this routine with their paydays, whether that is weekly, bi-weekly, or on the 15th and 30th of the month. When you receive your income, withdraw the exact denominations needed to fill your envelopes. Having a mix of smaller bills (such as ₱20, ₱50, and ₱100 notes) makes it much easier to allocate precise amounts without needing to break larger bills later.
To maintain accuracy, integrate simple insertable ledger sheets into each envelope. Every time you add or remove cash, write down the date, the transaction details, and the new balance on the tracker sheet. This habit ensures that your physical cash always matches your written records, helping you identify spending patterns and stay accountable to your financial goals without relying on digital applications.
Frequently Asked Questions (FAQ)
Can I use a standard school or office binder for cash stuffing?
While you can technically use a standard school or office binder, it is generally not ideal for cash stuffing due to size and security limitations. Standard academic binders are typically designed for A4 or letter-sized paper, making them too bulky to carry comfortably in a daily bag. Furthermore, standard binders lack secure closure mechanisms like zippers or heavy-duty snaps, increasing the risk of cash slipping out during transport. If you want to create a DIY setup, you can use a smaller standard 3-ring or 6-ring mini binder, provided you purchase compatible aftermarket zipper pouches that seal completely to protect your bills.
How do I prevent cash, coins, and receipts from falling out of the sleeves?
To prevent items from falling out, always ensure that your plastic sleeves are fully sealed before closing your binder. If you are using open-top or side-loading sleeves, you can secure the openings with small binder clips, paper clips, or decorative washi tape to keep the contents in place. Avoid overstuffing individual envelopes beyond their physical capacity; packing too many bills or heavy coins into a single sleeve can split the seams or force the zipper track open. For coin storage, consider dedicated zippered coin pouches designed for 6-ring binders, which distribute weight more evenly and prevent the binder from bulging.
Community discussion
Share your experience or ask a question. Comments are reviewed before publication.