
Finding a single multi-purpose paint marker pen that performs flawlessly on glass, metal, and fabric requires understanding that no single ink formula is universally perfect. Different surfaces demand different chemical bases—such as acrylic, oil, or solvent—to ensure proper adhesion, flexibility, and durability. Rather than searching for a mythical “best” pen, the most effective approach is to evaluate ink types, nib mechanisms, and manufacturer surface-compatibility labels to match the specific material you are working on. This guide will help you decode product specifications and select the right tool for your cross-surface projects.
In tropical climates like the Philippines, high humidity and ambient heat significantly affect how paint markers dry and cure. High moisture levels in the air can prolong drying times for water-based formulas, while intense heat can cause solvent-based inks to dry too quickly on the nib, leading to clogs. Understanding these environmental factors, along with the physical properties of your target surface, is essential for achieving clean, smudge-free lines that last.
Understanding Paint Marker Ink Types for Different Surfaces
Paint markers generally fall into two main categories based on their carrier liquid: water-based (often acrylic) and oil- or solvent-based. Each chemical composition behaves differently depending on whether the target surface is porous or non-porous. Porous materials, like raw wood, paper, and textiles, absorb liquids easily, whereas non-porous materials, like glass, glazed ceramics, and polished metals, repel them.
Products mentioned in this guide
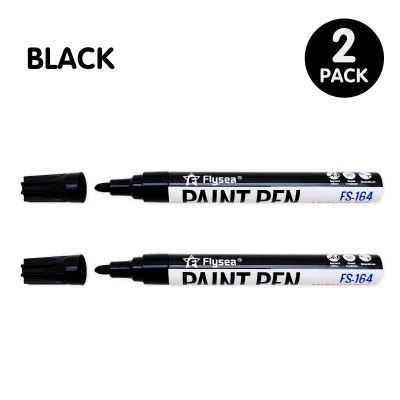
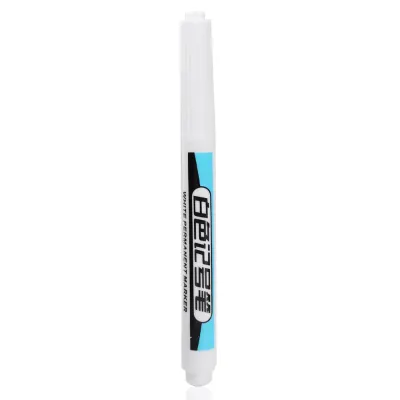
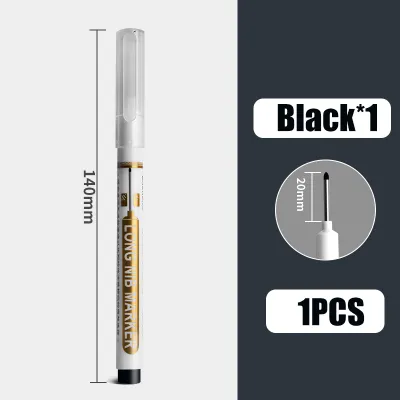
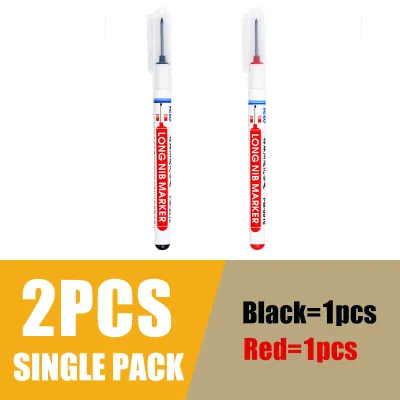
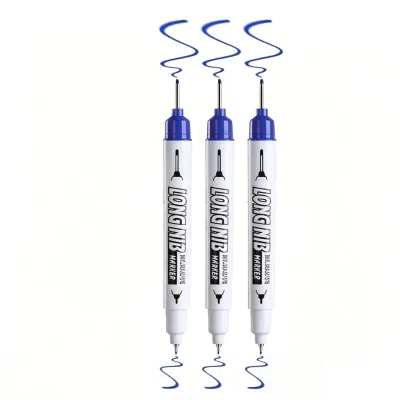
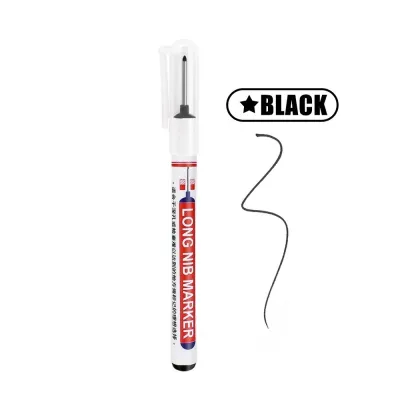
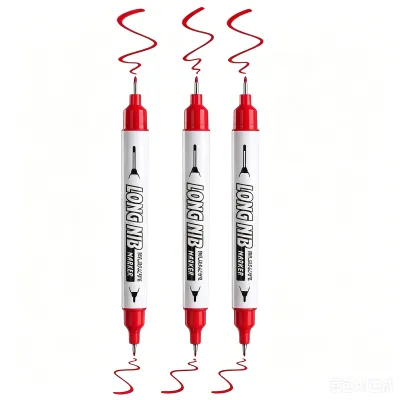

Prices are valid at publication and may change. Please refer to the product page for the latest price.
Water-based acrylic paint markers are highly favored for porous surfaces. Because they use water as a carrier, the pigment sinks deep into the fibers of fabrics and paper, creating a strong bond. Once dry, acrylic paint forms a flexible, plastic-like layer that resists cracking when the material bends. However, when applied to smooth, non-porous surfaces like glass or metal, water-based inks struggle to adhere permanently. Without a protective clear sealant, a water-based design on glass can easily be scratched off with a fingernail or washed away with water.
Oil-based and solvent-based paint markers offer superior adhesion on slick, non-porous surfaces. The solvents bite into the surface, allowing the paint to cling tightly to glass, metal, and glazed ceramics. These inks are highly resistant to water, fading, and mechanical wear, making them excellent for outdoor signage or items that undergo frequent handling. The trade-off occurs when using oil-based markers on textiles. The thin solvents tend to bleed rapidly through fabric fibers, causing sharp lines to blur and spread. Additionally, the strong solvents can degrade or melt delicate synthetic fabrics, and the dried paint layer is often too rigid, leading to cracking when the fabric is folded or washed.
When shopping for a multi-purpose paint marker pen, always read the product label carefully. Look for explicit surface compatibility lists rather than relying solely on a generic “all-surface” claim. Check for terms like “waterproof” or “water-resistant” if your project will be exposed to moisture, and look for lightfastness ratings to ensure the colors will not fade under direct sunlight. In humid regions, checking for “quick-drying” specifications can save you from accidental smudges during your creative process.
Matching the Marker to Your Specific Surface
Achieving a professional, long-lasting finish requires adapting your application technique to the specific material. Non-porous and porous surfaces demand entirely different preparation and curing steps to ensure the paint remains vibrant and intact.

Writing on Glass and Smooth Metal
Slick, non-porous surfaces like glass and polished metal offer no natural texture for paint to grip. To prevent the ink from smudging, pooling, or peeling off over time, you should prioritize oil-based paint markers or specialized glass and metal pens. These formulas are engineered to dry into a hard, durable shell that resists moisture and light abrasion.
Proper surface preparation is the most critical step for non-porous materials. Before writing, clean the glass or metal thoroughly using rubbing alcohol or a dedicated glass cleaner to remove all traces of dust, fingerprints, and manufacturing oils. Even a tiny amount of skin oil can prevent the paint from adhering correctly, leading to premature peeling. Ensure the surface is completely dry before applying the marker.
Once your design is complete, pay close attention to the manufacturer’s curing instructions. While the paint may feel dry to the touch within minutes, fully curing the ink to achieve maximum durability can take several days of air-drying. For glass and ceramic items, some manufacturers recommend heat-curing the piece in a home oven to bake the pigment onto the surface. Always verify if the marker claims dishwasher safety; even with heat-curing, hand-washing with mild soap is generally recommended to preserve the integrity of the design.
Painting on Fabric and Textiles
Textiles present the opposite challenge of glass: they are highly absorbent and constantly in motion. To prevent the paint from cracking when the fabric bends or washes, you must select water-based acrylic paint markers. These markers provide the necessary flexibility and sink into the fabric fibers rather than sitting on top of them as a rigid crust.
To avoid excessive soaking and bleed-through, always place a barrier inside the garment or beneath the fabric. A piece of thick cardboard, a plastic sheet, or wax paper inserted between the layers of a t-shirt will prevent the ink from seeping through to the back of the clothing. When applying the paint, use light, even strokes; heavy pressure can release too much ink, causing it to spread beyond your intended outlines.
Most fabric-compatible acrylic markers require heat-setting to become permanent and wash-resistant. Once the paint is completely dry—which may take longer in humid tropical environments—use a dry iron on a medium setting. Place a pressing cloth or a sheet of parchment paper over the design and iron it for several minutes, moving the iron constantly to avoid scorching. Alternatively, you can iron the fabric from the reverse side. Always conduct a bleed and color test on a hidden scrap piece of the same fabric first to observe how the ink behaves during application and after washing.
Evaluating Nib Sizes and Valve-Action Mechanisms
The physical design of the paint marker pen plays a significant role in how smoothly the ink flows and how much detail you can achieve. Selecting the right nib size and understanding the ink delivery system will prevent clogs and messy splatters.
Nib shapes and sizes dictate the line width and coverage area of your project. Fine round tips, typically ranging from 0.7mm to 1mm, are ideal for detailed outlines, fine writing, and intricate patterns on small objects. Medium round tips (around 2mm to 3mm) are the most versatile, suitable for both writing and filling in medium-sized shapes. Broad round or chisel tips (5mm and above) allow you to cover large surface areas quickly and are excellent for bold signage or calligraphy.
Most high-quality multi-purpose paint markers utilize a valve-action mechanism rather than a standard capillary feed. Inside a valve-action marker, the ink is sealed in a reservoir with a metal mixing ball. When you press down on the nib, it compresses a spring-loaded valve, allowing a fresh flow of ink to saturate the felt tip. This system keeps the ink fresh and prevents it from drying out inside the barrel. Capillary systems, common in standard felt-tip pens, feed ink continuously but are more prone to drying out and clogging when exposed to dust or paint residue from rough surfaces.
To prepare a valve-action marker for its first use, follow the standard priming steps. Keep the cap securely on and shake the marker vigorously for at least thirty seconds to distribute the settled pigments. Remove the cap and gently press the nib down vertically onto a scrap piece of paper. Hold it down for a few seconds, then release. Repeat this pumping action rhythmically until you see the ink flow down and fully saturate the tip. Avoid pressing too hard or pumping too rapidly, as this can cause the valve to stick open and flood your workspace with excess paint.
Cross-Surface Compatibility and Limitations
While a “multi-purpose” paint marker pen is a highly convenient tool for quick crafts and labeling, it is important to recognize its practical limitations. A true all-in-one marker is always a chemical compromise. An ink formulated to be flexible enough for fabric will lack the scratch resistance needed for glass, while a formula designed to grip metal will be too rigid and brittle for textiles.
For critical, high-wear, or professional projects, you should abandon the multi-purpose pen in favor of surface-specific alternatives. If you are marking outdoor metal pipes exposed to rain and sun, an industrial-grade metal marker is necessary. If you are decorating a custom denim jacket that will be washed frequently, dedicated fabric paints or specialized fabric markers will yield a much softer, longer-lasting result.
When using a multi-purpose marker on challenging surfaces, check the manufacturer’s guidelines regarding top-coats and sealants. Applying a clear acrylic spray over a finished design on glass, metal, or wood can significantly improve its durability and outdoor resistance. However, always test the sealant on a small sample first. Some solvent-based clear coats can react chemically with the marker’s ink, causing your design to dissolve, smear, or discolor.
Frequently Asked Questions (FAQ)
How do I fix a dried-out paint marker pen?
If your paint marker stops flowing, first check if the nib is reversible. Many manufacturers design their nibs so they can be pulled out, flipped around, and reinserted to provide a fresh writing tip. If the tip is clogged with dried paint, remove the nib entirely and soak it in a small container. For water-based acrylic markers, soak the nib in warm water; for oil- or solvent-based markers, use rubbing alcohol or mineral spirits. Once the dried paint has dissolved, press the nib dry with a paper towel, reinsert it into the marker, and repeat the standard priming steps to restore the ink flow. If the ink inside the main reservoir has completely cured, the pen cannot be salvaged and must be replaced.
Can I use a multi-purpose paint marker on plastic?
Yes, but plastic surfaces require careful consideration because they vary widely in chemical composition, flexibility, and surface tension. Smooth, high-density plastics like polyethylene or polypropylene often resist paint adhesion, causing the ink to peel or scratch off easily. Furthermore, the strong solvents found in some oil-based paint markers can chemically react with softer plastics, causing them to soften, warp, or melt. To ensure compatibility, always perform a spot test on an inconspicuous area of the plastic object. If the paint adheres well without damaging the material, you can proceed with your project, though applying a plastic-compatible clear primer beforehand can greatly improve long-term durability.
Community discussion
Share your experience or ask a question. Comments are reviewed before publication.