
Selecting the perfect gift is only half the task; presenting it in a way that feels intentional and secure completes the experience. A paper bag that is too small risks tearing at the seams, while one that is excessively large makes the contents slide around, potentially damaging the item and diminishing the visual appeal. To choose the right paper bag, you must balance three critical dimensions: the physical size of the gift, the weight and structural style of the paper, and the aesthetic tone of the occasion.
In the Philippines, where tropical humidity can soften paper fibers and weaken standard adhesives, making an informed choice is especially important. Whether you are wrapping a delicate piece of jewelry, a heavy glass candle, or a set of local delicacies, understanding how to match your gift to the correct bag ensures your presentation remains pristine from the moment of exchange to the final unboxing.
Measure Your Gift to Find the Exact Paper Bag Size
Before purchasing any packaging, you must determine the precise three-dimensional footprint of your gift. Many gift givers make the mistake of guessing the size, only to find that the item stretches the paper or leaves too much empty space. To avoid this, use a reliable measuring tape or ruler to record the length, width, and height of the item in its final presented state.
Products mentioned in this guide
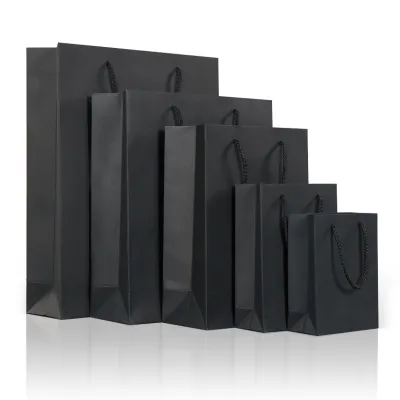
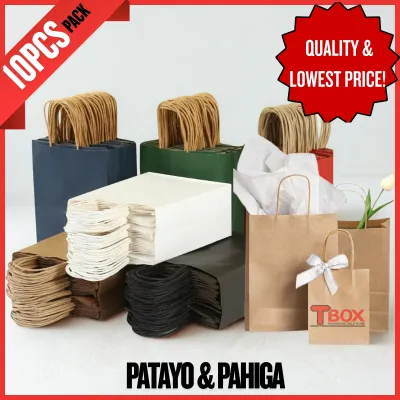
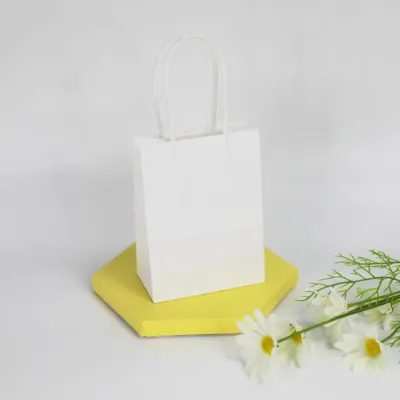
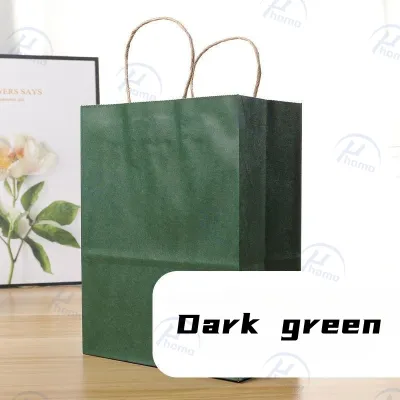
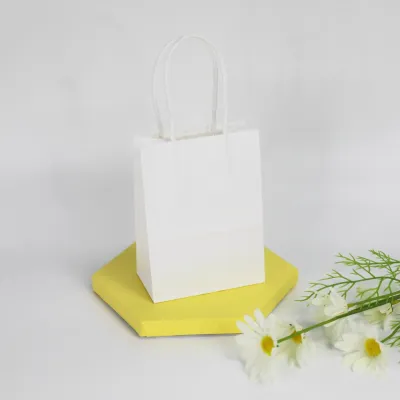
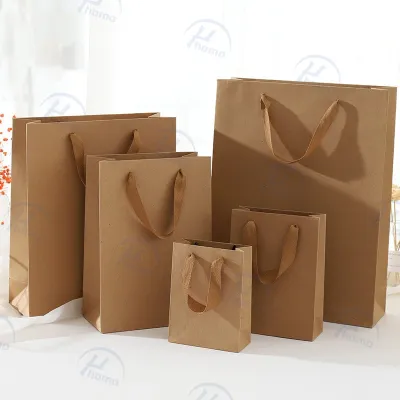
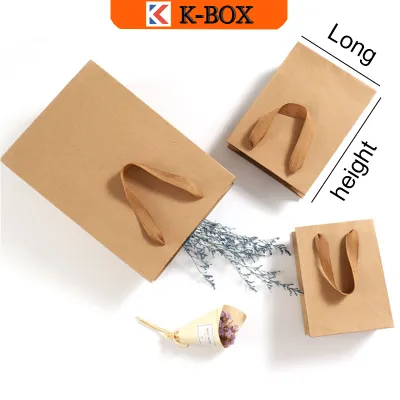

Prices are valid at publication and may change. Please refer to the product page for the latest price.
If your gift is already housed in a structured box, measure the box directly. For irregularly shaped items, such as stuffed toys, ceramics, or bundled items, place the object on a flat surface and measure its outermost boundaries. Treat these irregular shapes as a virtual rectangular box, measuring the widest point from left to right (length), front to back (width), and bottom to top (height).
Once you have the base measurements, you must calculate the necessary clearance allowance. A paper bag needs extra room to accommodate wrapping accessories and to prevent the item from scraping against the sides during packing.
- Standard Allowance: Add at least 1 inch (approximately 2.5 centimeters) to the length and width of your gift, and at least 2 inches (approximately 5 centimeters) to the height.
- Padded Allowance: If you plan to wrap the item in bubble wrap, corrugated cardboard, or multiple layers of thick tissue paper, add an additional 0.5 inches to all sides to account for this protective volume.
Understanding how manufacturers list bag dimensions is key to finding a perfect match. Paper bag sizes are typically presented in the order of Width x Gusset (or Depth) x Height. The gusset refers to the expandable side panels of the bag. Ensure the bag’s gusset measurement is slightly larger than the width of your gift; otherwise, the sides of the bag will bulge outward, distorting its shape and putting immense pressure on the bottom seams.
Before finalizing your selection, perform a quick physical check of the proportions. The gift must sit completely flat on the bottom panel of the bag without stretching or distorting the front and back faces. Additionally, the top of the bag must have enough clearance—ideally 2 to 3 inches above the gift—to allow the handles to be held comfortably or to let you fold, seal, or tie the top without crushing the contents inside.
Match the Paper Weight and Bag Style to Your Gift
The material composition and structural style of a paper bag dictate its strength, durability, and overall presentation quality. Choosing the wrong paper type can lead to embarrassing structural failures, especially when dealing with heavy or delicate items.

Kraft Paper Bags Kraft paper is manufactured using a chemical pulping process that retains the natural strength of wood fibers, making it exceptionally durable and resistant to tearing. Typically available in natural brown or bleached white, kraft bags are the ideal choice for rustic, eco-friendly, or minimalist themes. Because of their high tensile strength, they are excellent for carrying heavier, non-fragile items like books, packaged food jars, or artisanal crafts.
Coated and Glossy Paper Bags Coated paper bags, often made from art paper or cardstock, feature a smooth surface finish that allows for vibrant color printing and high-resolution designs. These bags are perfect for luxury gifts, cosmetics, jewelry, and high-end electronics where a polished, premium aesthetic is required. However, in warm and humid tropical climates, glossy laminated finishes require careful handling. High humidity can cause glossy coatings to stick together during storage or weaken the water-based glues used to secure the seams. Keep these bags in a cool, dry place inside a sealed container until they are ready to be used.
Flat-Bottom vs. Pinch-Bottom Bags The construction of the bag’s base determines how it handles different shapes of merchandise.
- Flat-Bottom Bags: Also known as block-bottom or self-opening sack (SOS) bags, these feature a square or rectangular base that allows the bag to stand upright independently on a flat surface. Use these for structured boxes, glass bottles, mugs, and any items that must remain upright to prevent spilling or shifting.
- Pinch-Bottom Bags: These bags have a sealed, narrow bottom crease similar to an envelope. They do not stand upright on their own and are designed strictly for lightweight, flat, or highly flexible items such as apparel, greeting cards, prints, or soft textiles.
When dealing with fragile items like glassware, ceramics, or delicate electronics, the bag’s structural rigidity is your primary defense against damage. Opt for bags made from thick cardstock or heavy-weight paper (typically 150 GSM to 250 GSM). A rigid bag structure maintains its shape even when bumped, preventing external forces from compressing the fragile item inside.
Choose Colors and Finishes That Fit the Occasion
The visual style of a paper bag sets the emotional tone of the gift before the recipient even looks inside. Matching the colors, patterns, and textures to the specific event shows thoughtfulness and attention to detail.
Birthdays and Casual Celebrations For lively personal milestones, bright colors and playful patterns are the standard. Vibrant hues like yellow, turquoise, or coral, along with geometric patterns, polka dots, or metallic gold and silver foil accents, evoke a sense of joy and excitement. These finishes work exceptionally well for children’s parties, graduations, and casual friendly gatherings.
Weddings and Formal Events Formal occasions demand a refined, sophisticated approach. Minimalist designs, soft pastel tones, cream, off-white, or deep navy blue with matte finishes create an elegant look. Subtle, embossed textures or delicate linen finishes add a tactile element of luxury without appearing overly busy.
Corporate and Professional Gifting In professional settings, the packaging should reflect polish and brand alignment. Stick to neutral tones such as charcoal gray, navy, black, or high-quality plain kraft paper. Solid-colored bags with clean lines convey a sense of order and respect. Avoid loud patterns or overly casual decorative elements, opting instead for a single, high-quality ribbon or a clean, embossed logo if custom-branding.
Customization and Personalization If you want to avoid purchasing pre-printed bags for every individual event, buy plain, high-quality kraft or white paper bags in bulk. You can easily customize these blank canvases to suit any occasion. Use custom rubber stamps, elegant calligraphy, high-quality stickers, or colored satin ribbons to dress the bag up or down. To ensure a professional finish, always test your stamps or markers on a hidden area of the bag—such as the inner bottom flap—to verify ink absorption, drying speed, and to ensure the ink does not bleed through or smudge on the surface.
Check Weight Capacity and Handle Strength for Safe Carrying
A beautiful gift presentation can quickly turn into a disaster if the bag tears or the handles snap during transit. Verifying the weight capacity of your paper bag is a crucial step that should never be overlooked.
The carrying capacity of a paper bag is largely determined by its paper thickness, measured in Grams per Square Meter (GSM).
- Lightweight (60 to 80 GSM): Suitable only for very light items like greeting cards, single garments, or small pastries.
- Medium-weight (100 to 120 GSM): The standard range for retail and standard gift bags, capable of holding light books, small cosmetics, or medium accessories.
- Heavyweight (150 to 250+ GSM): Premium cardstock or heavy kraft, designed for heavier items like wine bottles, large books, or multiple dense gifts.
The handle design is another critical point of failure. Different handle types offer varying levels of comfort and strength:
- Twisted Paper Handles: Made by twisting kraft paper into a tight cord, these are surprisingly strong and stiff, making them excellent for medium-weight gifts.
- Flat Paper Handles: Constructed from a folded strip of paper glued directly to the inside of the bag. These are economical but have lower weight tolerances and can dig into the hands when carrying heavier items.
- Cotton Rope or Ribbon Handles: Soft and comfortable to hold, these are threaded through reinforced metal eyelets or glued securely inside heavy cardstock bags. They offer a premium feel and high weight capacity.
- Die-Cut Handles: Cut directly into the upper portion of the bag, often reinforced with a double layer of paper. These are highly secure because there are no separate handles to detach, but they reduce the usable height of the bag.
If your gift is slightly heavy or has sharp corners that might puncture the paper, you can reinforce the bag manually. Cut a piece of thick, rigid cardboard to match the exact dimensions of the bag’s bottom panel and slide it inside. This distributes the weight of the gift evenly across the entire base, preventing the paper from sagging or tearing at the bottom folds.
Always pay attention to warning signs during a test lift. If you lift the bag by its handles and notice the paper around the handle attachments stretching, the bottom of the bag bowing downward significantly, or the sides creasing under tension, stop immediately. Do not risk carrying the item in that bag. Instead, switch to a sturdier alternative, such as a rigid cardboard gift box, a reusable woven bag, or a canvas tote.
Step-by-Step Guide to Packing the Gift Securely
Once you have selected the ideal paper bag, packing it correctly ensures the gift remains secure, balanced, and visually stunning. Follow these sequential steps for a professional presentation.
Step 1: Prepare the base Begin by placing a flat piece of cardboard or a few sheets of folded tissue paper at the bottom of the bag. This creates a cushioned barrier that absorbs shocks and protects the bag’s bottom seams from being punctured by any sharp corners on your gift box.
Step 2: Position the gift Gently lower your gift into the center of the bag. Ensure it sits completely flat on the bottom panel. If you are packing multiple items, place the heaviest and most stable items at the very bottom to establish a low center of gravity, then stack lighter or more fragile items carefully on top.
Step 3: Add filler Fill any remaining empty space around the sides of the gift to prevent it from shifting or tipping over during transit. Use high-quality crinkle-cut shredded paper, wood shavings, or sheets of colorful tissue paper. For a classic look, pinch a sheet of tissue paper in the center, shake it to let the corners flare upward, and tuck the pointed end into the bag, allowing the decorative folds to plume elegantly out of the top.
Step 4: Secure and decorate To finish the presentation, loop a coordinating satin or grosgrain ribbon through the handles and tie it into a neat bow. This not only adds a beautiful decorative touch but also helps keep the top of the bag closed, keeping the contents private. Attach a personalized gift tag to one of the handles, ensuring the recipient’s name is clearly visible. For a modern, clean look, you can also fold the top edge of a handleless bag inward and seal it with a decorative sticker or a strip of washi tape.
Frequently Asked Questions (FAQ)
Can I use a paper bag for heavy or awkwardly shaped gifts?
Yes, but you must select a bag specifically designed for high-stress loads. Choose a flat-bottom bag made of heavy-weight kraft paper or thick cardstock (at least 150 GSM) with reinforced cotton rope or twisted paper handles. Always place a rigid cardboard insert at the bottom to distribute the weight and prevent bowing. If the gift is excessively heavy, has sharp metal edges, or is highly unstable, do not use a paper bag; instead, opt for a rigid wooden or cardboard box, or a reusable canvas tote to ensure safe transport.
How do I store unused paper bags to prevent damage?
To keep your unused paper bags in pristine condition, store them completely flat in a cool, dark, and dry location. Avoid folding or creasing them, as this permanently weakens the paper fibers. Keep them away from direct sunlight to prevent the colors and patterns from fading. In humid environments, place the bags inside a sealed plastic storage bin along with a few silica gel packets; this protects the paper from absorbing moisture, which can warp the structure, weaken the adhesive seams, or lead to mold growth.
Community discussion
Share your experience or ask a question. Comments are reviewed before publication.