
Choosing the right fuse beads—commonly known as Perler beads—requires matching the bead size to your design’s complexity, verifying the plastic’s melting properties, and ensuring your tools are fully compatible. Whether you are crafting a flat coaster, an intricate pixel-art portrait, or a complex three-dimensional model, the success of your project depends on selecting beads that melt uniformly and bond securely. In tropical environments where ambient humidity can affect how materials behave under heat, paying close attention to storage, preparation, and ironing techniques is essential for achieving a smooth, professional finish. By focusing on observable material characteristics and planning your layout systematically, you can avoid common crafting frustrations and ensure your designs stand the test of time.
Define Your Project Goals and Skill Level
Before purchasing any materials, clarify the scope of your project and the skill level of the crafter. Flat designs like keychains, coasters, and wall art require a sturdy, uniform melt to withstand daily handling. If you are planning a three-dimensional model, such as a small decorative box or a figurine, you will need beads with highly consistent dimensions so the interlocking tabs fit together perfectly without forcing or sanding. For wearable items like flexible bracelets, necklaces, or bag charms, you must seek out specialized flexible bead formulations that retain some elasticity after cooling, preventing the finished piece from snapping when bent.
The age and fine motor skills of the crafter should dictate the bead size you choose. Jumbo beads are excellent for young children or beginners who are still developing hand-eye coordination, as their larger size makes them easy to pick up and place on a grid. Regular beads are the standard choice for most hobbyists, offering a balanced level of detail that suits a wide variety of patterns. Mini beads are designed for advanced crafters who want to create highly detailed, miniature pixel art, but they require a steady hand, excellent eyesight, and the use of fine-tipped tweezers.
Products mentioned in this guide
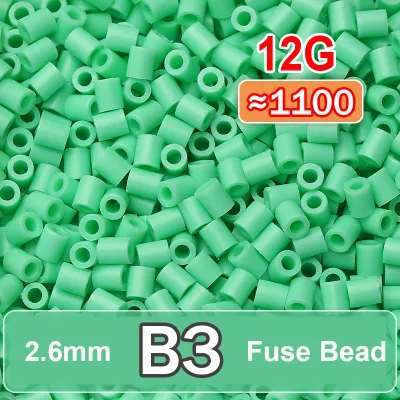
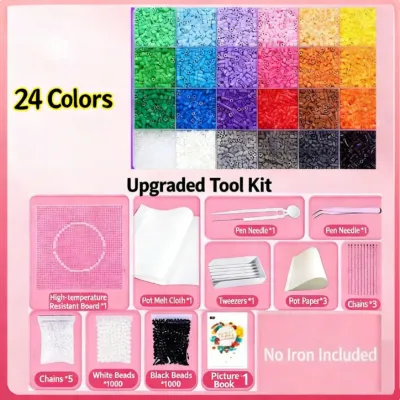
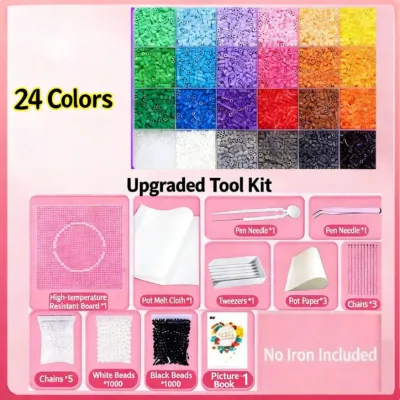
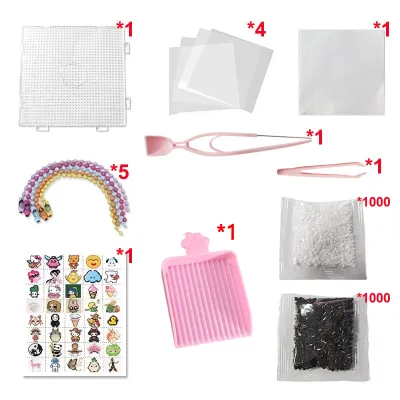
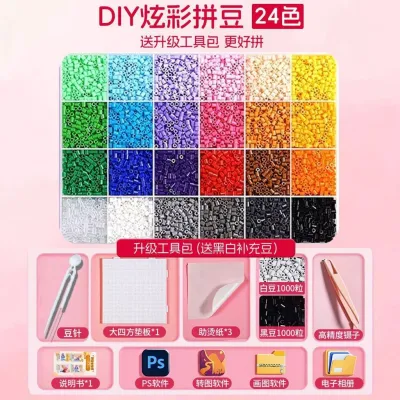
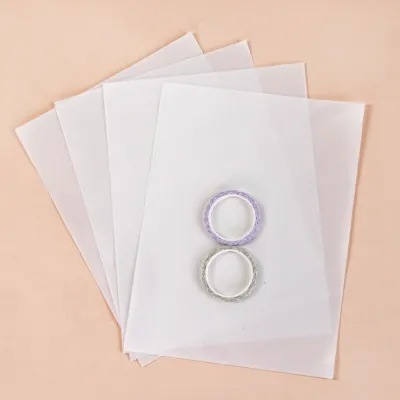
Prices are valid at publication and may change. Please refer to the product page for the latest price.
Safety is a critical consideration at this initial stage. Because the fusing process relies on a hot household iron, younger crafters must always have adult supervision during the heating and cooling phases. Set up your workspace on a stable, heat-safe surface, such as a wooden table protected by a silicone mat, to prevent accidental damage to your furniture. Additionally, ensure the room is well-ventilated; while high-quality beads release minimal odor when heated correctly, a steady airflow helps disperse any mild plastic fumes and assists in the even cooling of your completed design.
Select the Correct Bead Size and Format
Fuse beads are categorized into distinct size formats, each requiring dedicated accessories. Mini beads, typically measuring around 2.6 millimeters in diameter, allow you to pack a high level of detail into a small footprint, making them ideal for delicate jewelry or compact keychains. Regular beads, measuring approximately 5 millimeters, are the most common format and are widely supported by a vast library of patterns and templates. Jumbo beads, which measure around 10 millimeters, are perfect for quick, bold designs and are highly durable, though they lack the capacity for fine detail.

It is crucial to understand that bead sizes are not interchangeable on a single pegboard. The physical spacing of the pegs on a board is engineered to match a specific bead diameter. If you attempt to place mini beads on a regular pegboard, they will slip between the pegs and fail to form a stable grid; conversely, regular beads will not fit onto the closely spaced pegs of a mini board. Always verify that the millimeter rating of your bead package matches the exact specifications of your pegboard before starting your layout.
When purchasing beads, perform a quick visual inspection of the package to verify manufacturing quality. Look for uniform height across all beads in the container, as uneven heights will prevent the iron from making contact with every bead, leading to weak spots in your design. Check that the outer walls are smooth and that the center holes are perfectly circular and centered. Off-center holes or jagged, frayed edges indicate poor quality control, which can cause the beads to melt at different rates and ruin the clean lines of your finished piece.
Evaluate Melt Characteristics and Material Quality
The chemical composition of fuse beads determines how they react to heat and how they behave once cooled. Standard fuse beads are typically made from low-density polyethylene, which melts at a moderate temperature to form a semi-rigid, durable plastic structure. Soft-fuse variations are formulated to remain pliable after heating, allowing you to create flexible patches or comfortable jewelry that contours to the body. Hard-fuse beads, on the other hand, cure into an exceptionally rigid state, providing the structural strength needed for standing 3D models, though they can be brittle if dropped on hard surfaces.
To ensure a clean, professional finish, examine the cuts on the ends of the beads. High-quality beads feature clean, flat cuts on both ends, ensuring they sit flush against the pegboard and make full contact with the ironing paper. If you notice beads with squashed cylinders, angled cuts, or excess plastic flashing around the rims, avoid using them in high-visibility areas of your design. These imperfections cause uneven heat absorption, resulting in some beads melting completely flat while adjacent ones remain barely fused.
Before committing to a large, time-consuming project, always plan a small test-melt batch using a scrap pegboard. Arrange a simple five-by-five grid of beads and apply heat using your standard iron settings to observe how the plastic behaves. Note how quickly the beads begin to close their center holes, whether they retain their vibrant color under heat, and how securely they bond to one another. This trial allows you to calibrate your iron’s temperature and pressure settings to match the specific batch of beads, preventing costly mistakes on your main design.
Plan Colors, Quantities, and Compatible Tools
Accurate planning prevents the frustration of running out of a specific color in the middle of a complex design. Use a grid-counting method by mapping your pattern on graph paper or a digital design tool, counting the exact number of beads required for each color. Always add a ten percent buffer to your estimate to account for beads that may be dropped, lost, or found to be defective during sorting. To manage your crafting budget, divide the total price of a bead pack in Philippine Pesos (₱) by the number of beads it contains to determine the cost per bead, helping you compare the value of bulk jars versus sorted single-color packs.
The visual finish of your project is heavily influenced by the color variants you select. Opaque beads provide solid, bold colors that are excellent for defining sharp outlines and classic pixel art designs. Translucent beads allow light to filter through, making them the perfect choice for suncatchers, window ornaments, or projects designed to hang near light sources. Neon, pastel, and glitter variants offer specialized aesthetic effects, allowing you to add highlights, depth, and unique textures to your custom creations.
Finally, verify that your ironing accessories are fully compatible with your chosen beads. Standard baking parchment paper is highly recommended because it tolerates high heat and releases easily from melted plastic; never use wax paper, as the wax will melt onto your iron and ruin your beads. If you prefer a glossy finish rather than the traditional matte look, look for specialized reusable ironing films designed specifically for fuse crafts. Ensure your tweezers have tips fine enough to handle your selected bead size, especially if you are working with mini beads.
Verify Your Selection and Prepare for Fusing
Before you begin the fusing process, perform a final pre-flight check of your materials and workspace. Review your layout to ensure all beads are of the same size category and are seated flat on the pegboard pegs. Confirm that you have enough ironing paper to cover the entire design with a safe margin around the edges, and check that your iron’s water reservoir is completely empty, as steam will trap moisture between the beads and cause uneven, bubbly melting.
Carefully read the manufacturer labels on your bead packaging for specific safety guidelines and recommended iron settings. Most brands suggest using a medium or wool heat setting without steam, but variations in plastic density may require slight adjustments. Ensure that the age recommendations on the packaging match the users in your crafting group, keeping small beads far out of reach of toddlers who might swallow them.
Establish clear stop conditions during the ironing process to protect your project and your equipment. If you observe beads melting at drastically different rates, or if a section begins to collapse into a flat puddle while others remain unfused, immediately lift the iron and allow the piece to cool before adjusting your technique. If the beads fail to bond after several passes, stop and verify that your iron is reaching the correct temperature. Most importantly, if you detect any sharp, unusual chemical odors, immediately turn off the iron, unplug it, and step away to ventilate the room fully before investigating the cause.
Frequently Asked Questions (FAQ)
Can I mix different brands or batches of fuse beads in a single project?
Mixing different brands or batches of fuse beads in a single project is generally not recommended because different manufacturers use unique plastic formulations. These variations result in different melting points and cooling rates, which can cause some beads to over-melt and lose their shape while others remain barely fused, leading to weak joints and structural failure. If you must combine different brands, always conduct a small test melt on a scrap pegboard first to observe how the different plastics fuse together and to ensure the finished piece will hold its shape.
How do I prevent my fused bead design from warping after ironing?
Warping occurs when the hot plastic cools unevenly, a problem that can be worsened by high ambient humidity. To prevent warping, keep the ironing paper in place immediately after you finish ironing, and place a heavy, flat object—such as a large textbook, a heavy ceramic tile, or a flat cutting board—directly on top of the warm design. Leave the weight in place until the project has cooled completely to room temperature before removing it from the pegboard, ensuring the plastic sets in a perfectly flat shape.
Community discussion
Share your experience or ask a question. Comments are reviewed before publication.