
Choosing the right ribbon for a bouquet is a key design decision that unifies the floral elements, secures the stems, and provides a comfortable grip. The ideal ribbon width and style depend on balancing the physical dimensions of the bouquet with the overall aesthetic theme of the event. By evaluating stem thickness, the visual weight of the blooms, and environmental factors—such as the high humidity often experienced during outdoor events in tropical climates like the Philippines—you can select a ribbon that remains secure, beautiful, and functional throughout your celebration.
Assess Your Bouquet's Proportions and Aesthetic
To establish a baseline for ribbon selection, evaluate the physical proportions of your floral arrangement. A large, cascading bouquet featuring heavy blooms requires a ribbon with sufficient visual weight to balance the top-heavy presentation. Conversely, a delicate nosegay or single-stem arrangement is easily overwhelmed by wide or heavy fabrics. Measure the overall diameter of the floral head and the length of the exposed stems; a standard approach is to cover approximately two-thirds of the bound stem length, leaving the bottom stems exposed to sit in water before the event.
The formality of the event and the specific floral style dictate the texture and finish of your ribbon. Formal gatherings pair naturally with classic, high-luster fabrics that exude structure and polish. For rustic, bohemian, or outdoor garden settings, textured ribbons with matte finishes or raw, frayed edges create a relaxed, organic feel that complements unstructured arrangements. Matching the ribbon’s character to the bouquet’s design ensures that the wrapping feels like an intentional extension of the floral artistry.
Products mentioned in this guide
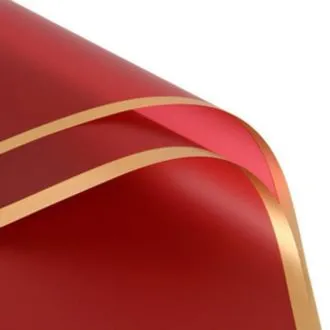
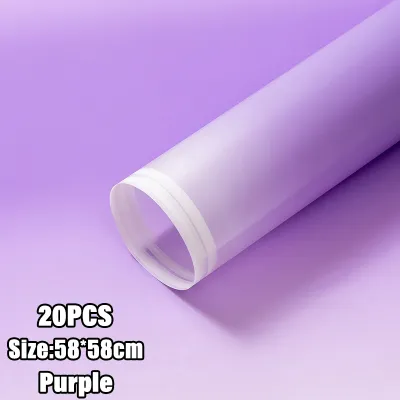
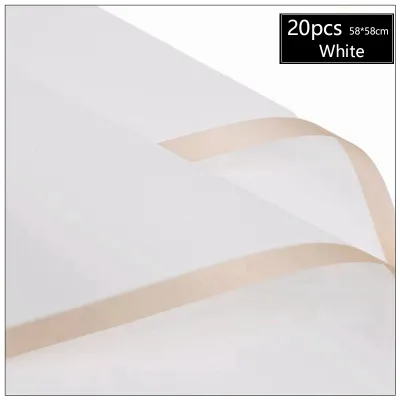

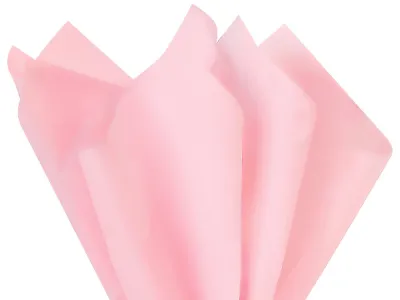
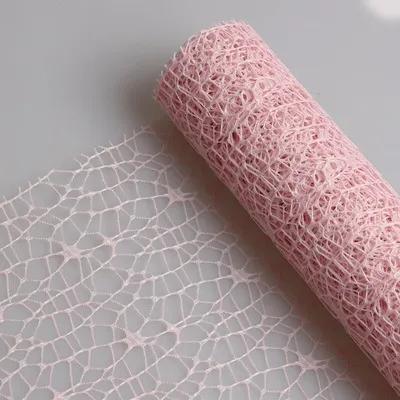
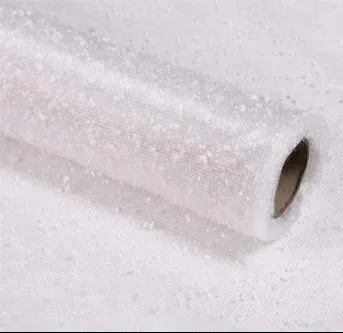
Prices are valid at publication and may change. Please refer to the product page for the latest price.
Color selection requires observing how potential ribbon shades interact with the natural hues of the foliage and petals. You can choose a harmonious approach by selecting a ribbon color that matches a dominant bloom or a secondary accent flower within the arrangement, creating a seamless transition. Alternatively, a contrasting ribbon can serve as a dramatic focal point that draws the eye directly to the hand-tied details. Always observe these colors under the actual lighting conditions of your venue, as artificial lighting and natural tropical sunlight can significantly alter how fabric dyes and floral colors appear side by side.
Select the Right Ribbon Width and Material
Ribbon widths generally fall into three categories, each serving a distinct structural and visual purpose. Narrow ribbons, ranging from 6mm to 15mm, are excellent for delicate accents, tying off small boutonnieres, or creating intricate, multi-stranded trailing details on smaller bouquets. Medium ribbons, typically measuring 25mm to 38mm, are the most versatile option, providing a secure grip and a balanced visual scale for standard-sized bouquets. Wide ribbons, measuring 50mm or more, are reserved for large, dramatic arrangements where the wrap itself becomes a major design element, or for creating grand statement bows with long, sweeping tails.

The physical properties of different fabric weaves determine how the ribbon drapes, holds its shape, and handles moisture. Satin ribbon is a popular choice for its smooth, glossy surface and structural integrity, though its slick texture requires tight wrapping to prevent slipping. Chiffon and organza offer a lightweight, translucent appearance with a soft, airy drape that flutters beautifully in a gentle breeze, making them ideal for romantic, outdoor settings. For a more tactile, earthy quality, cotton, linen, or hand-loomed silk ribbons provide a matte finish and a natural drape, though they may absorb water more readily from damp stems.
Before finalizing your purchase, check the manufacturer’s specifications regarding edge finishes and structural properties. Ribbons with woven or selvedge edges are highly durable and resist fraying, making them excellent for tight wrapping and clean, reusable applications. Cut-edge ribbons, particularly those made of hand-torn silk or chiffon, offer a soft, feathered look but are prone to continuous fraying if handled roughly. If your design requires a bow with crisp, voluminous loops that stand upright, look for ribbons with a stiffer weave or a subtle wire edge, keeping in mind that wired options require specific handling to avoid damaging delicate stems.
Gather Essential Bouquet Materials and Tools
Having the correct bouquet materials on hand ensures a smooth assembly process and prevents damage to your flowers. Your primary decorative ribbon should be accompanied by a functional base layer, such as waterproof floral tape or stem wrap. This base layer serves a dual purpose: it binds the stems securely together so they do not shift during handling, and it provides a non-slip, protective barrier that prevents natural plant oils and moisture from seeping through and staining your decorative ribbon.
Fastening tools must be selected with the health of the plant tissue and the safety of the holder in mind. Standard corsage pins or short floral pins with pearlized heads are the traditional choice for securing ribbon wraps, as they slide easily into the stems without causing structural collapse. If you prefer a pin-free construction to avoid any risk of pricking your fingers, high-quality double-sided adhesive tape designed for fabric, or a discreet dab of waterproof floral adhesive, can secure the ribbon ends cleanly and invisibly.
Clean cuts are essential to prevent fabric fraying and ensure a professional, polished presentation. Invest in a dedicated pair of sharp fabric shears, as dull household scissors will chew through delicate fibers like chiffon or satin, leaving jagged, unsightly edges. A flexible measuring tape is also necessary to calculate stem coverage and tail lengths accurately, allowing you to cut your ribbon pieces with precision and minimize waste from expensive specialty spools.
Step-by-Step Guide to Wrapping and Tying the Ribbon
Begin by preparing the floral stems to create a clean, dry foundation for your ribbon. Strip away any excess foliage, thorns, or small lateral buds from the lower portion of the stems where the handle will be formed. Use a clean towel to thoroughly dry the stems, removing any residual water from the vase. Wrap the designated handle area tightly with waterproof floral tape, starting from just below the blooms and winding downward to your desired stopping point, leaving at least 2 to 3 inches of stem exposed at the bottom so the bouquet can be placed in water without submerging the decorative ribbon.
Position the end of your decorative ribbon at the top of the taped handle, just beneath the lowest blossoms. Secure the starting point with a single floral pin angled upward into the stems, or fold the raw edge under to create a clean, seamless start. Wind the ribbon downward around the stems at a slight diagonal angle, overlapping each turn by approximately half the width of the ribbon to ensure complete coverage of the base tape. Maintain firm, consistent tension as you wrap; loose wrapping will cause the ribbon to slide or bunch as the bouquet is carried throughout the day.
Once you reach the bottom of the handle wrap, fold the ribbon back upward to create a double layer for added security, or fold the bottom edge under to hide the raw cut. Secure the end of the ribbon at the back of the bouquet using a series of floral pins inserted at an upward angle, ensuring the sharp points are buried safely within the dense center of the stem bundle. If your design calls for a classic bow or trailing streamers, tie these elements separately and attach them to the wrapped handle using an additional pin or a short piece of binding wire, which allows for precise positioning and prevents the main wrap from loosening.
Troubleshooting and Adjustments for Ribbon Styling
If you notice the ribbon slipping or unraveling during assembly, the primary cause is usually insufficient tension or a lack of friction against the stems. To resolve this, unwind the ribbon and verify that your base layer of floral tape is clean, dry, and tacky. Re-wrap the ribbon, pulling it firmly with each rotation, and consider adding a strip of double-sided fabric tape along the length of the handle to lock the ribbon layers in place. For exceptionally slick satin ribbons, inserting a floral pin every few turns on the backside of the wrap can provide mechanical security without disrupting the clean front appearance.
Achieving balanced bows and streamers requires careful post-wrap adjustments. If your bow loops appear uneven or droopy, gently pull the individual loops and tails to adjust their proportions, holding the center knot firmly so it does not slip. Use your fabric shears to trim the trailing tails at a clean 45-degree angle or in a classic V-shape to prevent fraying and add a professional touch. If the tails are uneven, trim them gradually in small increments; cutting too much at once can quickly make the streamers shorter than intended.
Moisture is the primary enemy of ribbon styling, especially in warm, humid environments where condensation can form rapidly on cold stems. If your ribbon becomes water-stained, soiled with plant sap, or severely frayed during the wrapping process, do not attempt to patch or cover the damage. Stop, unwind the compromised material, dry the stems thoroughly once more, and start fresh with a clean piece of ribbon. Keeping a backup spool of your chosen ribbon on hand is a simple safeguard that ensures your final presentation remains pristine and photo-ready.
Frequently Asked Questions (FAQ)
How much ribbon do I need for a standard bridal bouquet?
To estimate the required ribbon length, you must account for both the stem wrap and any decorative finishing elements. For a standard bridal bouquet with a handle length of 6 to 8 inches, a basic wrap using a 38mm wide ribbon typically requires about 1.5 to 2 yards of material, allowing for a slight overlap on each turn. If you plan to add a classic bow with moderate loops and short tails, budget an additional 1 to 1.5 yards. For dramatic, floor-length trailing streamers, you may need an extra 3 to 4 yards of ribbon. Always check the product packaging for the total yardage on the spool, and purchase at least one extra yard beyond your calculations to allow for practice runs and accidental cutting mistakes.
Can I use wired ribbon for wrapping bouquet stems?
While wired ribbon is highly effective for creating structured, voluminous bows that hold their shape, it is generally not recommended for direct stem wrapping. The thin metal wires running along the edges of the ribbon can easily tear delicate flower stems, scratch the hands of the person carrying the bouquet, or snag on fine bridal fabrics like lace and tulle. If you love the look of a wired ribbon bow, use a soft, unwired ribbon of matching color and material to wrap the actual stems securely. You can then construct your decorative bow separately using the wired ribbon and attach it to the handle with a smooth floral pin, ensuring all wire ends are carefully trimmed and tucked away from any contact surfaces.

Community discussion
Share your experience or ask a question. Comments are reviewed before publication.