
Choosing your first alcohol marker set can feel overwhelming with options ranging from small pocket packs to massive cases containing over a hundred shades. The key to making the right choice lies in matching the nib configuration and color count to your current skill level and project goals. By focusing on a versatile dual-ended setup and a modest, cohesive color palette, you can avoid overspending on redundant shades while ensuring your tools support your creative growth.
Quick Guide: Matching Marker Sets to Your Skill Level
Your current experience level and commitment to the medium should dictate your initial investment. Beginners often fall into the trap of buying the largest available set, only to find they use less than a quarter of the colors. Aligning your purchase with your immediate goals keeps your workspace organized and your budget intact.
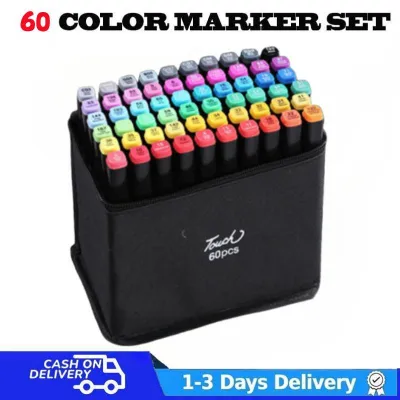
If you are a casual hobbyist exploring the medium for bullet journaling or adult coloring books, a modest set of 12 to 24 markers is an excellent starting point. At this stage, a combination of a fine bullet nib and a broad chisel nib offers the most control for filling pre-drawn lines and writing.
Products mentioned in this guide
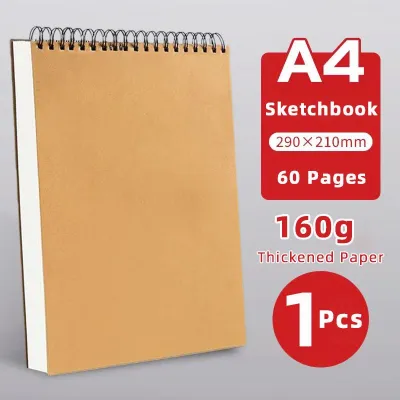
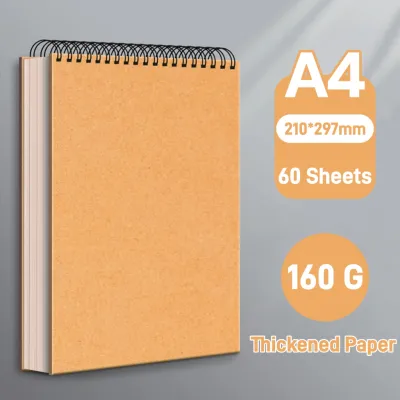
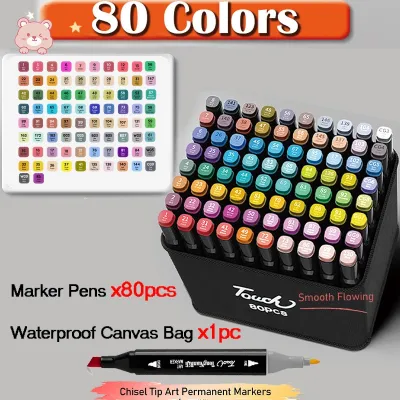
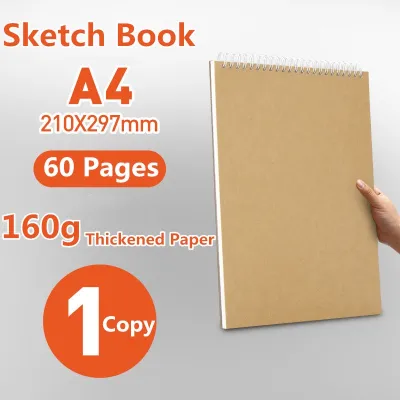
Prices are valid at publication and may change. Please refer to the product page for the latest price.
For art students and aspiring illustrators who want to master smooth gradients and realistic shading, a set of 24 to 36 markers featuring a flexible brush nib is highly recommended. This range provides enough tonal variety to practice blending techniques without overwhelming you with subtle color gradations that are difficult to distinguish.
Assess Your Typical Projects and Coloring Style
Before browsing online marketplaces or local stationery shops, take a moment to evaluate the specific types of projects you plan to create. Different artistic styles demand different marker capabilities, and understanding your preferences will prevent you from purchasing tools that gather dust.

If your primary interest lies in anime and manga illustration, character design, or portraiture, your color needs will lean heavily toward skin tones, pastel blending shades, and vibrant hair colors. Conversely, those focusing on architectural rendering, industrial design, or landscape sketching will require a robust selection of cool, warm, and neutral grays alongside earthy greens and browns.
Consider the physical scale of your artwork as well. Working on large poster-sized sheets consumes ink rapidly and requires wide, sweeping strokes, making broad chisel nibs indispensable. If you prefer working in compact sketchbooks or detailed planners, your focus should shift toward fine bullet tips that allow you to navigate tight spaces without bleeding over the lines.
Your blending habits also play a major role in your decision. If your style relies on flat, graphic fills with high contrast, you do not need a dense spectrum of closely matched colors. However, if you prefer soft, seamless transitions and realistic dimensional shading, you will need to select color families that sit close to one another on the color wheel.
Decoding Nib Types: Brush, Chisel, and Fine
Alcohol markers generally feature dual-ended designs, combining two different nib shapes on a single barrel to maximize utility. Understanding how each nib behaves on paper is crucial for selecting a configuration that matches your drawing style.
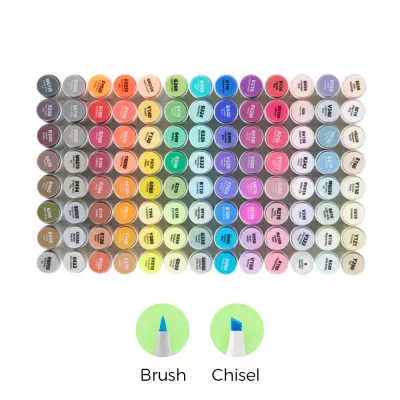
- Brush Nibs: These are highly favored by illustrators for their flexible, fiber-based tips that mimic a traditional paintbrush. They respond dynamically to hand pressure, allowing you to transition from a whisper-thin line to a broad stroke in a single movement. This flexibility makes brush nibs the absolute standard for seamless blending and soft gradients.
- Chisel Nibs: Featuring a wide, angled, and rigid tip, chisel nibs are designed for covering large areas quickly and evenly. By altering the angle at which you hold the marker, you can also use the sharp point of the chisel for medium-width lines or calligraphy strokes, making them highly versatile for background work and architectural layouts.
- Fine or Bullet Nibs: These are hard, rounded tips that maintain a consistent line width. They do not flex under pressure, which makes them excellent for precise outlines, intricate patterns, writing, and adding tiny highlights. However, they are poor tools for blending because they lay down ink in concentrated, narrow paths.
When evaluating an alcohol marker set, check the product labels and descriptions carefully to confirm the dual-ended configuration. The most common combinations are brush/chisel and bullet/chisel; choosing the brush/chisel option generally provides the greatest creative freedom for artistic rendering, while bullet/chisel is highly efficient for graphic design and journaling.
How Many Colors Do You Actually Need?
It is incredibly tempting to purchase a massive 80-color or 120-color alcohol marker set right from the start, but a smaller, curated palette is actually more beneficial for developing your skills. Working with a limited color selection forces you to learn color theory, layering, and creative blending techniques.
Starting with a core palette of 24 colors allows you to cover almost all basic drawing needs. A well-balanced starter set should include the primary colors (red, blue, yellow), secondary colors (green, orange, violet), a few earth tones or skin tones, and a small selection of grays. Grays are particularly important in alcohol marker art, as they are used to lay down shadows, tone down overly bright saturated colors, and create depth.
Massive, budget-friendly sets often contain redundant shades that look identical once dry on paper. Furthermore, these pre-packaged assortments may lack the specific mid-tones required to blend smoothly from light to dark. By starting small, you can identify the exact gaps in your collection based on your actual drawing habits.
To plan for future expansion, verify whether the manufacturer of your chosen alcohol marker set sells open-stock individual markers. Being able to purchase single markers means you can easily replace your most frequently used colors when they run dry, or add specific shades to your collection one by one without buying an entirely new set.
Smart Buying Strategies for Beginners
When you are ready to make a purchase, compare the cost-effectiveness of pre-packaged starter sets against building a custom palette from individual open-stock markers. While pre-packaged sets offer a lower cost per marker, a custom-built set of 10 carefully chosen colors can sometimes offer better practical value than a cheap 30-piece set filled with colors you will never use.
Pay close attention to the physical design of the markers. Look for ergonomic barrel shapes, such as oval or hexagonal designs, which prevent the markers from rolling off your desk and potentially staining your clothes or furniture. Additionally, check if the manufacturer offers ink refills and replacement nibs, as refillable systems are far more sustainable and cost-effective over time.
Finally, remember to budget for compatible paper. Alcohol-based ink is highly fluid and solvent-heavy, meaning it will easily bleed through standard notebook or copy paper, ruining the pages underneath and wasting a significant amount of ink in the process. To get the smoothest blends and prevent excessive ink consumption, pair your alcohol marker set with bleed-proof marker paper, heavy cardstock, or mixed-media pads designed to handle solvent-based media.
Frequently Asked Questions (FAQ)
Can I use regular printer paper with alcohol markers?
Regular printer paper is highly absorbent and uncoated, which causes alcohol ink to feather rapidly along the edges and bleed straight through to the other side. This high absorbency also drains your markers of ink much faster than smooth, coated paper. For the best results, use marker-specific paper or heavy, smooth cardstock. If you must practice on standard paper, always place a protective silicone mat or a thick scrap sheet of cardboard directly underneath your page to protect your desk from permanent stains.
Do I need to buy a blending marker for my first set?
While many starter sets include a colorless blender, it is not an absolute necessity for your first purchase. A colorless blender does not actually blend colors together; instead, it contains clear alcohol solvent that pushes pigment away. It is primarily used for fixing mistakes, fading colors out to the white of the paper, or adding textures like water droplets. You can achieve beautiful, seamless gradients simply by overlapping two colored markers while the ink is still wet on the page.
How do I know when an alcohol marker is running out of ink?
You will easily recognize a drying marker through several visual and tactile cues. The nib will begin to feel scratchy against the paper, and the ink application will look streaky or faded rather than smooth and saturated. You might also notice a slight squeaking sound as you draw. If you encounter these signs, check the manufacturer’s guidelines to see if you can pull out the nib to drip refill ink directly into the barrel, or if it is time to replace the marker entirely. To prolong the life of your markers, always store them horizontally so the ink remains evenly distributed between both nibs.
Community discussion
Share your experience or ask a question. Comments are reviewed before publication.