
Finding the perfect sticker label for your condiment jars and bottles requires balancing visual appeal with rugged durability. In a tropical climate where high humidity, ambient heat, and frequent culinary activity create a demanding kitchen environment, standard paper labels often fall short. Condiments like soy sauce, fish sauce, native vinegar, and chili garlic oil present unique challenges, as accidental drips can quickly dissolve weak adhesives or smudge handwritten ink. To keep your pantry organized and visually appealing, the ideal label must withstand moisture, resist oils, and adhere firmly to various container shapes without peeling at the corners.
Selecting the right material depends heavily on how you use and wash your containers. If you frequently wash and reuse your glass jars, a removable synthetic label prevents sticky residue buildup. Conversely, if you prefer a set-and-forget organization system for permanent spice jars, a high-tack, waterproof vinyl label is the most reliable choice. By understanding the interplay between label materials, adhesives, and your specific kitchen conditions, you can establish an organized, beautiful, and highly functional labeling system that lasts for years.
Key Factors for Choosing Condiment Sticker Labels
Kitchens are inherently messy, and condiment containers are constantly exposed to liquids. When pouring soy sauce or vinegar, small drips down the side of the bottle are almost inevitable. Chili oils and liquid seasonings can easily penetrate standard paper, causing the fibers to swell, the adhesive to fail, and the ink to bleed. To prevent this, prioritize synthetic materials such as vinyl, polyester, or polypropylene. These materials act as a physical barrier against liquids, ensuring that even if a bottle leaks, the label remains intact and legible.
Products mentioned in this guide
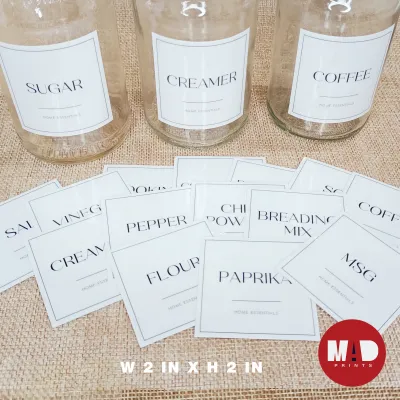
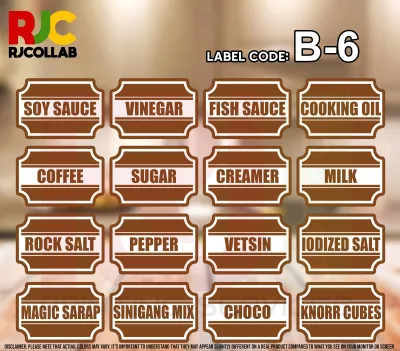
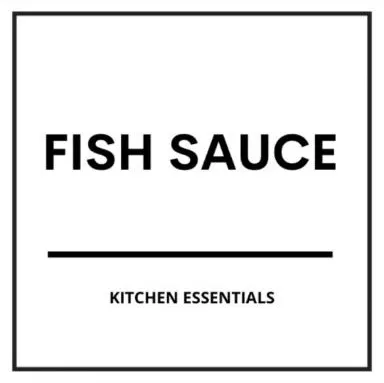
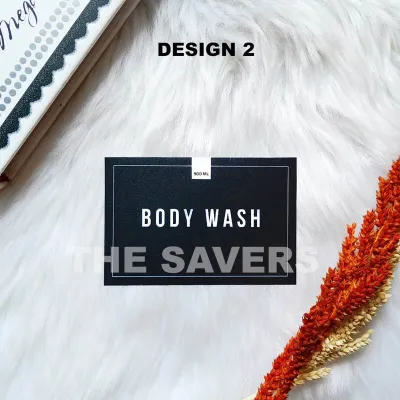
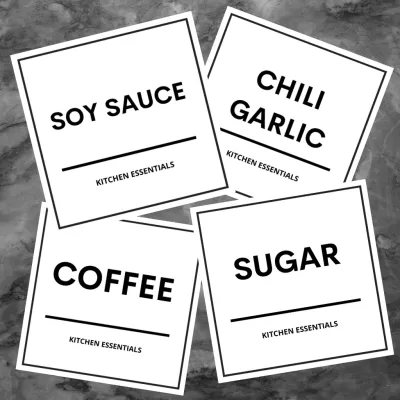
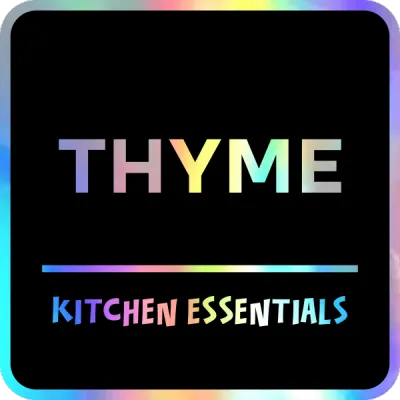
Prices are valid at publication and may change. Please refer to the product page for the latest price.
Consider whether you want a permanent bond or a removable option. Permanent adhesives are excellent for dedicated spice jars that you plan to refill with the same ingredient indefinitely. They resist lifting even when subjected to frequent handling and warm dishwater. However, if you like to upcycle commercial jars or frequently rotate the contents of your bottles, a removable or repositionable adhesive is far superior. This allows you to peel the label off cleanly when it is time for a wash, leaving no sticky, dust-attracting residue behind.
If you plan to write on your labels by hand, the surface finish is critical. Glossy labels look sleek and professional, but they require specific writing instruments, such as permanent markers or industrial paint pens, to prevent smudging. Matte finishes, on the other hand, are highly versatile and accept standard ballpoint pens, gel pens, and fine-liners much more readily. For a rustic or changing pantry, chalkboard labels offer an erasable surface, though they require liquid chalk markers to survive the occasional damp wipe-down without losing their text.
Matching Label Materials to Container Surfaces
Glass is one of the easiest surfaces to label because of its non-porous, highly uniform nature. Standard paper labels, vinyl stickers, and clear transparent labels all adhere exceptionally well to smooth glass. Clear labels are particularly popular for glass containers, as they create a seamless, printed-on look that showcases the color and texture of the spices or sauces inside. When using clear labels, ensure your text color contrasts sharply with the condiment; white text looks stunning on dark soy sauce, while black text is better suited for light-colored spices or clear vinegars.

Some decorative jars or vintage-style bottles feature textured patterns, ribbing, or a frosted finish. These surfaces present a challenge because they reduce the contact area between the adhesive and the container. Standard labels will quickly lift at the edges on textured glass. To combat this, look for labels with high-tack, flexible adhesives that can conform to minor surface irregularities. Alternatively, apply the label to a smooth, flat portion of the jar, such as the lid, or use a hanging tag instead of a direct sticker.
Squeeze bottles made of polyethylene or silicone are highly practical for viscous condiments like mustard, mayonnaise, or homemade sauces. However, the constant flexing and squeezing of these containers will cause rigid labels to crease, bubble, or peel away. For squeeze bottles, you must use highly flexible synthetic labels, such as thin vinyl or cast film, which can stretch and bend along with the plastic. Avoid thick, rigid laminated labels, as their stiffness will naturally overcome the adhesive bond when the bottle is compressed.
Stainless steel, aluminum, or tinplate containers are excellent for storing light-sensitive spices. Metal surfaces are highly non-porous but can be cold to the touch, which sometimes causes condensation in humid tropical kitchens. This moisture barrier can prevent adhesives from bonding correctly during application. To ensure a long-lasting bond on metal, the surface must be completely dry and free of manufacturing oils. Synthetic labels with acrylic-based adhesives perform best on metal, resisting both the temperature fluctuations and the natural oils from your hands during daily cooking.
Sizing, Shapes, and Readability for Kitchen Organization
Before purchasing or printing any labels, take precise measurements of your containers. A common mistake is choosing a label that is too large for the flat surface of the jar, causing it to wrap around curves or ridges. This creates unsightly wrinkles and allows air pockets to form, which eventually leads to peeling. Use a flexible sewing tape measure to determine the height and width of the flat labeling zone on your bottles. If you are labeling curved bottles, ensure the label is small enough to sit entirely on the flat vertical plane.
The shape of your label should complement the design of your container. Rectangular and oval labels are ideal for the side bodies of tall bottles and cylindrical jars, providing ample space for long ingredient names. Circular labels are perfect for jar lids, which is highly practical if you store your spices in a deep drawer where only the tops are visible. When labeling lids, choose a diameter that leaves a small border around the edge to prevent the label from catching on your fingers when you open the jar.
A cluttered label is difficult to read at a glance. When designing or selecting pre-printed labels, ensure there is a healthy balance of negative space. If you are writing by hand, leave a generous, clean area for your handwriting. It is also highly beneficial to leave a small, dedicated space at the bottom for expiration dates or batch numbers, especially for homemade condiments like chili oil or pickled papaya that have a limited shelf life.
Kitchens can have varied lighting, from bright overhead LEDs to dim under-cabinet shadows. To ensure you do not mistake salt for sugar or MSG during a busy cooking session, prioritize high-contrast designs. Bold, clean, sans-serif fonts in solid black or white are much easier to read from a distance than intricate cursive scripts. If you use colored labels, ensure the text color stands out sharply against the background; for example, avoid dark green text on a brown kraft paper label.
Application and Maintenance Tips for Long-Lasting Labels
The secret to a permanent, bubble-free label application lies entirely in the preparation of the container surface. Even brand-new jars can have a thin layer of manufacturing oil, dust, or fingerprint residue that prevents adhesives from bonding. Wash your containers thoroughly with warm, soapy water, rinse them completely, and let them dry. Before applying the sticker, wipe the target area with rubbing alcohol and allow it to evaporate fully. This removes any remaining oils and creates a pristine, high-adhesion surface.
When applying the label, start from the center and work your way outward. For rectangular labels, align one edge carefully, then slowly press the label down across the surface using a plastic scraper, an old credit card, or your thumb wrapped in a soft cloth. This pushes out any trapped air and prevents bubbles from forming. For curved surfaces, apply pressure from the center line outward to the left and right edges to ensure a smooth, wrinkle-free finish.
Even waterproof labels require gentle care to maximize their lifespan. When washing labeled jars, avoid soaking them in hot water for extended periods, as this can eventually soften the adhesive. Use a soft sponge with mild dishwashing liquid rather than abrasive scouring pads, which can scratch the printed ink or lift the edges of the label. After washing, gently pat the labels dry with a clean towel instead of letting them air-dry in a humid environment.
When it is time to repurpose a jar, removing old labels can sometimes leave a stubborn, sticky mess. For synthetic labels, try peeling them slowly from one corner at room temperature. If the adhesive resists, apply a small amount of heat using a hair dryer to soften the glue before peeling. For paper labels or stubborn residue, soaking the area in cooking oil, eucalyptus oil, or a paste of baking soda and coconut oil for a few minutes will break down the adhesive, allowing you to wipe it away cleanly without scratching the glass.
Building Your Condiment Labeling Shortlist
If your kitchen is prone to high humidity, or if you are labeling condiments that are inherently oily—such as homemade chili garlic sauce, sesame oil, or olive oil—your primary focus must be on synthetic durability. Look for labels explicitly specified as waterproof vinyl or synthetic polyester. Verify that the product description mentions oil resistance. These labels should be paired with permanent acrylic adhesives to ensure they do not slide off when handled with greasy fingers during cooking.
For those who love to upcycle commercial sauce jars or frequently change their pantry inventory, permanent labels are a recipe for frustration. Instead, search for labels that feature removable adhesive or repositionable vinyl claims. These specialized adhesives are designed to hold firmly during use but release cleanly when peeled, even after months of storage. This allows you to run the glass jars through a thorough sterilization process without dealing with melted, sticky glue residue.
If you prefer a warm, rustic, or minimalist aesthetic, kraft paper or chalkboard labels are highly popular. However, you must note their inherent limitations: untreated kraft paper will absorb oils and water, leading to unsightly stains and peeling. To achieve this look without sacrificing durability, look for water-resistant kraft labels that feature a thin protective coating, or apply a clear, waterproof laminate sheet over your paper labels after writing on them. For chalkboard styles, ensure you use high-quality vinyl chalkboard stickers that can be wiped clean with a damp cloth without degrading.
Before purchasing from online craft or stationery stores, use this checklist to verify your selection:
- Measure twice: Confirm the label dimensions match the flat surface area of your specific jars.
- Check the material: Ensure the product description explicitly states vinyl, polyester, or waterproof synthetic rather than generic paper if moisture resistance is required.
- Verify the adhesive type: Look for removable for reusable jars, or high-tack/permanent for dedicated, long-term spice containers.
- Assess writing compatibility: Confirm if the label requires a specific pen type, such as a permanent marker for glossy vinyl or a chalk marker for chalkboard labels.
- Review sheet vs. roll formats: Sheet labels are easier to feed through home printers, while roll labels are often more convenient for quick hand-labeling.
Frequently Asked Questions (FAQ)
Can I use standard paper labels for spice jars kept near the stove?
Using standard, untreated paper labels on spice jars stored near the stove is generally not recommended. The area surrounding your cooking range experiences frequent spikes in temperature, steam, and airborne grease. Untreated paper fibers readily absorb these elements, causing the labels to become yellowed, stained, and structurally weak over time. Additionally, the steam can quickly break down standard water-based adhesives, leading to peeling edges. If you must store spices near your cooking area, it is highly advisable to use laminated, vinyl, or synthetic polyester labels that can easily be wiped clean of grease and resist moisture damage.
How do I remove old, hardened adhesive from glass condiment bottles?
Removing old, hardened adhesive from glass bottles can be easily accomplished using common household items without resorting to harsh chemicals. Start by soaking the bottle in warm, soapy water for about fifteen minutes to soften the top layer of the label. Once the backing is peeled away, apply a small amount of cooking oil, baby oil, or a paste made of equal parts baking soda and coconut oil directly to the sticky residue. Let it sit for ten minutes to break down the adhesive bonds. Gently scrub the area with a non-abrasive sponge or a soft cloth, then wash the bottle with dish soap to remove the oily residue, leaving the glass perfectly clean and ready for a new label.
Community discussion
Share your experience or ask a question. Comments are reviewed before publication.