
Choosing your first watercolor paint set can feel overwhelming with the sheer variety of options available in art supply stores and online marketplaces. For most beginners, starting with a student-grade watercolor pan set containing 12 essential colors is the most practical choice. This format is highly portable, easy to control, and exceptionally resilient in warm, humid climates where open tubes of wet paint can easily spoil, leak, or attract mold if left unused. By starting with a compact pan set, you can focus on mastering water control and color mixing without the added complexity of managing wet paint tubes.
To get the most out of your watercolor journey, you must also pair your paints with the right medium. Watercolor paint requires heavy, dedicated paper—ideally at least 300 gsm (grams per square meter) in weight—to prevent severe warping and bleed-through. The ultimate smoothness, drying speed, and water resistance of your painting will always depend on the specific combination of your paint brand, brush type, and paper texture. Conducting simple trial washes on scrap paper is the most reliable way to verify how these materials interact before starting a major project.
Identify Your Painting Style and Workspace Constraints
Before purchasing any paint, evaluate the physical space where you plan to work. Many beginners do not have a dedicated art studio and must paint on dining tables, study desks, or small coffee tables. A compact setup that is easy to assemble and pack away is crucial for maintaining a regular practice routine. Watercolor pans take up very little physical space and require minimal cleanup, making them highly suitable for multi-use workspaces.
Products mentioned in this guide
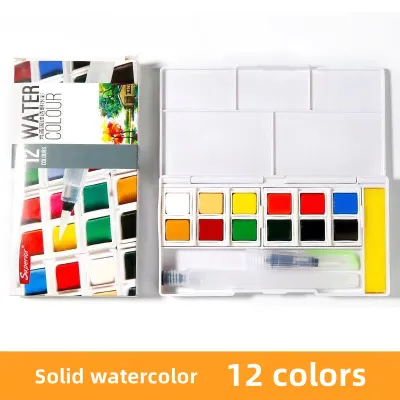
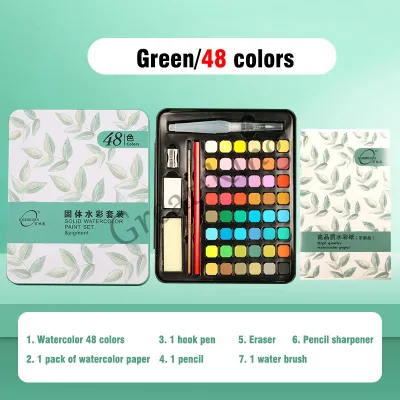
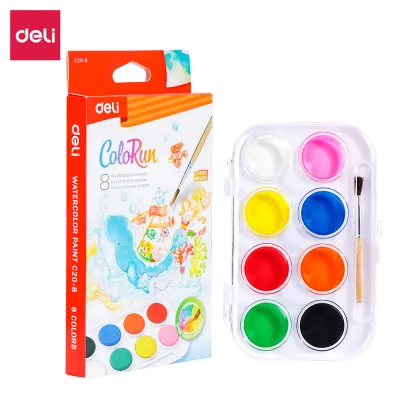
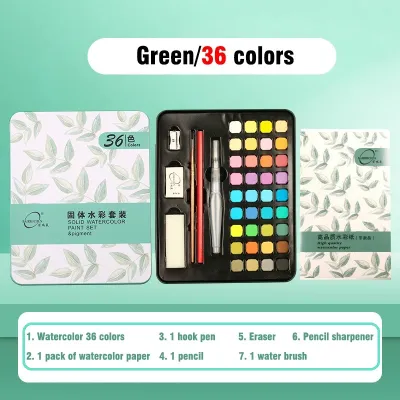
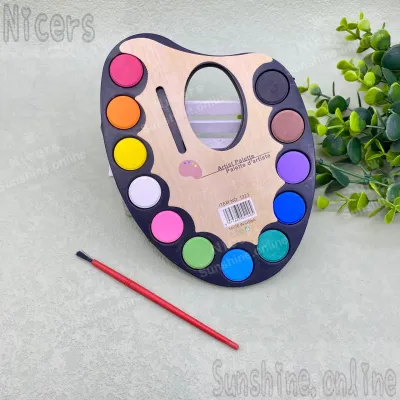
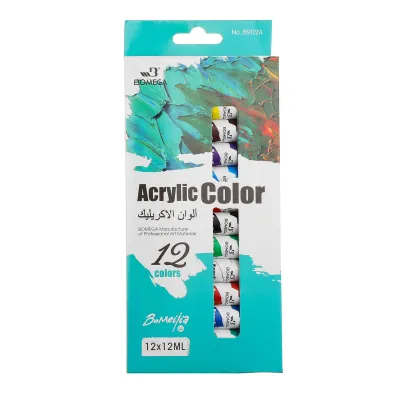
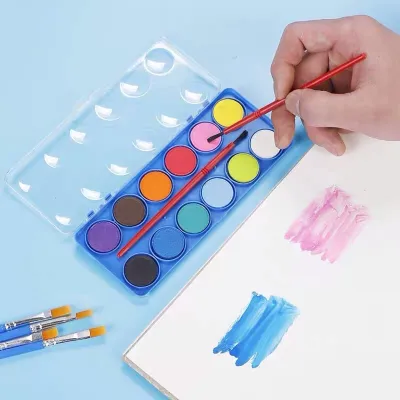
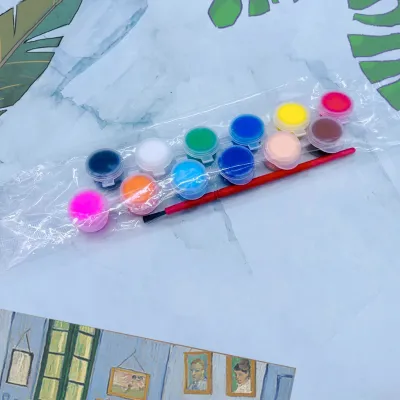
Prices are valid at publication and may change. Please refer to the product page for the latest price.
If you plan to paint outdoors, sketch in local cafes, or travel, portability becomes your primary consideration. A pocket-sized pan set with a built-in mixing lid can easily fit into a small bag alongside a water brush pen and an A5 watercolor pad. This self-contained setup eliminates the need to carry separate water jars and mixing palettes, allowing you to paint comfortably on the go.
Your typical paper size also influences the volume of paint you need. If you prefer working on small postcards or journal pages, you will use very little paint per session, making dry pans highly economical. However, if you plan to paint large, sweeping landscapes on A3 sheets or larger, you will need to mix substantial volumes of liquid wash quickly. In such cases, the volume and instant solubility of tube paints become more practical, despite the extra setup space they require.
Environmental factors like local humidity also play a significant role in your workspace setup. In tropical regions, leaving wet paint exposed on an open palette can attract dust, insects, or mold. A sealable plastic or metal pan case protects your paint from these environmental contaminants, ensuring your supplies remain clean and hygienic between painting sessions.
Evaluate Water Color Formats Based on Your Needs
Dry pans and half-pans are small, solid blocks of dry watercolor paint housed in plastic cups. To activate them, you simply drop a small amount of clean water onto the surface with your brush. They offer excellent portability and make it easy to control the paint-to-water ratio for fine details, though they require a brief activation time to soften the pigment. They are highly recommended for beginners who want to avoid accidental paint waste.

Tube watercolors contain wet, paste-like paint that you squeeze directly onto a palette. They are ideal for mixing large washes of color quickly because you do not have to scrub a dry surface to release the pigment. However, tubes require careful maintenance; they are prone to drying out and cracking inside the nozzle if the cap is not sealed tightly, and the paint can sometimes leak or separate in hot weather.
Liquid watercolors are highly concentrated, pre-diluted fluid paints sold in glass or plastic dropper bottles. They offer intense, vibrant colors and are excellent for calligraphy, airbrushing, or broad background washes. However, they are highly fluid, easy to spill, and difficult to transport safely, making them less practical for general beginner exercises and outdoor sketching.
Before purchasing or using older watercolor supplies, perform a few simple observable checks to verify their condition. For tubes, gently squeeze the body of the tube; if it feels rock-hard, the paint inside has likely dried out completely and will be difficult to reconstitute smoothly. For pans, inspect the surface for deep, crumbling cracks or a sticky, gooey texture, which indicates improper binder ratios or moisture damage from storage in excessively humid conditions.
Decide Between Student and Professional Grades
Watercolor paints are generally categorized into student and professional grades, reflecting differences in formulation and cost. Student-grade paints use more synthetic fillers and less pure pigment, which keeps them affordable for practice. Professional-grade paints contain high concentrations of finely ground pigments and natural binders like gum arabic, resulting in richer colors that blend more predictably on paper.
These formulation differences directly affect how the paint behaves during application. Student-grade paints can sometimes feel slightly chalky when dry and may be more difficult to lift or layer without muddying the underlying colors. Professional paints flow more smoothly across wet paper and allow for clean, transparent glazing, which is essential for advanced watercolor techniques.
As a beginner, you do not need to invest in a complete professional set immediately. A practical, budget-friendly strategy is to purchase a high-quality student-grade pan set for your daily practice and color mixing exercises. As you identify which colors you use most frequently, you can gradually replace them with individual professional-grade tubes for high-impact shades like ultramarine blue or quinacridone rose.
In the local market, a reliable student-grade pan set of 12 colors typically ranges from ₱300 to ₱800, offering an affordable entry point for hobbyists. Professional-grade starter sets or individual tubes cost significantly more, with single professional tubes often priced from ₱250 to ₱600 depending on the specific pigment series. Starting with a student set allows you to make mistakes and experiment freely without worrying about the cost of your materials.
Read Paint Labels for Pigment and Lightfastness Clues
To verify the quality and longevity of your paint, learn to read the manufacturer labels rather than relying solely on marketing names like “deep blue” or “forest green.” Look for the specific pigment code, which consists of letters and numbers (such as PB29 for Ultramarine Blue or PY150 for Nickel Azo Yellow). Paints made with a single pigment mix much cleaner than convenience mixtures, which combine multiple pigments and can easily result in muddy, dull colors.
Lightfastness ratings indicate how well a paint resists fading when exposed to light over time. Manufacturers typically use Roman numerals (I to V) or letter grades (A to C) on their packaging. For artwork you wish to preserve or display, choose paints rated ASTM I or II (or rated Excellent/Very Good) to ensure your colors remain vibrant for years to come.
Opacity symbols are also printed on most quality paint labels, usually represented by small squares or circles. A clear outline indicates a highly transparent paint, a diagonal line represents semi-transparent, and a fully shaded shape indicates an opaque paint. Transparent colors are essential for classic watercolor layering, while opaque colors are useful for adding final highlights or painting on toned paper.
Assemble a Functional Beginner Palette
Instead of buying a massive palette with dozens of colors, start with a minimal, versatile selection of 6 to 12 colors. A classic split-primary palette—consisting of a warm and a cool version of red, yellow, and blue—along with a few essential earth tones like Burnt Sienna and Yellow Ochre, provides an excellent foundation for learning color theory.
Avoid relying on pre-mixed black and green paints in your early projects. Pre-mixed black paint often makes watercolor paintings look flat and lifeless, while pre-mixed greens can look artificial and harsh. Learning to mix your own dark tones (using ultramarine and burnt sienna) and your own greens teaches you how to control color temperature and harmony.
To verify the performance of your chosen palette, conduct a simple wash test on your watercolor paper. Paint a solid block of color and observe how quickly the water sinks in, whether the pigment disperses smoothly, and if the paint bleeds through to the back of the sheet. This hands-on check helps you understand the unique drying speed and water resistance of your specific paint and paper combination before you begin painting.
Frequently Asked Questions (FAQ)
Can I mix student and professional water color paints?
Yes, you can safely mix student and professional watercolor paints on the same palette or paper. However, because student-grade paints contain more fillers and less pigment, mixing them with professional paints may slightly reduce the overall color vibrancy and smoothness of the wash. The lightfastness and archival quality of the mixed area will also be limited by the less stable student-grade pigment used in the blend.
Do I need to buy a large set of colors to start?
No, starting with a large set of colors is often counterproductive for beginners. A limited palette of 6 to 12 colors forces you to practice color mixing, which is the most effective way to learn color harmony and paint behavior. Starting with fewer colors also reduces your initial investment and prevents paint waste, allowing you to buy higher-quality paper and brushes instead.
Community discussion
Share your experience or ask a question. Comments are reviewed before publication.