
Starting a new creative journey in watercolor can feel overwhelming when confronted with rows of vibrant pans, tubes, and liquid bottles. For beginners, the key to a successful start lies in selecting a medium that behaves predictably on paper without draining your budget. A proper introduction to color water painting requires understanding how different formulations interact with water, paper, and brushes, allowing you to develop your skills with confidence. By focusing on a few essential criteria—such as paint grade, physical format, and pigment properties—you can easily find a starter set that supports your learning curve.
Understanding Watercolor Grades: Student vs. Artist Quality
Watercolor paints are generally categorized into two primary tiers: student-grade and artist-grade (sometimes called professional-grade). The fundamental difference between these two categories lies in the ratio of pigment to binder and the presence of additives. Artist-grade watercolors contain a high concentration of finely ground, pure pigments bound with natural gum arabic. This high pigment load ensures that colors remain exceptionally vibrant even when heavily diluted with water, allowing for smooth glazing and clean color mixing.
In contrast, student-grade watercolors utilize synthetic fillers, extenders, and alternative binders to reduce production costs. While these paints are highly affordable and perfectly adequate for learning basic water control, they contain less actual pigment. Consequently, student-grade colors may appear slightly chalky or less intense when dry, and mixing multiple colors can sometimes result in dull, muddy tones.
Products mentioned in this guide
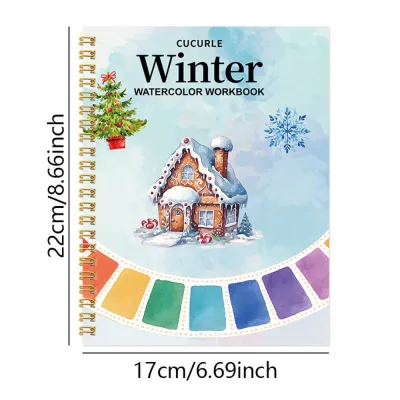
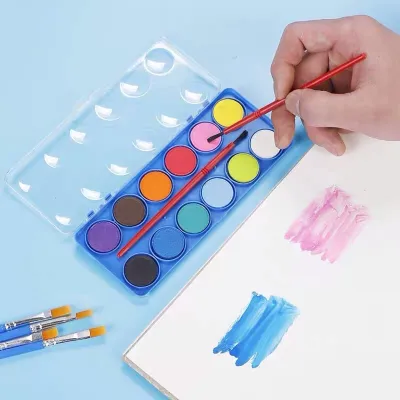
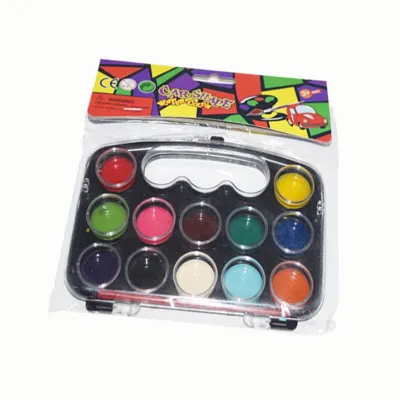
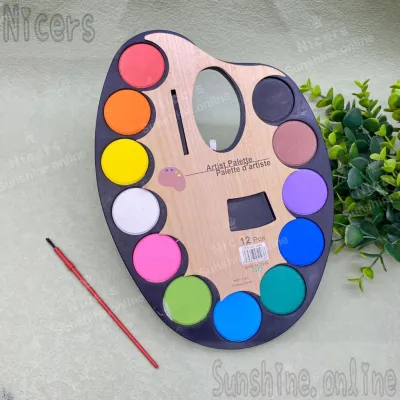
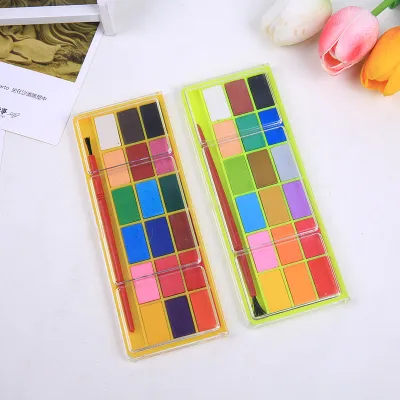
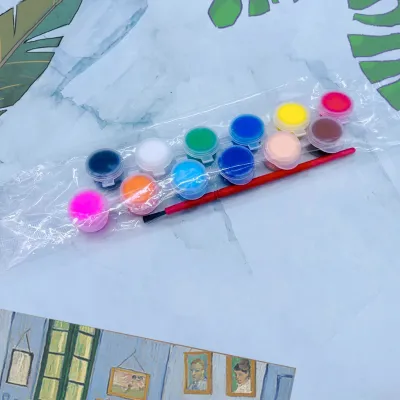
Prices are valid at publication and may change. Please refer to the product page for the latest price.
For beginners, starting with a reputable student-grade line is highly recommended. It provides a forgiving and cost-effective way to practice daily washes, sketching, and color theory without the pressure of wasting expensive materials. A budget of around ₱500 to ₱1,500 can secure a high-quality student set that performs beautifully for practice.
However, you should actively avoid ultra-cheap “craft,” “poster,” or “toy” watercolor sets. These products often bypass traditional gum arabic binders entirely, relying instead on cheap starches or dextrin. This results in a gritty, opaque finish that flakes off the paper once dry. These toy paints lack the flow, transparency, and lightfastness required to learn authentic watercolor techniques, leading to unnecessary frustration for anyone trying to master the medium.
Choosing the Right Form: Pans, Tubes, and Liquids
Watercolors are sold in three main physical formats, each offering distinct advantages depending on your workspace, painting style, and local environment. Understanding how these formats behave is crucial, especially when painting in tropical climates where ambient humidity plays a significant role in drying times and paint preservation.

Pan Watercolors (Hard and Soft)
Pan watercolors consist of dry, concentrated cakes of paint housed in small plastic cups (half-pans or full-pans) arranged inside a metal or plastic travel case. To activate the paint, you simply apply a wet brush directly to the cake.
The primary advantage of pan sets is their exceptional portability and ease of setup. They are ideal for outdoor sketching, urban journaling, or working in limited spaces. Because the paint is already dry, there is virtually zero waste; you only use what you activate with your brush.
When choosing pans, you will encounter both hard pans and semi-moist (soft) pans. Hard pans require a bit more water and pre-spritzing to activate, making them highly stable and long-lasting. Soft pans activate instantly with minimal water, offering quicker pigment pickup. However, in highly humid environments like the Philippines, soft pans can sometimes remain sticky or attract airborne mold if the palette is closed while still damp. Always allow your pan sets to air-dry completely in a well-ventilated room before sealing them away.
Tube Watercolors
Tube watercolors contain moist, paste-like paint that can be squeezed directly onto a palette. This format is highly favored by artists who work on large-scale paintings, as it allows for the quick preparation of large, rich washes of color without wearing down a brush on a dry pan.
Tubes make it incredibly easy to mix large quantities of paint and achieve maximum color saturation. For beginners, however, tubes present a few challenges. They require a separate mixing palette, and it is very easy to squeeze out more paint than necessary, leading to waste.
While squeezed tube paint can be left to dry on a palette and reactivated later like a pan, some brands use humectants like honey or glycerin that prevent the paint from drying completely. In humid tropical conditions, these semi-wet dollops of paint can slide around the palette or attract dust if not stored flat in a dust-free container.
Liquid Watercolors
Liquid watercolors are highly concentrated, fluid pigments sold in dropper bottles. They offer incredibly vibrant, dye-like intensity and flow effortlessly across wet paper, making them popular for modern calligraphy, airbrushing, and graphic illustrations.
Despite their striking appearance, liquid watercolors are generally not recommended as a first purchase for beginners. They behave very differently from traditional solid or paste watercolors, making it difficult to learn foundational techniques like controlled glazing, dry-brushing, and precise water-to-paint ratios. Additionally, many liquid watercolors rely on dyes rather than pigments, meaning they are highly prone to fading when exposed to light.
Evaluating Pigment Quality for Your Color Water Painting
To make an informed purchase, you must learn to read the small print on watercolor packaging. The labels on quality paint tubes and pans contain vital technical specifications that dictate how your color water painting will behave over time and how the colors will interact on the paper.
Pigment vs. Hue
When browsing watercolor sets, you will often see paint names followed by the word “Hue” (for example, “Cadmium Red Hue”). In the art world, “Hue” indicates that the paint does not contain the actual, traditional pigment—often because the original mineral is toxic, rare, or highly expensive. Instead, the manufacturer has blended cheaper, safer synthetic pigments to mimic the target color. While hues are excellent budget-friendly alternatives for beginners, they are often made by mixing multiple pigments, which increases the likelihood of creating muddy mixtures when blended with other paints.
Lightfastness
Lightfastness refers to a paint’s resistance to fading or changing color when exposed to light over time. Most reputable brands grade their paints using the ASTM (American Society for Testing and Materials) standard, ranging from Category I (Excellent Lightfastness) to Category V (Very Poor). For beginners who want their finished artwork to last, look for paints rated ASTM I or II. If you are only practicing in a closed sketchbook, lightfastness is less critical, but it becomes vital the moment you decide to frame and hang your work in a sunlit room.
Transparency vs. Opacity
Traditional watercolor painting relies heavily on transparency. Transparent watercolors allow light to pass through the paint layer, bounce off the white paper underneath, and reflect back to your eyes, creating a luminous, glowing effect. This transparency is what allows artists to layer colors (glazing) to build depth. Opaque watercolors, on the other hand, block the light and can look chalky or heavy. Beginners should prioritize transparent or semi-transparent colors, as they are much easier to layer without making the painting look muddy or flat.
Granulation
Granulation is a natural physical property where heavier pigment particles settle into the microscopic valleys of watercolor paper, creating a textured, mottled appearance. While many experienced artists love granulation for painting natural textures like stone, sand, or foliage, it can make it difficult for beginners to achieve smooth, flat washes. When starting out, choosing non-granulating (or sedimentary-free) colors will give you more predictable, uniform results as you practice basic wash techniques.
Step-by-Step Guide to Buying Your First Watercolor Set
Navigating the art supply store can be overwhelming. Follow this structured checklist to ensure you purchase a functional, high-quality starter kit that supports your learning without exceeding your budget.
Step 1: Set a Budget and Commit to a Grade Determine how much you are willing to invest. For a reliable start, allocate between ₱800 and ₱2,000. This range is sufficient to purchase a high-quality student-grade pan set from a respected manufacturer. Committing to a recognized student line ensures that the binder-to-pigment ratio is balanced enough to give you a true feel for how watercolor is supposed to behave.
Step 2: Choose Your Format and Palette For most beginners, a dry pan set is the most practical choice. Look for a set that comes in a sturdy plastic or metal case with a built-in lid that doubles as a mixing palette. If you prefer the rich saturation of tubes, purchase a small set of 5ml or 12ml tubes along with a separate plastic folding palette that has deep wells to keep your colors organized and protected from dust.
Step 3: Select a Limited Palette of 12 to 18 Colors It is highly tempting to buy a massive set containing 36 or 48 colors, but this can actually hinder your artistic growth. A limited palette of 12 to 18 colors forces you to learn the essential skill of color mixing. Look for a set that includes a “warm” and a “cool” version of each primary color (red, yellow, and blue), along with a few basic earth tones like Burnt Sienna and Yellow Ochre. Learning how to mix your own greens and purples will make your paintings look far more cohesive and natural.
Step 4: Verify the Labels and Avoid Convenience Colors Before heading to the checkout, inspect the packaging or online product specifications. Ensure the set lists the specific Pigment Index Numbers (such as PB29 for Ultramarine Blue or PY150 for Nickel Azo Yellow) and carries a high lightfastness rating. Avoid sets that are heavily padded with “convenience colors” like pre-mixed greens, pastel pinks, blacks, or metallics. These colors are rarely used in traditional watercolor painting and take up valuable space that could be occupied by versatile mixing primaries.
How to Test and Verify Your New Paints
Once you bring your new watercolor set home, do not jump straight into a complex painting. Taking the time to test and verify your paints on paper will save you hours of frustration and help you understand their unique physical properties.
Begin by creating a simple color swatch chart. Cut a piece of high-quality watercolor paper and paint a small, saturated rectangle of each color, gradually diluting it with water as you brush downward. This simple exercise reveals three critical characteristics:
- Drying Shift: Watercolors naturally dry lighter and more matte than they appear when wet. Swatching helps you gauge exactly how much color intensity is lost during the drying process.
- Transparency: Draw a thick black line across your paper using a waterproof permanent marker, then paint your swatches directly over the line. If the black line remains perfectly sharp and dark, the paint is transparent; if the line looks dusty or obscured, the paint is opaque.
- Granulation: Observe the dried swatches under a bright light. Look for any settling of tiny pigment specks in the texture of the paper, which indicates a granulating color.
Next, test the mixing capability of your primaries. Try mixing your blues and yellows to create green, and your reds and blues to create purple. If the resulting secondary colors are clean and vibrant, your paints have a high pigment load and low filler content. If the mixtures look gray, dull, or muddy, it indicates that the paints contain multiple hidden pigments or heavy fillers, meaning you will need to mix your colors more carefully.
Finally, always verify your paper compatibility. Watercolor paint relies entirely on the surface it is applied to. Always conduct your tests on actual watercolor paper that is cold-pressed and rated at least 300gsm (grams per square meter). Standard printer paper or thin sketchbooks will instantly pool, buckle, and bleed, making even the most expensive professional-grade paints perform poorly.
Frequently Asked Questions (FAQ)
Do I need to buy expensive watercolor paper as a beginner?
Yes, investing in decent watercolor paper is actually more important than buying expensive paint. Watercolor techniques rely on water absorption and surface sizing. Standard paper cannot handle water, causing the paint to pool and the paper to warp or tear. For the best learning experience, use cold-pressed paper that is at least 300gsm, preferably made of 100% cotton or high-quality cellulose.
Can I mix student-grade and artist-grade watercolors?
Yes, you can freely mix student-grade and artist-grade watercolors on the same palette and in the same painting. They use compatible binders (typically gum arabic). However, keep in mind that the overall vibrancy, transparency, and mixing quality of the blend will be limited by the fillers present in the student-grade paint. Upgrading your collection color by color as your budget allows is an excellent way to transition to professional materials.
Community discussion
Share your experience or ask a question. Comments are reviewed before publication.