
Choosing your first acrylic paint markers set requires balancing tip versatility, pigment quality, and valve reliability. These specialized tools are essentially portable acrylic paint, utilizing water-based pigment inks that dry into a water-resistant, opaque layer. Unlike traditional dye-based ink markers, they sit on top of the surface rather than soaking deeply into it, allowing you to paint on dark backgrounds, wood, canvas, and glass. For a beginner, selecting the right starter set is the difference between a frustrating, leaky mess and a smooth, satisfying creative process.
To make an informed decision, you must look beyond flashy packaging and focus on how the markers are constructed, how the ink flows, and how the paint behaves on your chosen medium. By understanding these core specifications, you can avoid common pitfalls like premature drying, clogged tips, and streaky colors, ensuring your first artistic steps are both enjoyable and successful.
Core Features to Prioritize in Your First Acrylic Marker Set
When shopping for an acrylic paint markers set, it is easy to get overwhelmed by the sheer variety of colors and brands available in local craft stores or online marketplaces. To narrow down your choices, focus on three critical dimensions: nib versatility, color opacity, and valve mechanism reliability. These three factors dictate how easily the paint flows, how clean your lines look, and how long the markers will last before drying out.
Products mentioned in this guide
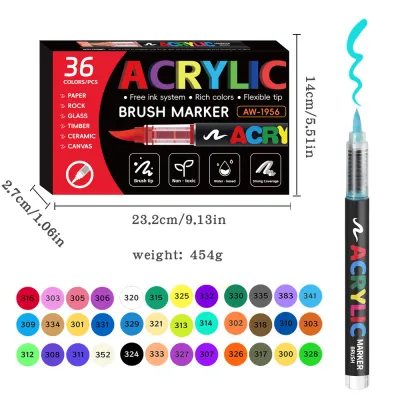
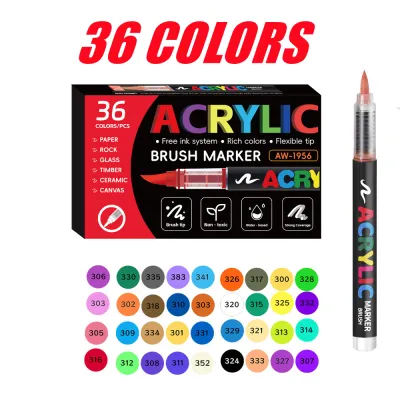
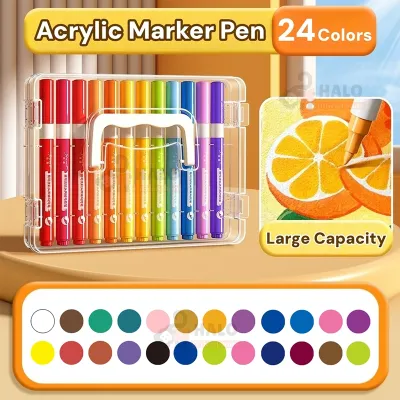
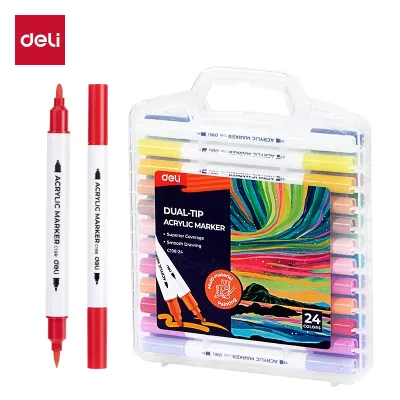
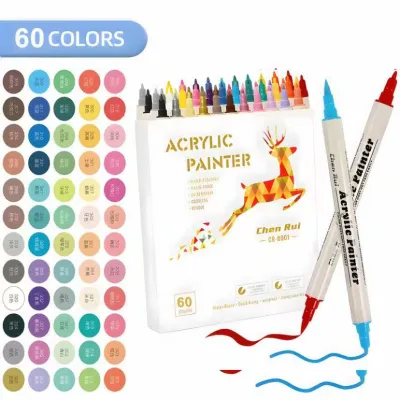
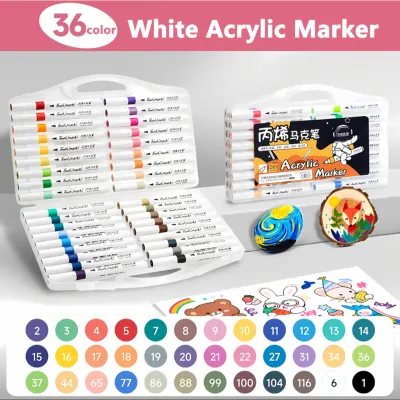

Prices are valid at publication and may change. Please refer to the product page for the latest price.
Acrylic paint markers are pigment-based, opaque, and generally water-resistant once they are fully cured. Unlike standard felt-tip pens that use liquid dyes, these markers contain actual acrylic binder and suspended pigments. This formulation allows them to cover dark surfaces completely, but it also means the ink is much thicker and behaves differently than standard stationery ink.
The “best” starter set is highly dependent on the primary crafting surface you plan to use. If you are decorating local terracotta pots, painting on raw driftwood, or customizing canvas tote bags, you will need a marker that can handle rough, porous textures without fraying. Conversely, if you are detailing glass jars, plastic phone cases, or polished metal, you will need a formula that adheres well to non-porous surfaces without pooling or scratching off easily. Identifying your primary project type before making a purchase will save you both time and money.
Nib Sizes and Shapes: Matching Tips to Your Projects
The nib, or tip, of the marker determines how the paint is delivered to your surface and directly influences your control over line width and detail. Nibs are generally made of porous synthetic fibers, such as polyester or acrylic, or hard plastic. Understanding the functional differences between shapes and sizes is essential for matching your markers to your specific creative goals.

Round nibs, often called bullet tips, are the most common shape and are excellent for general drawing, coloring, and outlining. They provide a consistent line weight regardless of the angle at which you hold the marker, making them highly predictable and forgiving for beginners. Chisel nibs, which feature a flat, angled edge, allow you to create both broad strokes and thin lines depending on how you rotate the barrel. These are ideal for bold lettering, calligraphy, and filling in large background areas quickly.
Standard nib sizes are categorized by their millimeter measurements, and each size serves a distinct purpose in your workflow:
- Fine Nibs (1–2 mm): These tips offer excellent line control and are designed for intricate detailing, fine outlines, and writing. They restrict ink flow slightly to prevent flooding on small areas.
- Medium Nibs (2–3 mm): This is the ultimate utility size. They deliver a steady flow of paint that is thick enough to fill shapes quickly but precise enough to maintain clean edges.
- Broad Nibs (5 mm+): These large tips are designed to cover massive surface areas, such as large wooden signs or window displays, but they require careful handling to avoid accidental paint dumps.
For most beginners, a medium round nib is the most versatile and forgiving starting point. It allows you to experiment with general crafts, basic lettering, and detailing without needing to swap between multiple markers constantly. Below is a quick comparison table to help you map out your needs:
| Nib Type & Size | Best Use Case | Expected Line Width | Recommended Surface |
|---|---|---|---|
| Fine Round (1–2 mm) | Detailing, outlining, fine lettering | 1.0 mm to 2.0 mm | Smooth paper, rocks, plastic |
| Medium Round (2–3 mm) | General crafting, filling small areas | 2.0 mm to 3.0 mm | Canvas, wood, cardboard |
| Broad Chisel (5–8 mm) | Large background fills, bold calligraphy | 5.0 mm to 8.0 mm | Large wooden signs, window displays |
| Brush Tip (Flexible) | Brush lettering, organic illustrations | Variable (0.5 mm to 4.0 mm) | Mixed media paper, canvas |
Color Palettes and Opacity: Building a Practical Starter Collection
One of the most common mistakes beginners make is purchasing massive sets containing 60 or more colors. While a giant rainbow of markers looks appealing, many of those shades will likely dry out before you ever have a chance to use them. Instead, prioritize a smaller, high-quality starter collection of 12 to 24 essential colors.
A practical starter set should include the core primary colors (red, blue, yellow), secondary colors (green, orange, purple), basic neutrals (brown, grey), and a generous supply of black and white. White is particularly important in acrylic painting, as it is used for highlights, layering, and correcting mistakes. Once you master basic techniques with a core palette, you can expand your collection with optional secondary purchases like metallic, pastel, or neon colors.
When evaluating a set, pay close attention to paint opacity and pigment load. High-quality acrylic markers use dense, premium pigments that allow you to paint a light color directly over a dark background with complete coverage. Lower-quality markers often use thin, watery binders with low pigment concentration, resulting in streaky, semi-transparent lines that require three or four coats to look solid.
To verify the opacity of a new set, perform a simple trial: draw a thick black line on scrap paper with a permanent marker, let it dry completely, and then draw over it with a light-colored acrylic marker from your set. A premium, highly opaque marker will completely hide the black line underneath in one or two coats. Always check product packaging for opacity indicators or lightfastness ratings, which tell you how well the paint resists fading when exposed to sunlight over time.
Ink Flow and Valve Mechanisms: What Beginners Need to Know
Unlike standard felt-tip markers or highlighters, acrylic paint markers utilize a mechanical valve system to control the flow of thick paint from the reservoir to the tip. Inside the barrel of a valve-action marker is a small metal or plastic ball bearing. When you shake the marker, this ball mixes the heavy pigments and liquid binders together to ensure a uniform consistency.
To initiate the ink flow on a brand-new marker, you must prime the nib. This involves shaking the marker vigorously with the cap securely on, then pressing the nib down vertically onto a piece of scrap paper. This action compresses an internal spring, opening the valve and allowing the paint to saturate the dry felt tip.
As a beginner, you must navigate two common priming pitfalls:
- Over-pumping: Pressing the nib down repeatedly and aggressively forces too much paint into the tip, causing leaks, puddles, and ruined artwork.
- Under-priming: Failing to press the nib down long enough results in dry, scratchy lines that can tear paper fibers and damage the felt tip.
A reliable valve system is crucial because it seals the paint reservoir when the marker is not in use, preventing the acrylic paint from drying out inside the barrel or clogging the nib. To keep your markers in peak condition, especially in humid tropical climates like the Philippines, follow this safe priming and storage checklist:
- Keep the cap secure: Always shake the marker with the cap clicked tightly in place to prevent paint splatters.
- Press gently: Prime the marker on scrap paper by pressing the nib down firmly but gently, holding it for 2 to 3 seconds, and releasing. Repeat until you see the paint color slowly saturate the white tip.
- Store horizontally: Storing your markers horizontally prevents the heavy pigments from settling at the bottom of the barrel (which clogs the valve) or pooling at the back (which results in watery paint).
- Listen for the click: High humidity can trap moisture inside a loosely capped marker, leading to mold growth on the felt nib, while dry air-conditioned rooms can rapidly dry out an unsealed tip. Always ensure the cap clicks shut tightly after every use.
Surface Compatibility and Safety: Where and How to Use
Acrylic markers are celebrated for their multi-surface compatibility, but how the paint behaves depends entirely on whether the surface is porous or non-porous. Understanding these interactions will help you choose the right preparation and finishing steps for your projects.
Porous surfaces, such as paper, unfinished wood, canvas, and terracotta, naturally absorb the water binder in the paint. This absorption allows the acrylic film to anchor itself deeply into the material, resulting in fast drying times and excellent permanence. However, highly porous papers can cause the paint to bleed or feather. To prevent this, look for heavy paper designed for mixed media or watercolor (ideally 200gsm or thicker), and perform a small test in the corner of your page to verify bleed resistance.
Non-porous surfaces, such as glass, glazed ceramic, plastic, and metal, do not absorb paint. Instead, the acrylic paint dries as a thin plastic film on top of the surface. While this allows for vibrant designs, the paint can easily scratch or peel off if it is subjected to friction or moisture. To ensure durability, always clean non-porous surfaces with rubbing alcohol before painting to remove skin oils, and allow the paint to cure completely.
There is a distinct difference between drying and curing. Drying occurs when the water evaporates from the paint, which usually takes 10 to 30 minutes. Curing is the chemical process where the acrylic polymers cross-link to form a permanent, water-resistant barrier, which can take 24 to 72 hours. In humid conditions, high relative humidity slows down water evaporation. Always allow double the standard drying time in humid environments before handling, layering colors, or applying a sealant.
Depending on the item’s use, you may need to apply a protective coating. For outdoor decorations, painted mugs, or high-wear items, check the marker manufacturer’s specifications for sealing requirements. This may involve spraying the item with a clear acrylic varnish or baking painted glassware in a home oven to set the paint permanently.
From a safety perspective, always look for non-toxic certifications, such as the AP (Approved Product) seal, especially if you are crafting with children or working in enclosed spaces. While most modern craft acrylic markers are water-based and low-odor, ensure your workspace has adequate ventilation if you are using solvent-based formulas that emit strong chemical fumes.
Recommended Set Configurations for Beginners
To help you make your final decision, consider which of these three common beginner-friendly configurations matches your creative goals and budget. Standard starter sets generally range from budget-friendly options under ₱500 to professional-grade sets priced between ₱1,500 and ₱3,000.
Configuration 1: The "All-Rounder" Starter
This configuration typically features 12 to 16 essential colors equipped with medium round (2–3 mm) nibs. It utilizes a standard water-based acrylic formula that works beautifully on canvas, paper, wood, and stone. This is the most versatile option for general crafters who want to experiment with multiple mediums without investing in specialized tools. It focuses on delivering a reliable, consistent ink flow and a balanced color palette.
Configuration 2: The "Detail & Lettering" Focus
Designed for precision, this setup features 8 to 12 colors with fine or extra-fine tips (0.7 mm to 1.5 mm). The set often includes essential black and white markers alongside a few high-quality metallics like gold and silver. This configuration is highly recommended for rock painting, scrapbooking, detailed illustration, and fine hand-lettering where clean, sharp lines are prioritized over broad coverage.
Configuration 3: The "Mixed Media" Explorer
This configuration features dual-tip markers, offering a fine tip on one end of the barrel and a brush or chisel tip on the other. It is an excellent choice for artists who want to experiment with different line weights and blending techniques without purchasing multiple separate sets. While slightly more expensive, dual-tip sets offer incredible flexibility for sketching, journaling, and canvas work.
Before finalizing your purchase, check the product packaging or manufacturer’s website to verify if the markers support replaceable nibs and refillable ink reservoirs. While cheap, disposable markers are tempting for their low upfront cost, a slightly higher-quality set with replaceable parts is far more economical over time. Instead of throwing away a half-full marker because the tip frayed on rough wood, you can simply pull out the old nib, insert a replacement, and continue creating.
Frequently Asked Questions (FAQ)
Do acrylic paint markers wash off clothes and skin?
While water-based acrylic paint is soluble in water when wet, it becomes permanent and highly water-resistant once it is fully dry and cured. If you get paint on your skin, wash it immediately with warm water and soap, using a gentle scrubbing motion. For fabric spills, act quickly before the paint dries; flush the stained area from behind with cold water, apply a liquid laundry detergent, and scrub gently before throwing the garment into the wash. Once the paint has cured into a plastic film on fabric, it is extremely difficult to remove without damaging the textile fibers.
How do I fix a clogged acrylic paint marker nib?
If your marker’s nib becomes dry or clogged with dried paint, you can often restore it using safe, reversible maintenance steps. First, gently pull the removable nib out of the plastic housing using your fingers or a pair of tweezers. Soak the dirty nib in a small container of warm water for about 5 minutes to dissolve the dried acrylic binder, then press it gently against a paper towel to squeeze out the excess moisture. Once the nib is dry, reinsert it into the marker, shake the barrel well, and gently prime the tip on scrap paper. Never use harsh chemical solvents like acetone or paint thinner to clean the nib, as these chemicals can melt the plastic barrel and permanently ruin the marker’s internal valve system.
Community discussion
Share your experience or ask a question. Comments are reviewed before publication.