
Choosing your first digital drawing tablet requires balancing three essential factors: the physical drawing area, the pen’s responsiveness, and whether you prefer a screenless model or a built-in display. For beginners, the ideal device is not necessarily the most expensive one, but rather the one that fits your current workspace, matches your computer’s ports, and feels natural to your drawing style. By focusing on practical usability rather than high-end marketing specifications, you can find a reliable tool that supports your creative growth without unnecessary complexity.
Transitioning from traditional paper to a digital canvas involves a brief adjustment period. Understanding how tablet hardware interacts with creative software will help you make an informed decision. Whether you plan to pursue digital illustration, photo editing, or casual sketching, selecting a tablet with the right balance of features ensures a smooth entry into the digital art world.
Step 1: Define Your Art Goals and Setup Constraints
Before browsing online marketplaces or visiting local electronics shops, you must clarify what you intend to create and where you will be working. A hobbyist focusing on casual sketching or webcomics has different hardware requirements than someone diving into complex 3D modeling or professional photo retouching. For basic illustration and photo editing, a simple, compact tablet is often more than sufficient, whereas detailed digital painting may eventually benefit from a larger active surface or a display screen.
Products mentioned in this guide
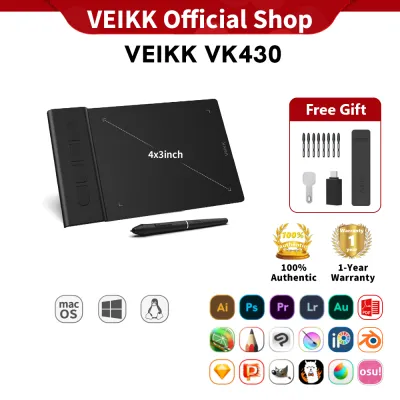
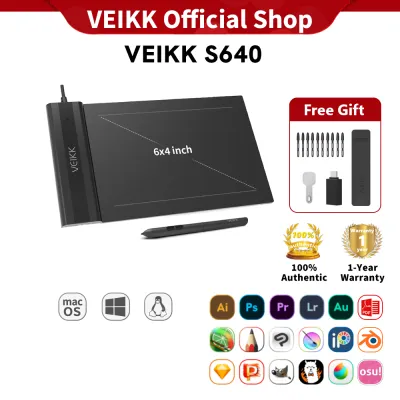
Prices are valid at publication and may change. Please refer to the product page for the latest price.
Your physical workspace is another critical factor that dictates your choice. If you work on a small study desk or frequently carry your gear to cafes and co-working spaces, a large, heavy tablet will quickly become a burden. Measure your available desk space, keeping in mind that you need room for both your computer keyboard and the tablet itself. Additionally, consider the tropical climate; working in warm, humid environments means your hands may sweat, making a drawing glove a highly practical accessory to prevent your skin from sticking to the tablet surface.
Finally, establish a realistic budget in Philippine Pesos (₱). Entry-level screenless tablets generally range from ₱2,000 to ₱5,000, making them highly accessible for beginners. If you prefer a model with a built-in screen, expect starter options to begin around ₱12,000 to ₱20,000. Remember to set aside a small portion of your budget for recurring accessories, such as replacement plastic nibs for your stylus, which naturally wear down over time due to friction.
Step 2: Evaluate Core Hardware Specifications
Once you have defined your goals and budget, you can begin comparing specific hardware features. Understanding how these technical specifications translate to real-world drawing performance will help you avoid overpaying for features you do not need.

Active Area and Physical Dimensions
The active area refers to the specific portion of the tablet surface that responds to your stylus, which is always smaller than the physical footprint of the device itself. Tablets are generally categorized into small, medium, and large sizes. A small active area (roughly 6 by 4 inches) is highly portable and requires minimal hand movement, but it can make precise, sweeping brush strokes difficult to execute without constant zooming.
A medium active area (roughly 10 by 6 inches) is widely considered a highly suitable size for beginners. This size closely matches the physical proportions of standard laptop screens, allowing for more natural arm movements from the elbow and shoulder rather than relying solely on the wrist. Large tablets offer the most drawing space but require significant desk real estate and can cause arm fatigue during long drawing sessions due to the wide physical distance your hand must travel. Always check the manufacturer’s specification sheet to verify the exact active area dimensions rather than relying on the overall product dimensions.
Pressure Sensitivity and Pen Responsiveness
Pressure sensitivity determines how closely the digital brush mimics real-world drawing tools. When you press harder on the tablet surface, the digital line becomes thicker or more opaque, depending on your software settings. Most modern entry-level tablets offer either 4,096 or 8,192 levels of pressure sensitivity. While higher numbers look impressive on paper, the difference is often difficult for beginners to detect in practice.
Instead of focusing solely on the maximum pressure level, look for specifications regarding the initial activation force, which is the minimum amount of pressure required for the tablet to register a stroke. A pen that requires very little pressure to start drawing feels much more like a real pencil. Additionally, check if the stylus supports tilt recognition, which allows you to shade areas by angling the pen, just as you would with a graphite pencil or charcoal stick. To verify real-world pen responsiveness, read user feedback or watch demonstration videos to check for common issues like pen jitter or input lag.
Screen vs. Screenless Display Options
One of the biggest decisions you will face is choosing between a screenless pen tablet and a pen display. A screenless tablet requires you to draw on the plastic pad while looking up at your computer monitor. This setup has a distinct learning curve because your hand and eyes are working in different places, but many artists find that it promotes better posture over time. Screenless models are also highly durable, lightweight, and significantly more affordable.
A pen display allows you to draw directly on a built-in screen, offering an intuitive experience that closely mimics traditional paper. However, these models are more expensive, heavier, and require multiple cable connections, including HDMI, USB, and external power adapters. In warm tropical rooms without air conditioning, pen displays can also generate noticeable heat on the screen surface, which can make long drawing sessions uncomfortable for your hand.
Step 3: Check Device and Software Compatibility
A digital drawing tablet is useless if it cannot communicate with your existing computer or preferred creative software. Before making a purchase, visit the manufacturer’s official website to verify operating system compatibility. Most modern tablets support Windows and macOS, but if you plan to use an Android phone, tablet, or Chromebook, you must confirm that the tablet drivers officially support these platforms.
Software compatibility is equally important. Ensure the tablet is fully optimized for the specific art programs you plan to use, whether they are industry-standard applications or free, beginner-friendly options like Krita, FireAlpaca, or MediBang Paint. Some tablets come bundled with limited-time software licenses, which can provide excellent value if you do not already own a drawing program.
Finally, examine the physical connection ports on your computer. Many modern laptops only feature USB-C ports, while many budget drawing tablets still ship with standard USB-A cables. Check if you will need to purchase a separate adapter or hub to connect the tablet. For pen displays, verify that your computer has a compatible video output port, such as HDMI or a USB-C port that supports DisplayPort Alt Mode, to transmit the video signal to the tablet screen.
Step 4: Compare Options and Verify Before Buying
With your specifications and compatibility requirements in hand, you can begin narrowing down your choices to a shortlist of two or three models. At this stage, look closely at the overall value package rather than just the base price of the tablet. Compare the included accessories, as some brands bundle helpful extras like a protective carrying sleeve, a pen stand, a drawing glove, or a generous supply of replacement nibs.
Because stylus nibs wear down over time—especially if you use a textured screen protector or have a heavy hand—having a bundle that includes ten or twenty replacement nibs can save you money in your first year of drawing. Check the availability and cost of replacement pens and nibs on local online marketplaces; you do not want to buy a tablet only to find that replacement parts are difficult or expensive to source locally.
Lastly, verify the warranty terms and return policies. When purchasing through online marketplaces or local authorized distributors, ensure the product is covered by a local warranty of at least one year. This protects you against manufacturing defects, such as dead pixels on a pen display or a faulty connection port, without requiring you to ship the device overseas for repairs.
Step 5: Test and Adjust Your New Tablet
Once your new tablet arrives, proper setup is essential to ensure optimal performance. Before plugging the device into your computer, go to the manufacturer’s official website and download the latest drivers for your specific operating system. Avoid relying on generic plug-and-play drivers, as they often lack pressure sensitivity support and customization options. If you previously owned another drawing tablet, completely uninstall its old drivers first to prevent software conflicts.
After installing the driver and restarting your computer, open the tablet’s configuration software to customize your settings. Most tablets feature physical express keys on the side of the device or buttons on the stylus itself. Map these buttons to your most frequently used keyboard shortcuts, such as undo (Ctrl+Z), zoom in, zoom out, or brush size adjustments. You should also adjust the pen’s pressure curve; if you have a light touch, curving the settings so that less physical pressure produces a thicker line can prevent hand strain.
To verify that your tablet is functioning correctly, perform a simple drawing test in your art software. Draw a series of slow, diagonal lines using a physical plastic ruler placed on the tablet surface; if the digital lines appear highly wobbly or jagged, you may need to adjust your software’s stabilization settings or reinstall the driver. Scribble across the entire active area to check for dead zones where the pen input drops out, and test the express keys to ensure they trigger the correct shortcuts. If you notice persistent hardware issues that cannot be resolved through driver updates, contact the seller immediately within the return window.
Frequently Asked Questions (FAQ)
Do I need to buy a separate stylus for a beginner tablet?
No, almost all beginner digital drawing tablets include a compatible stylus in the box. These styluses are typically battery-free, meaning they run on electromagnetic resonance technology and never require charging. You should avoid purchasing third-party styluses unless the manufacturer explicitly lists them as compatible with your specific tablet model, as different brands use proprietary wireless protocols that do not work across different devices.
Can I use a digital drawing tablet without a computer?
Standard pen tablets and pen displays cannot function on their own; they act as input and display devices that must be connected to a host computer, laptop, or compatible mobile device to run drawing software. Standalone drawing tablets that have their own operating system, processor, and battery do exist, but they are generally much more expensive and fall into a different product category aimed at users who require complete portability without a computer setup.
Community discussion
Share your experience or ask a question. Comments are reviewed before publication.