
Starting your crafting journey with a DIY keychain making set is an exciting way to explore hands-on creativity, but the sheer variety of kits available can quickly feel overwhelming. To find the perfect starter kit, you must look for a package that balances complete, high-quality hardware with clear, beginner-friendly instructions and a crafting style that matches your home environment. A great kit does not just provide raw materials; it offers a self-contained project experience that allows you to complete several durable keychains without requiring immediate trips to the craft store for missing tools. By focusing on material compatibility, essential hardware sizing, and realistic workspace requirements, you can avoid common beginner frustrations and successfully create personalized accessories that withstand daily wear and tear.
Essential Components to Verify in a Starter Kit
Before purchasing any starter kit, you must verify that the base materials are fully compatible with the creative mediums you plan to use. Acrylic blanks, wooden shapes, and shrink plastic sheets are the most common bases found in these sets, and each requires specific decorating tools. For instance, acrylic blanks usually come with a thin protective film on both sides to prevent scratches; you need to ensure the kit instructions explain this, or you might accidentally paint over the film. If you prefer using standard permanent markers or acrylic paints, check that the kit’s blanks are pre-sanded or smooth enough to accept these mediums without bleeding or smearing. Shrink plastic, on the other hand, requires specialized heat-resistant markers or colored pencils, as standard water-based inks will bead up on the glossy surface and ruin your design during the heating process.
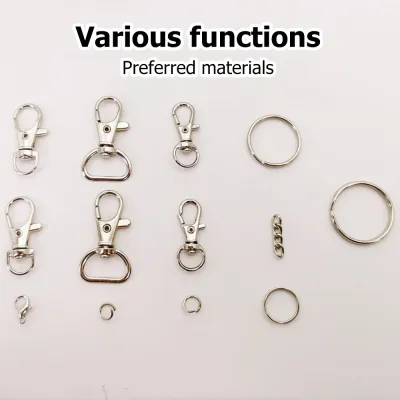
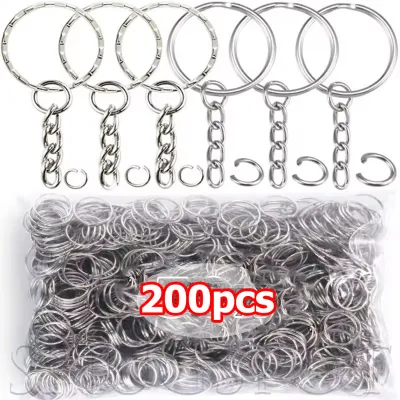
Hardware inclusion is another critical factor that determines whether a kit is truly beginner-friendly. A complete set should provide an adequate quantity of keyrings, jump rings, and lobster clasps that match the thickness of your base materials. If you are working with thick acrylic or wooden blanks, the included jump rings must have a large enough diameter to loop through the pre-drilled holes without pinching or binding. Look for kits that offer a generous count of these metal findings, as beginners often bend or drop small parts during their first few attempts. Having a few extra pieces ensures you can finish your projects without running out of essential connectors.
Products mentioned in this guide
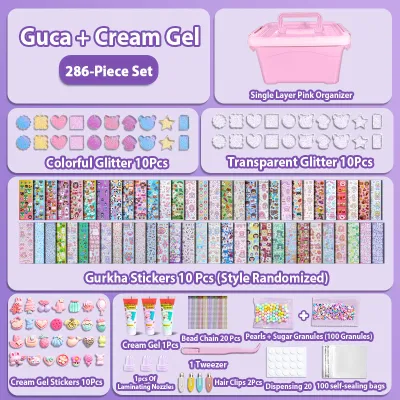
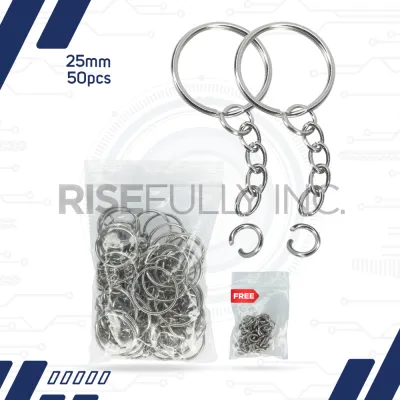
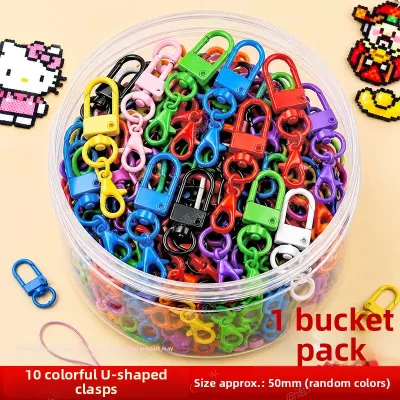
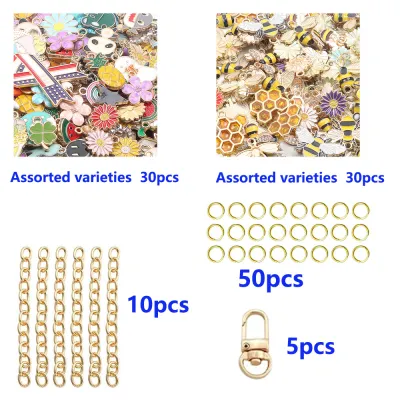
Prices are valid at publication and may change. Please refer to the product page for the latest price.
Finally, evaluate the basic tools included in the package to see if they are functional for a beginner or if they will require an immediate upgrade. Many starter kits include a pair of miniature jewelry pliers, which are essential for opening and closing metal jump rings. You should check if these pliers have smooth inner jaws; serrated household pliers can easily scratch and mar the decorative finish of your metal hardware. If the kit features shrink plastic, verify whether a standard hole punch is included, as punching the hole for your keyring must be done before the plastic is heated and hardened. For kits that require heat or curing, make sure the product description clearly states whether you need to supply your own household tools, such as an oven or a craft heat gun, to complete the projects.
Choosing a Craft Style That Fits Your Space and Skill
Selecting the right keychain style is not just about aesthetics; it is about matching the craft to your physical workspace and skill level. Resin and shrink plastic kits are incredibly popular because they allow for vibrant, glossy designs, but they require specific environmental conditions to succeed. In tropical climates like the Philippines, high ambient humidity can severely affect the curing process of epoxy resins, sometimes leaving the finished pieces sticky, cloudy, or full of trapped moisture. If you choose a resin kit, verify whether it includes essential safety gear like nitrile gloves and a dust mask, and ensure you have a well-ventilated workspace away from shared living areas. You should also check if the kit uses UV resin, which requires an included UV lamp to cure in minutes, or two-part epoxy resin, which must cure slowly over 24 to 48 hours and demands a dust-free, flat surface to set properly.

If you prefer a low-mess crafting experience that does not require chemical curing or specialized ventilation, leather and macrame kits are excellent alternatives. For leather crafting, evaluate the quality and sharpness of the included cutting and punching tools. Dull tools make clean edges difficult to achieve and increase the risk of accidental slips during assembly. Beginners should look for leather kits that offer pre-cut or pre-punched pieces, allowing you to focus on learning basic stitching and edge-finishing techniques. For macrame kits, check the complexity of the knotting patterns provided. A beginner-friendly kit should focus on fundamental knots, such as the square knot or lark’s head knot, and provide high-quality, tightly twisted cotton cord that does not fray easily while you practice your tension.
Beaded and wire-wrapped keychain kits offer a wonderful balance of fine motor skill development and structural design. When evaluating these kits, look at the variety of beads provided; a mix of wooden, glass, and acrylic beads allows you to experiment with different weights and textures. More importantly, pay close attention to the gauge of the wire included in the set. Wire that is too thin, such as 26-gauge or higher, bends too easily under the weight of daily keys and will quickly lose its shape. Conversely, wire that is too thick, such as 18-gauge or lower, is incredibly stiff and difficult for a beginner to manipulate without professional-grade tools. A balanced starter kit typically features 20-gauge or 22-gauge wire, which offers the perfect compromise between flexibility for wrapping and structural integrity for daily use.
Evaluating Instructions and Learning Resources
A DIY kit is only as good as the guidance it provides, making the quality of the instructions a vital consideration for any beginner. Compare the format of the learning resources included in the kit to see what matches your learning style. Printed step-by-step manuals are highly convenient because you can keep them flat on your workspace without worrying about getting paint, glue, or clay on your phone screen. However, these printed guides must feature clear, high-resolution color photographs rather than vague, grainy black-and-white illustrations. Many modern kits now include QR codes that link to digital video tutorials. These videos are incredibly helpful for visualizing dynamic techniques, such as the exact hand movements needed to tie a macrame knot or the correct way to pour resin to avoid bubbles.
Safety warnings must be prominent and easy to understand, especially in kits that involve heat tools, chemical resins, or sharp cutting implements. A high-quality kit will clearly highlight safety precautions on the very first page of the manual or at the beginning of the instructional video. Look for explicit guidelines on how to handle hot shrink plastic safely, how to avoid skin contact with uncured resin, and how to use leather-carving tools without injury. If a kit glosses over these safety aspects or lacks clear warning labels on chemical bottles, it is best to look for an alternative that prioritizes user safety.
Additionally, look for kits that include a dedicated troubleshooting section to help you navigate common beginner mistakes. Crafting is a learning process, and you will likely encounter minor setbacks during your first few projects. The instructions should offer practical tips on how to resolve these issues, such as using a toothpick or a light pass of heat to pop stubborn air bubbles in resin, or how to properly twist a jump ring open and closed sideways so the metal does not fatigue and snap. Having these troubleshooting tips readily available prevents material waste, reduces frustration, and keeps your crafting experience enjoyable and educational.
Assessing Long-Term Value and Expandability
To ensure your starter kit is a worthwhile investment, you should assess its long-term value and how easily you can expand your new hobby. Start by calculating the estimated cost per finished keychain. Take the total price of the kit in ₱ and divide it by the number of complete keychains you can actually produce with the included materials. For example, if a kit costs ₱600 and contains enough blanks and hardware to make twelve keychains, your cost per piece is ₱50. Keep in mind that this initial cost also covers reusable tools like jewelry pliers, hole punches, or UV lamps. These tools add significant long-term value because you can continue to use them long after the kit’s original materials are exhausted.
Another key aspect of expandability is the availability of refill packs and compatible supplementary materials. Once you complete your first batch of keychains, you will likely want to keep creating without buying an entirely new kit that duplicates the tools you already own. Check if the brand offers dedicated material refills, or verify if the kit uses standard hardware sizes, such as 25mm keyrings or 2-inch acrylic blanks. Standardized sizing ensures that you can easily source compatible blanks, tassels, and jump rings from local craft stores or online marketplaces, allowing you to expand your hobby seamlessly and affordably.
Finally, evaluate the storage solutions included with the kit. Keychain making involves dozens of tiny, easily lost components, from jump rings and eye pins to beads and decorative tassels. A kit that arrives in a flimsy, single-use plastic bag will quickly lead to a cluttered workspace and lost parts. Look for kits that come packaged in a durable, compartmentalized plastic storage box. Having dedicated slots for different hardware sizes and bead colors not only keeps your supplies organized and dust-free but also makes it easy to pack up your projects and take your crafting hobby on the go.
Frequently Asked Questions (FAQ)
Can I use regular household tools instead of the ones in the kit?
While it is tempting to use tools from your household toolbox, doing so can often damage your delicate craft materials. Standard household pliers usually feature serrated jaws designed for heavy-duty gripping; using these on soft metal jump rings will scratch the decorative plating and leave unsightly marks on your finished keychain. Similarly, standard household scissors are often too bulky to cut intricate shrink plastic designs cleanly, which can lead to jagged edges that tear during the heating process. However, some household items are perfectly safe to substitute, such as using clean toothpicks to pop resin bubbles, or using a flat ceramic tile as a heat-safe surface for baking shrink plastic in a toaster oven.
How do I safely store leftover resin or chemical components?
Leftover chemical components, such as UV resin or two-part epoxy, require careful storage to maintain their shelf life and ensure household safety. Always store these liquids in their original, tightly sealed containers in a cool, dark, and dry place, away from direct sunlight and heat sources. In tropical environments, keeping them in a temperature-controlled room helps prevent premature curing or separation. Never store craft chemicals in areas where food is prepared or consumed, and always keep them completely out of reach of children and pets. Before storing, wipe down the bottle threads with a dry paper towel to prevent the caps from bonding permanently to the bottles, and always consult the manufacturer’s label for specific disposal and storage guidelines.
Community discussion
Share your experience or ask a question. Comments are reviewed before publication.