
To choose your first watercolor paint set, look for a student-grade set containing 12 half-pans with a balanced range of primary colors and earth tones. This configuration offers the ideal mix of affordability, ease of control, and portability for a beginner. Starting with a compact, reliable set prevents the common pitfall of getting overwhelmed by too many colors while ensuring you learn the fundamentals of color mixing with paints that behave predictably.
In the Philippines, the vibrant art scene and the popularity of urban sketching make watercolor a highly accessible medium. However, the tropical climate and high humidity present unique challenges for storing and maintaining art supplies. Selecting a set that suits both your budget and your environment will ensure your entry into this beautiful medium is rewarding rather than frustrating.
Understand Paint Grades: Student vs. Professional
When browsing art supply stores or online marketplaces, you will quickly notice a massive price gap between different watercolor sets. This price difference is primarily determined by paint grade, which dictates how the paint is manufactured and how it behaves on paper. Understanding these grades prevents you from overspending on professional tools you do not yet need, or buying unusable products that will hinder your learning.
Products mentioned in this guide
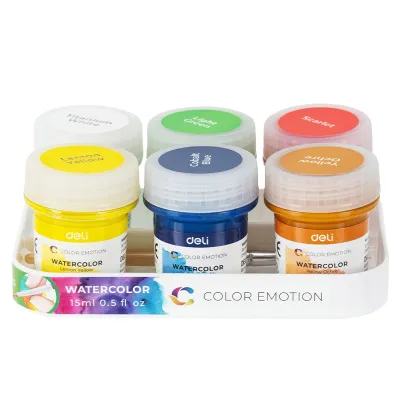
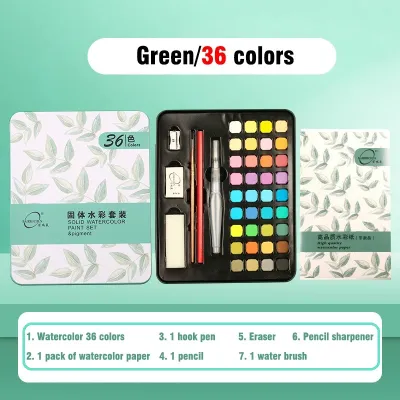
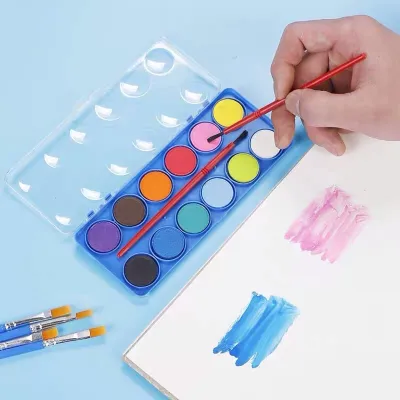
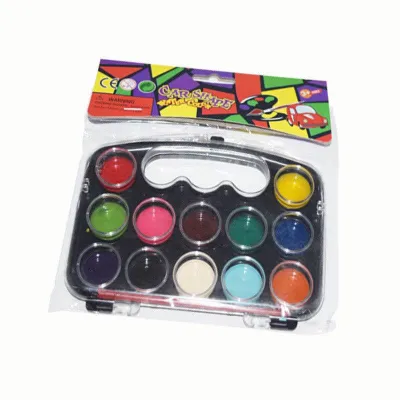
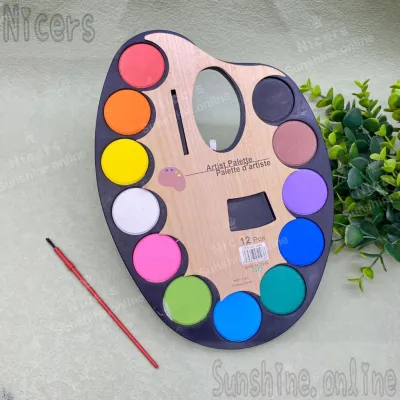
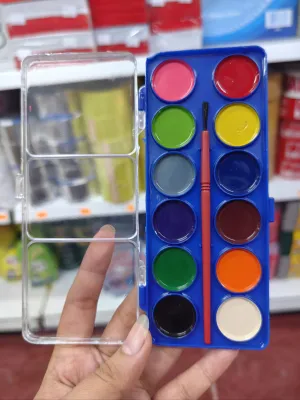
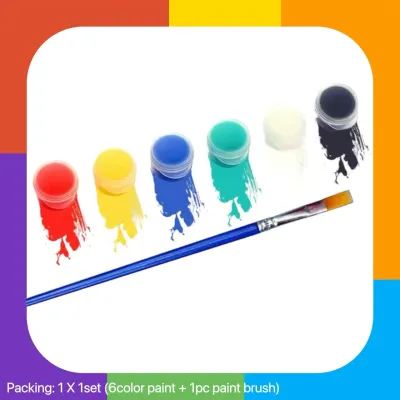
Prices are valid at publication and may change. Please refer to the product page for the latest price.
Professional-grade watercolors, often labeled as “artist” paints, feature a high concentration of pure pigments bound with natural gum arabic. These paints offer exceptional vibrancy, smooth blending, and high lightfastness, meaning they resist fading when exposed to light over time. Because pure pigments are expensive to source, professional paints are sold at a premium and are often categorized into series numbers based on the rarity of the raw ingredients.
Student-grade watercolors, which may carry labels like “studio,” “scholastic,” or “student,” are designed specifically for learners and hobbyists. To keep costs manageable, manufacturers replace expensive pigments with synthetic alternatives (often called “hues”) and use a higher ratio of fillers and binders. Despite these adjustments, reputable student-grade paints maintain a reliable level of performance, allowing you to practice essential techniques like glazing, wet-on-wet washes, and dry brushing without worrying about the cost of every brushstroke.
However, you must actively avoid unbranded “toy” paint sets often found in generic toy aisles or budget department stores. These products are typically made with cheap dyes and heavy chalk fillers rather than actual pigments. When applied to paper, they dry to a dull, chalky finish, tear the paper fibers, and refuse to blend smoothly. Using these low-quality paints can lead to immense frustration, as the physical limitations of the material will prevent you from executing basic watercolor techniques correctly.
To verify you are purchasing a true student-grade set rather than a toy, always inspect the product packaging or online description. Look for established art manufacturing brands that explicitly state the paint grade as “student” or “fine watercolor.” These sets offer the perfect balance of affordability and predictable, workable quality for your initial practice.
Pan vs. Tube: Choosing the Right Water Color Format
Watercolors are sold in two primary physical formats: dry solid cakes called pans, and wet pastes packaged in squeeze tubes. Both formats contain the same essential ingredients—pigment and binder—but their physical state changes how you work, set up your space, and maintain your supplies. Choosing the right format depends heavily on your painting style, workspace, and portability needs.

Half-Pan and Full-Pan Sets (Solid)
Solid watercolors are dried paint cakes housed in small plastic cups known as pans. Half-pans are the most common size for beginner sets, holding about 1.5ml of paint, while full-pans hold roughly double that volume. These pans are arranged inside a plastic or metal tin that usually doubles as a mixing palette.
The primary advantages of pan sets are portability, ease of setup, and minimal waste. Because the paint is already dry and self-contained, you can open your tin, wet your brush, and start painting immediately. This makes pan sets highly favored by urban sketchers, travel journalers, and those with limited desk space at home.
To use solid watercolors, you must drop a small amount of water onto the dry cake to activate the pigment. Let the water sit on the pan for about a minute before painting; this softens the binder and allows your brush to lift the color easily. While highly convenient, pans can be slightly tedious when you need to mix large, deep washes of color, as repeatedly rubbing a wet brush against a small cake to gather enough pigment takes time and can wear down your brush tips.
Tube Paints (Liquid/Paste)
Tubes contain watercolor in a moist, paste-like state. They are typically sold in sizes ranging from 5ml to 15ml. To use them, you squeeze a small amount of paste onto a separate mixing palette, where you can dilute it with water to achieve the desired transparency.
Tubes excel when you need to mix large volumes of paint quickly or when you want to achieve highly saturated, vibrant colors. Because the paint is already wet, you do not need to scrub the surface to lift pigment, which preserves the shape of your delicate brush tips. This format is ideal for artists working on larger paper sizes or those who prefer working in a dedicated home studio.
The main drawback of tubes is the potential for waste, as squeezing out too much paint can lead to dried-up leftovers on your palette. While you can re-wet dried tube paint later, some brands do not rehydrate as smoothly as dedicated pan paints.
Furthermore, the tropical climate of the Philippines introduces a specific maintenance challenge for tube paints. The high humidity can prevent squeezed-out paint from drying fully on an open palette, making it a breeding ground for mold if stored in a dark, unventilated drawer. If you choose tubes, ensure your mixing palette is kept in a cool, dry area, and let any leftover paint dry completely in a well-ventilated space before closing the palette lid.
Deciding on the Color Range and Palette Size
It is incredibly tempting for beginners to purchase massive watercolor sets containing 36, 48, or even 72 colors. However, starting with an overly large palette is a common mistake that actually hinders your artistic growth. A massive selection of pre-mixed colors prevents you from learning how pigments interact, often leading to flat, lifeless paintings.
Instead, aim for a limited palette of 12 colors. A smaller set forces you to learn color theory through practical mixing, helping you understand how to control temperature, value, and saturation. When you mix your own secondary colors (like greens, oranges, and purples) from a limited set of primaries, your paintings will naturally look more cohesive and harmonious.
When evaluating a 12-color set, check if it utilizes a “split-primary” system. This system includes a warm and a cool version of each primary color:
- Reds: A warm, orange-leaning red (such as Cadmium Red Hue) and a cool, blue-leaning red (such as Alizarin Crimson).
- Yellows: A warm, golden yellow (such as New Gamboge) and a cool, greenish yellow (such as Lemon Yellow).
- Blues: A warm, red-leaning blue (such as Ultramarine Blue) and a cool, green-leaning blue (such as Phthalo Blue).
Having both warm and cool primaries allows you to mix clean, vibrant secondary colors. For example, mixing a cool yellow with a cool blue yields a bright, vivid green, whereas mixing a warm yellow with a warm blue produces a muted, earthy olive green.
In addition to the split primaries, a reliable beginner set should include essential earth tones. Look for Burnt Sienna and Yellow Ochre. These earth pigments are invaluable for mixing realistic skin tones, shadows, and natural landscapes.
Avoid buying sets that rely heavily on pre-mixed convenience greens or excessive pastel shades. These colors are easily mixed from your primaries, and relying on them directly from the pan often results in muddy, chalky layers on your paper.
Step-by-Step Selection Process for Your First Set
To make a confident purchase, follow this structured checklist to evaluate potential watercolor sets against your specific budget and physical needs.
Step 1: Set a realistic budget
In the Philippine market, expect to spend between ₱500 and ₱1,500 for a reliable, brand-name student watercolor set. Sets priced below ₱200 are almost certainly toy-grade and will frustrate your learning process. Conversely, professional sets costing upwards of ₱4,000 are an unnecessary expense while you are still mastering basic water control.
Step 2: Evaluate included accessories
Many beginner watercolor sets are packaged as “all-in-one” travel kits that include plastic water brushes, small sponges, and built-in mixing wells. Examine these accessories critically. A metal or sturdy plastic tin with deep mixing wells is highly useful. However, the bundled brushes in budget sets are often made of stiff, cheap synthetic hair that cannot hold a sharp point or retain water. If the included brush feels stiff or sheds bristles easily, plan to purchase a separate, high-quality synthetic round brush.
Step 3: Verify pigment information
Turn the paint packaging over or look up the manufacturer’s color chart online. Reputable student-grade paints will list pigment codes (such as PB29 for Ultramarine or PY150 for Nickel Azo Yellow) and lightfastness ratings (often indicated by stars or Roman numerals). If a brand hides this information or uses generic names like “deep blue” without any technical data, it is a sign of lower quality control.
Step 4: Check medium compatibility
No watercolor paint will perform well on standard paper. Standard printer paper (70 to 80 gsm) or cheap drawing sketchbooks lack the thickness and internal sizing required to handle water. Applying wet washes to these papers causes immediate warping, pilling, and bleeding. When budgeting for your paint set, save a portion of your funds for dedicated watercolor paper. Look for paper that is cold-pressed, acid-free, and has a weight of at least 300 gsm (grams per square meter) to ensure it can absorb water without buckling.
Testing and Caring for Your New Watercolors
Once you have purchased your first watercolor set, taking the time to test your paints and establish a proper maintenance routine will preserve the quality of your supplies and make your painting sessions much more enjoyable.
Your very first activity should be creating a swatch card on a scrap piece of your 300 gsm watercolor paper. Paint a small rectangle for each color in your set, starting with highly concentrated paint on one side and gradually adding water to create a smooth gradient that fades to almost white on the other. This simple test allows you to observe three critical characteristics of your paint:
- Transparency: Note which colors allow the white of the paper to shine through clearly and which ones appear slightly more opaque.
- Granulation: Some pigments (like Ultramarine) naturally settle into the texture of the paper, creating a beautiful, textured look, while others dry perfectly smooth.
- Tinting Strength: Observe how much water is required to dilute a color; some pigments are incredibly dominant and require only a tiny touch to color a large wash.
Keep this swatch card inside your paint tin as a quick reference guide, as dry watercolor paint on paper always looks slightly lighter and different from the wet paint in the pan.
After each painting session, take a moment to clean your set. Use a clean, damp cloth or a paper towel to wipe away muddy paint mixtures from the plastic mixing wells. If colors from adjacent pans have bled into each other, gently lift the contaminated surface with a clean, wet brush and dab it dry with a paper towel.
Proper storage is vital in tropical environments. Always let your watercolor palette dry completely with the lid open in a well-ventilated room before closing it for long-term storage. Storing a wet palette in a sealed container traps moisture, which can degrade the binder, cause the paints to turn mushy, or encourage mold growth. Keep your dry paint set in a cool cupboard away from direct sunlight, as intense heat can dry out the binder, causing solid pans to crack and split.
Frequently Asked Questions (FAQ)
Can I use regular paper for water color painting?
No, regular printer or standard drawing paper cannot handle watercolor. These papers lack the necessary thickness and internal sizing, which prevents them from absorbing water properly. Using them will result in severe warping, paper pilling, and dull, bleeding colors. For proper practice, always use dedicated watercolor paper with a weight of at least 300 gsm.
Do I need to buy extra brushes if my set includes them?
While the brushes included in beginner sets are acceptable for basic color swatching, they often lack the water-holding capacity and sharp points needed for detailed work. Investing in one or two high-quality synthetic round brushes (ideally in sizes 6 and 10) will give you significantly better water control and improve your overall painting experience.
Community discussion
Share your experience or ask a question. Comments are reviewed before publication.