
Creating polished thank you loot bags requires a thoughtful balance of structural integrity and visual harmony. By coordinating the weight of your wrapping paper, the texture of your ribbons, and the scale of your bows, you can transform simple party favors into memorable tokens of appreciation. In warm, humid climates like the Philippines, selecting the right materials and adhesives is especially crucial to ensure your bags maintain their shape and elegance from the venue to your guests’ homes.
To achieve a professional finish, you must treat the loot bag as a three-dimensional design project. The wrapping paper serves as your canvas, the ribbon provides structural contrast, and the bow acts as the focal point. When these elements are paired correctly, they not only secure the contents inside but also communicate a sense of gratitude before the guest even opens the bag.
Choosing the Right Base: Wrapping Paper for Loot Bags
The foundation of any beautiful loot bag is the paper itself. Selecting the wrong paper can lead to embarrassing tears, sagging bottoms, and a presentation that feels cheap. To prevent these issues, you must evaluate the paper’s weight, texture, and format before beginning your assembly.
Products mentioned in this guide
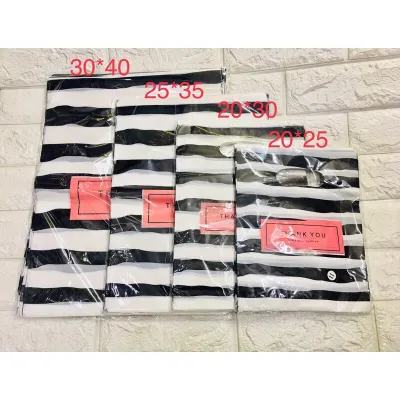

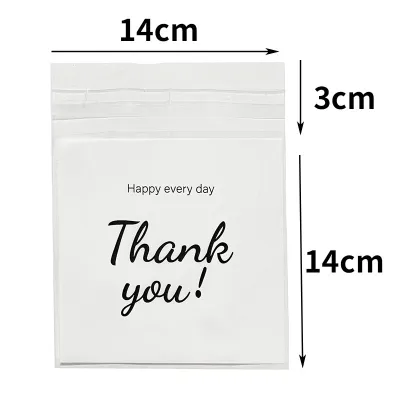
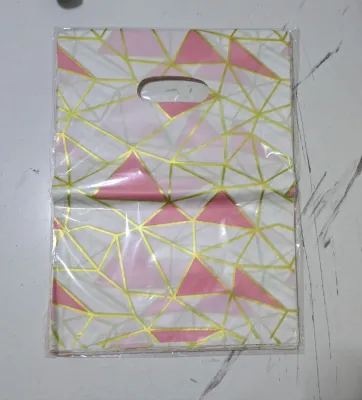
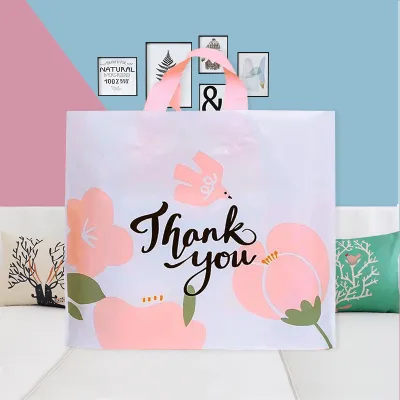
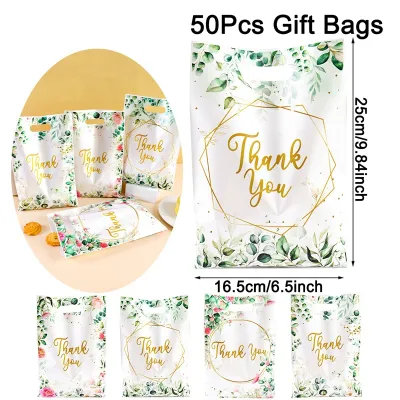
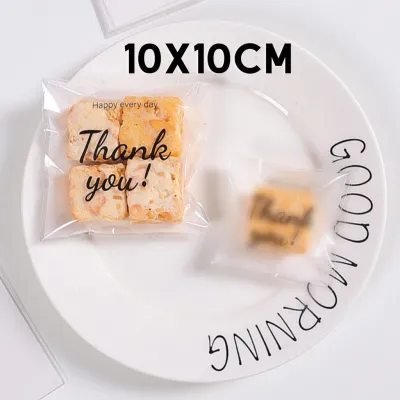
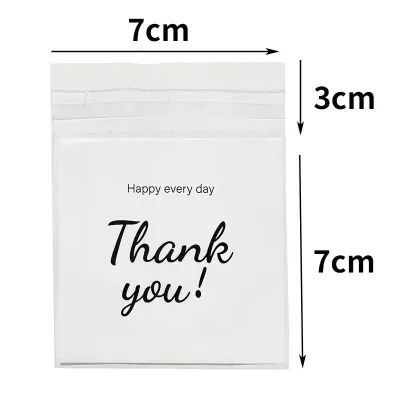
Prices are valid at publication and may change. Please refer to the product page for the latest price.
Paper weight is typically measured in grams per square meter (gsm). For sturdy loot bags that will hold items like small jars, candies, or heavy stationery, aim for a paper weight between 100 gsm and 150 gsm. Standard lightweight wrapping paper (often around 60 to 70 gsm) is highly prone to tearing when folded into bag shapes and filled with dense items. Thicker options, such as premium kraft paper or heavy-weight matte wrapping sheets, offer the structural rigidity needed to stand upright on a display table.
The visual design of the paper should align with your event’s theme and guest demographic. For children’s birthday parties, vibrant colors and playful, large-scale patterns work beautifully. For adult gatherings, weddings, or corporate events, opt for subtle textures, metallic accents, or solid, muted tones. If you choose a highly patterned paper, keep in mind that your ribbons and bows will need to be simpler to avoid visual clutter.
You must also decide between using flat wrapping paper sheets or pre-cut bag formats. Flat sheets allow you to customize the bag’s dimensions to fit unique gifts perfectly, but they require precise folding and reinforcement. Pre-cut plain paper bags save significant assembly time, allowing you to focus your creative energy entirely on the ribbon layering and bow placement. If you choose flat sheets, plan to reinforce the bottom and handle areas with cardstock inserts to distribute weight evenly.
Layering Ribbons: Adding Structure and Contrast
Ribbons do more than just tie a bag shut; they introduce texture, color contrast, and structural reinforcement. Layering different types of ribbons creates a sophisticated, multi-dimensional look that elevates the entire presentation.

When selecting ribbon materials, consider how they interact with your paper base. Satin ribbon offers a high-gloss, luxurious finish that contrasts beautifully with matte or kraft paper. However, satin can be slippery and may require a tight knot to stay secure. Grosgrain ribbon, with its ribbed texture, is incredibly durable, holds its shape exceptionally well, and provides excellent grip when tied. Organza ribbon is sheer and airy, making it perfect for layering over a solid ribbon to add softness without adding bulk.
The width of your ribbon should be proportional to the size of your loot bag. For a standard medium-sized bag (approximately 15 by 20 centimeters), a primary ribbon width of 2.5 centimeters (1 inch) works best. You can then layer a narrower ribbon, about 1 centimeter (3/8 inch) wide, directly over the center of the wider ribbon. This dual-layer technique instantly creates a custom, high-end look.
To plan your layering sequence, start with your structural ribbon first. Use a strong, high-grip ribbon like grosgrain to bind the bag’s neck or handles securely. Once the bag is structurally closed, layer your decorative ribbons—such as satin or organza—over the top. This ensures that the decorative elements are not subjected to the tension of holding the bag shut, preventing them from bunching or wrinkling.
Finishing with Bows: Placement and Proportion
The bow is the crowning jewel of your thank you loot bag. A poorly proportioned or badly placed bow can ruin the symmetry of your design, while a well-executed bow ties the entire theme together.
Scale is the most critical factor when designing or choosing a bow. As a general rule, the finished bow should not exceed two-thirds of the width of the bag’s face. An oversized bow will cause the bag to tip forward and obscure the wrapping paper pattern, while an undersized bow will look like an afterthought. If you are using a wide ribbon, pair it with a substantial bow; if your ribbon is delicate, keep the bow small and neat.
You must also choose between hand-tied bows and pre-made adhesive bows. Hand-tied bows offer an organic, premium look and allow you to use the exact same ribbon material as your wrapping layers. However, tying dozens of identical bows by hand requires patience and practice. Pre-made bows are excellent for large events where assembly time is limited, but you must verify that the adhesive backing is strong enough to stick to your specific paper finish.
Placement determines how the guest interacts with the bag. Placing the bow at the center of the bag’s face creates a classic, symmetrical look. Attaching it to the base of one of the handles adds a modern, asymmetrical touch. For bags that fold over at the top, placing the bow directly over the closure point serves both a functional and decorative purpose, drawing the eye to the opening mechanism.
Step-by-Step Assembly Guide for a Cohesive Look
To assemble your polished thank you loot bags efficiently, set up a clean, flat workspace and gather your materials. If you are constructing bags from flat wrapping paper, follow this structured workflow to ensure consistency across all your favors.
First, cut your wrapping paper into a rectangle that is twice the desired width of your bag plus 4 centimeters for overlap, and the desired height plus 10 centimeters for the bottom fold and top collar. Fold the top edge down by 3 centimeters to create a clean, reinforced collar. Wrap the paper into a cylinder, overlapping the vertical edges, and secure them with a high-tack double-sided tape. Flatten the cylinder, crease the sides to form gussets, and fold the bottom up to create the base. Insert a pre-cut piece of thick cardboard into the bottom of the bag to provide a flat, sturdy floor.
Second, place your gifts inside the bag. Once the contents are settled, fold the top collar down or pinch the neck of the bag together, depending on your preferred style. Punch two clean holes through the folded top using a paper punch, spacing them about 5 centimeters apart. Thread your primary, wider ribbon through the holes from the back to the front.
Third, pull the ribbon ends even and tie a secure double knot. Layer your narrower, contrasting ribbon over the knot, wrapping it around the main ribbon band. Tie your decorative bow using the hand-tied method, or attach a pre-made bow directly over the central knot. Trim the ribbon tails at a sharp 45-degree angle or cut a “V” shape into the ends to prevent fraying and give a professional, tailored finish.
Common Pairing Mistakes to Avoid
Even with high-quality materials, certain design and structural combinations can lead to disappointing results. Being aware of these common pitfalls will help you troubleshoot your assembly process before making costly mistakes.
One frequent error is mixing overly busy paper patterns with complex, multicolored ribbons. If your wrapping paper features an intricate floral or geometric design, pair it with a solid, neutral-colored ribbon. Conversely, if your paper is plain kraft or a solid pastel, you can afford to use patterned, glittered, or multi-textured ribbons. Visual competition between the paper and the ribbon makes the loot bag look chaotic rather than polished.
Another mistake is ignoring the relationship between paper weight and the physical weight of the contents. If you fill a thin paper bag with heavy items like candles or glass jars, the bottom will sag, and the handles may tear away when lifted. Always match your paper gsm to the weight of your gifts, and reinforce the handle attachment points with extra layers of paper or eyelets if necessary.
Finally, using the wrong adhesive can ruin your hard work. Standard school glue contains high water content, which can warp wrapping paper, leave unsightly wet spots, and take too long to dry in humid environments. Hot glue is excellent for securing heavy ribbons and bows, but it can melt delicate organza or leave thick, lumpy residue if applied too generously. Always test your chosen adhesive on a scrap piece of your wrapping paper and ribbon to verify that it holds securely without bleeding through or staining the material.
Frequently Asked Questions (FAQ)
Can I use double-sided tape instead of glue for attaching ribbons and bows?
Yes, high-quality double-sided tape is excellent for securing flat ribbon bands to wrapping paper because it lies completely flat and does not warp the paper. However, standard double-sided tape may fail when holding heavy, hand-tied bows or when applied to highly textured papers like embossed or glittered sheets. For heavy decorative elements, opt for high-tack acrylic double-sided tape or a small dab of low-temperature hot glue to ensure a permanent bond.
How do I keep the wrapping paper from tearing when filling heavy loot bags?
To prevent tearing, always reinforce the bottom of your handmade bags with a custom-cut piece of thick cardstock or chipboard. This distributes the weight of the contents evenly across the entire base rather than concentrating pressure on the center seam. Additionally, fold the top rim of the bag inward by at least 3 centimeters before punching holes for handles, as this double-layer collar prevents the ribbon or string from ripping through the paper when the bag is carried.

Community discussion
Share your experience or ask a question. Comments are reviewed before publication.