
Drawing festive decorations can feel intimidating if you struggle with symmetry or worry about making messy, permanent mistakes on paper. Creating eye-catching Halloween pumpkin drawings is actually a highly manageable process when you break the pumpkin down into simple geometric shapes, build up the ridges step-by-step, and use light pencil strokes that allow for easy adjustments before applying any ink or color. By starting with a basic flattened oval and layering curved guidelines, even absolute beginners can produce a clean, three-dimensional jack-o’-lantern that looks balanced and lively.
What stationery and tools do you need before starting your Halloween pumpkin drawings?
To set yourself up for success, you do not need expensive, professional-grade art supplies; instead, a few carefully selected everyday stationery items will make sketching, erasing, and coloring a seamless experience. For your initial guidelines and structural shapes, an HB pencil is ideal because it leaves a light, easily erasable mark without indenting the paper. As you move on to shading and defining deeper crevices, switching to a softer 2B or 4B pencil allows you to achieve rich, dark tones with minimal pressure. Pair these with a high-quality vinyl or dust-free eraser, which lifts graphite cleanly without tearing the paper fibers or leaving dark, greasy smudges across your drawing area.
The choice of paper significantly impacts how smoothly your pencil glides and how well it tolerates repeated erasing. A standard sketchpad with a medium texture (around 100 to 120 gsm) or even smooth printer paper works beautifully for dry media. If you plan to use markers or gel pens later, look for paper labeled as bleed-resistant to prevent the ink from feathering. In warm, humid environments, paper naturally absorbs ambient moisture from the air, making it slightly soft and more prone to tearing under heavy erasing. Keeping your sketchpad stored in a dry drawer and placing a clean sheet of scrap paper under your hand while drawing will protect your work from moisture and natural skin oils.
Products mentioned in this guide
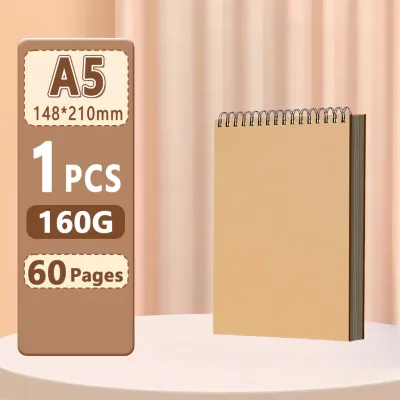
3,149 Lazada user ratings
Thick 160gsm paper weight, Fast shipping within 24 hours, Good packaging protection, Ideal for art exams, Fast shipping within 24 hours, Goo…Read full reviewShow less
Thick 160gsm paper weight, Fast shipping within 24 hours, Good packaging protection, Ideal for art exams, Fast shipping within 24 hours, Good packaging, Wide application, Eco-friendly & non-toxic, Good for canvas painting, Vivid colors,
Good packaging protection, Quality:good Design:excellent Price:affordable ganda nya pang drawing makapal yung pages nya kaya d tatagos if ga…Read full reviewShow less
Good packaging protection, Quality:good Design:excellent Price:affordable ganda nya pang drawing makapal yung pages nya kaya d tatagos if gagamitan ng acrylic markers
I've been buying from this store and will definitely buy again from them. Proven and tested na ang quality ng products at maganda pa ang pag…Read full reviewShow less
I've been buying from this store and will definitely buy again from them. Proven and tested na ang quality ng products at maganda pa ang pagkakapack.
Thick 160gsm paper weight, High-quality wood pulp paper, Fast shipping within 24 hours, Good packaging protection, Fast shipping within 24 h…Read full reviewShow less
Thick 160gsm paper weight, High-quality wood pulp paper, Fast shipping within 24 hours, Good packaging protection, Fast shipping within 24 hours,
Item arrived safe and secured. The quality is good for it's price. Thick. High-quality wood pulp paper,
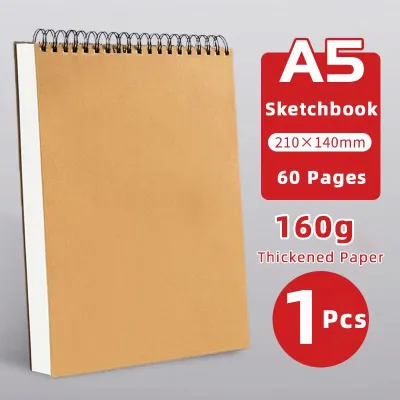
608 Lazada user ratings
60 pages with high-quality paper, Thick art paper for sketching, gift ko sa anak ko na teenager. His first ever pad for his art.
Quality:Excellent paper quality, No ink bleed, Design:Eye-catching, Unique patterns, Price:Reasonable cost, Great value,
hdjdjjdjd jdjdjjdjd jdjdjjdjd jdjdjklppcjd jwjwjjqjq jdjsjsjdj jsjsjjsjsjs Quality:nope Design:nope Price:ok
60 pages with high-quality paper, Great for creative projects, Multiple sizes available (A4/A5),
60 pages with high-quality paper, Multiple sizes available (A4/A5), Durable spiral binding,
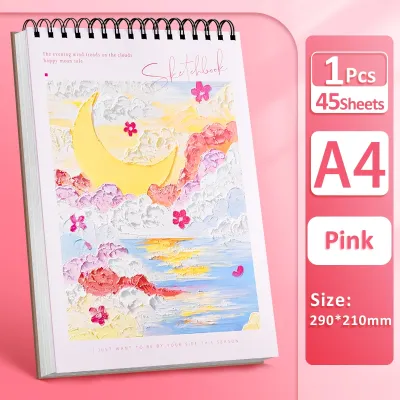
279 Lazada user ratings
recently received an A4 Spring Sketch Pad, and I’m really impressed with its quality. The paper has just the right texture — smooth enough f…Read full reviewShow less
recently received an A4 Spring Sketch Pad, and I’m really impressed with its quality. The paper has just the right texture — smooth enough for pencil work and fine liners, but with enough tooth to hold graphite and light shading beautifully. It also handles colored pencils and markers well, with minimal bleed-through. The spiral binding is sturdy and makes it easy to flip pages or lay the pad completely flat while sketching, which is super convenient whether you’re drawing at a desk or outdoors. The perforated edges are a nice bonus, letting you remove finished pieces cleanly without tearing the paper. It’s lightweight and portable, so it fits nicely in a backpack or art tote — perfect for students, hobbyists, or anyone who loves to sketch on the go. Overall, this A4 Spring Sketch Pad is excellent value for the price. Whether for quick doodles, detailed illustrations, or daily sketch practice, it’s a reliable companion for any artist. 🎨
The seller always updated me on my parcel. Got this with a big discounted price. Thank you. And I think my children love this.
113 GSM high-quality paper, Perfect for drawing and sketching, tnx lasada order ulit ako
Perfect for drawing and sketching, Ideal for art students, A4 size, easy to carry,
Quality:Excellent paper quality, Design:Unique patterns, Price:Reasonable cost,
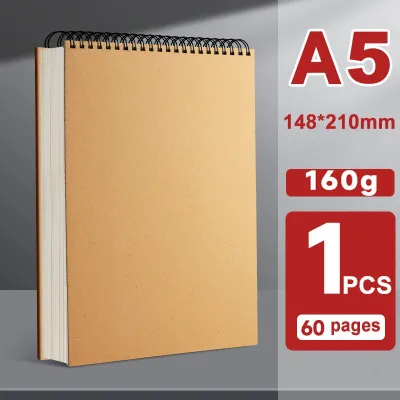
691 Lazada user ratings
Maganda ang quality ng paper and good for pencil sketches. I really like it, good for its price and perfect ang size nya for me, thanks sell…Read full reviewShow less
Maganda ang quality ng paper and good for pencil sketches. I really like it, good for its price and perfect ang size nya for me, thanks seller! Maayos din ang pagkaka package, naka balot sya sa karton oara iwas damage sa product
The product is good but the packaging is terrible,one of the markers I ordered had the container broken.
Good for sketching, paper not thick. I do like the surface specially when drawing in pencil or charcoal.
birthday gift nmin sa anak ko tuwang tuwa xia may magagamit na daw xia pang drawing at pang kulay
good quality tuwang tuwa anak ko sa gift nmin sakanya may pang darwing at kulay na daw xia ..
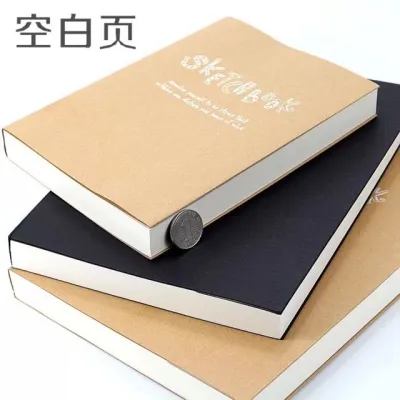
8,786 Lazada user ratings
Quality:Excellent quality for its price, also it has so many sheets for its price, which is really good. Design:The book cover is nothing sp…Read full reviewShow less
Quality:Excellent quality for its price, also it has so many sheets for its price, which is really good. Design:The book cover is nothing special, but it adds appeal to the sketchbook itself. It encourages creativity, passion, and strength. Price:The price is really, really good. It offers great value for those who are looking for their first sketchbook, as it contains many pages and the paper quality is superb, not too thin or thick, just thick enough for fineliners to not bleed through. Overall, 10/10 product, would buy again. I highly recommend buying this if you're looking for an affordable sketchbook.
Positives: paper quality itself is good, lots of pages too Negatives: Book cover adhesives is no bueno, it's so flimsy and fragile that it c…Read full reviewShow less
Positives: paper quality itself is good, lots of pages too Negatives: Book cover adhesives is no bueno, it's so flimsy and fragile that it can detach from normally flipping through pages, but eh for the price I could probably find a better deal elsewhere but I'm too lazy, I'll just re-applying a stronger adhesive later, or not, I'll let future me figure it out
Got it! The sketchbooks were packed with bubble wrap although not securely. There are some dents on the bottom of the violet one. I was a li…Read full reviewShow less
Got it! The sketchbooks were packed with bubble wrap although not securely. There are some dents on the bottom of the violet one. I was a little surprised when I realized that these sketchbooks were a little bit wider than the sketchbook I bought in Imart even tho they all have the same design, iust different colors.
The sketchbook has a sturdy hardcover., The black color is sleek and professional., The rider of J&T Express do not deliver the parcel on my…Read full reviewShow less
The sketchbook has a sturdy hardcover., The black color is sleek and professional., The rider of J&T Express do not deliver the parcel on my residence. He only waits for me to pick up the parcel at their office.
Second time to order here and same item (sketchbook). Ordered three this time as a Christmas gift for my cousins. Well packed and fast deliv…Read full reviewShow less
Second time to order here and same item (sketchbook). Ordered three this time as a Christmas gift for my cousins. Well packed and fast delivery as usual. Thank you seller. Will order again for sure! 😉
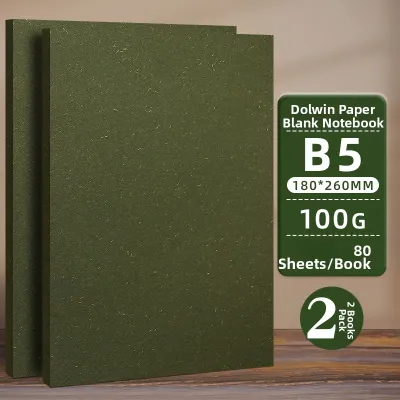
8 Lazada user ratings
The paper thickness is just right, and you can check the light transmission level on p2. It feels a bit smoother than the yellow paper noteb…Read full reviewShow less
The paper thickness is just right, and you can check the light transmission level on p2. It feels a bit smoother than the yellow paper notebooks. I got the gray one, and it looks pretty simple and sleek.
Pretty good, really nice looking and very practical, I like it.
The quality is great, I'm really happy with it!
Chất lượng tốt! Xứng đáng để có!
3,829 Lazada user ratings
Quality:The quality is really good and the pages are pretty thick Ease of Use:it's easy to use and my markers doesn't leak that much Appeara…Read full reviewShow less
Quality:The quality is really good and the pages are pretty thick Ease of Use:it's easy to use and my markers doesn't leak that much Appearance:it's an average size for a sketchbook but I actually expected it to be bigger
I just received it today😅 the quality is good I use watercolor to see if it will went through the back but it didn't so it was good for me♡ …Read full reviewShow less
I just received it today😅 the quality is good I use watercolor to see if it will went through the back but it didn't so it was good for me♡ thank u seller and kuya for delivering the package♡♡
thank you seller, di ko n po na picture ksi niregalo ko agad. Quality:Great quality sketchbook., Ease of Use:I appreciate the blank pages., …Read full reviewShow less
thank you seller, di ko n po na picture ksi niregalo ko agad. Quality:Great quality sketchbook., Ease of Use:I appreciate the blank pages., Appearance:all good
Must buy this sketch book, highly recommended! It has a lot of pages :3 Maayos rin ang packaging thx seller :3 🍓🍓
maganda sya at thick Yung paper kaso Nga lng kala ko pure white sya may pagkabrown Naman😅😅😅😅 pero ok lng 🤧🤧🤧
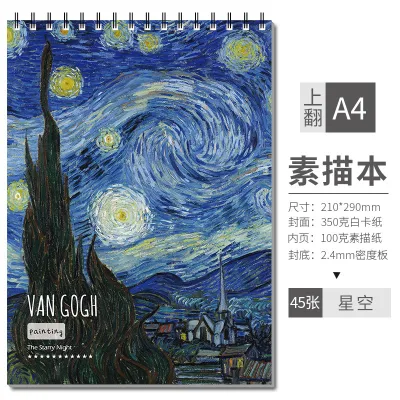
1,106 Lazada user ratings
Great for sketching and note-taking, Ideal for journaling and organizing, Ideal for journaling and organizing, Variety of colors to choose f…Read full reviewShow less
Great for sketching and note-taking, Ideal for journaling and organizing, Ideal for journaling and organizing, Variety of colors to choose from, Variety of colors to choose from, Perfect size for carrying around, Perfect size for carrying around, High-quality PU leather material, High-quality PU leather material, Beautiful and stylish design, Beautiful and stylish design,
Quality:good Size:good Design:good Price:worth the price 90 pages per book, Cream-colored pages, thank you seller for fast delivery, item re…Read full reviewShow less
Quality:good Size:good Design:good Price:worth the price 90 pages per book, Cream-colored pages, thank you seller for fast delivery, item recieved in good condition too. worth the price also.. thank you lazada and rider..
90 pages per book, Cream-colored pages. Gamit na gamit siya ng anak ko. Medyo manipis lang ung papel tapos ready to punit na din after if ne…Read full reviewShow less
90 pages per book, Cream-colored pages. Gamit na gamit siya ng anak ko. Medyo manipis lang ung papel tapos ready to punit na din after if needed isubmit sa teacher.
90 pages per book, Cream-colored pages, Quality:Great for sketching, Design:Very pretty Modern and stylish, Price:Affordable price,
Prices are valid at publication and may change. Please refer to the product page for the latest price.
For the final stages of your drawing, you can introduce vibrant festive colors using colored pencils, fine-liner pens, or alcohol-based markers. Colored pencils offer excellent control for building up soft gradients of orange, yellow, and deep brown, while gel pens are perfect for adding sharp, opaque highlights. Before applying any ink or marker to your main drawing, always conduct a quick trial on a scrap piece of the same paper to verify the drying speed and check for potential bleeding.
How do you sketch the basic round shape and ridges of the pumpkin?
To sketch a realistic pumpkin, you must first establish its overall volume using a simple, slightly flattened circle rather than a perfect, rigid sphere. Real pumpkins are naturally organic, often wider than they are tall, with a slightly heavy bottom that gives them a grounded appearance. Begin by holding your HB pencil loosely and drawing a light, horizontal oval in the center of your page. Do not worry about making this initial shape flawless; it serves merely as a structural boundary to guide the rest of your drawing. Keep your wrist relaxed and use sweeping, circular motions to keep the lines faint and easy to modify.

Once your base oval is in place, you can begin defining the characteristic vertical ridges that give a pumpkin its distinct, segmented texture. Imagine the pumpkin as a three-dimensional globe with lines of longitude wrapping around its surface. Start at the top center of your oval—where the stem will eventually sit—and draw a curved line that sweeps outward toward the left edge before curving back down to meet the bottom center. Repeat this process on the right side, creating a matching outer curve. These initial lines establish the outer silhouette of your pumpkin, transforming the flat oval into a rounded, volumetric form.
Next, fill in the space between these outer edges with additional curved lines that run from the top center to the bottom center. The lines closest to the middle of the pumpkin should be relatively straight, while the lines moving toward the sides should become progressively more bowed. This spacing creates a natural perspective, making the center segments appear wider and closer to the viewer, while the side segments look narrower as they curve away. Keep these construction strokes incredibly light, as you will need to erase parts of them later when adding the stem and facial features.
How do you add the stem, leaves, and vines to complete the outline?
Adding organic details like the stem, leaves, and twisting vines is the key to making your pumpkin drawing look natural and firmly rooted. To draw the stem, start at the top center point where all your ridge lines converge. Instead of drawing a straight, symmetrical cylinder, sketch a short, slightly tapered shape that curves gently to one side. Give the top of the stem a flat, angled oval cut to represent where it was severed from the vine, and add a few vertical, textured lines along its length to mimic the rough, woody texture. Make sure the base of the stem flares out slightly where it meets the pumpkin’s body, showing that it grows out from the core.
Once the stem is established, you can introduce playful, curly vines to add movement and visual interest. Draw these vines as thin, looping tendrils that spiral outward from the base of the stem. To make them look natural, vary the tightness of the curls and let some of them drape gently over the shoulders of the pumpkin. If you want to include leaves, sketch classic lobed shapes with three to five pointed sections, similar to a maple leaf but with softer, more rounded edges. Draw a central vein down the middle of each leaf, with smaller veins branching outward to give them a realistic, structured appearance.
Proper positioning is crucial to ensure these organic elements do not create a cluttered layout. When placing your leaves and vines, think about how they would naturally drape over a three-dimensional object. A leaf resting on top of the pumpkin should partially overlap the ridges behind it, while a vine curling forward should pass in front of the stem. To keep the drawing clean, sketch these overlapping elements lightly first, then use your eraser to remove any underlying pumpkin lines that should now be hidden from view. This simple step creates a convincing sense of depth and layering.
How do you draw and customize a simple carved jack-o'-lantern face?
Carving a face into your drawn pumpkin requires mapping out the features so they follow the curved, three-dimensional surface of the ridges rather than looking like flat stickers pasted on top. To achieve this, draw a light horizontal guideline across the middle of your pumpkin, curving it slightly downward to match the roundness of the sphere. Then, draw a vertical guideline down the center ridge. The intersection of these two lines marks the exact center of the face, helping you align the eyes, nose, and mouth symmetrically while maintaining the illusion of volume.
For a classic, timeless look, start by sketching simple triangular shapes for the eyes and nose. Place the eyes along your horizontal guideline, spacing them evenly on either side of the center line. Next, draw a small triangle for the nose right at the intersection of the guidelines. When drawing the mouth, sketch a wide, curved crescent shape that spans across several ridges. To make it look carved, add blocky, square teeth pointing up from the bottom lip and down from the top lip. Ensure the outer corners of the mouth curve upward to follow the natural contour of the lower pumpkin body.
You can easily customize the personality of your jack-o’-lantern by making subtle adjustments to the angles, shapes, and proportions of these facial features. For a friendly or silly expression, draw large, round eyes, a tiny nose, and a wide, open-mouthed grin with only one or two missing teeth. If you prefer a spooky, menacing look, tilt the inner corners of the triangular eyes sharply downward to create an angry brow line, and draw a jagged, zigzag mouth resembling sharp fangs. Always sketch these expressions lightly first, stepping back to check if the features look balanced and expressive before committing to darker, permanent lines.
What shading and coloring techniques make your pumpkin drawing look three-dimensional?
Shading and coloring are the ultimate steps that transform a flat line drawing into a vibrant, three-dimensional piece of art. To begin shading, you must first establish a consistent, imaginary light source, such as a candle glowing from the upper left side of your page. This means that all the surfaces facing the upper left will catch the light and require bright highlights, while the surfaces facing the lower right will fall into deep shadow. Additionally, because the pumpkin’s surface is made of raised ridges, the deep grooves between those ridges will naturally block light, creating dark, vertical shadow lines even on the lit side of the pumpkin.
When applying color, start by laying down a soft, even base layer of medium orange across the entire body of the pumpkin, leaving the very tops of the ridges slightly lighter to serve as your highlights. Next, use a deeper reddish-orange or warm brown to shade the valleys between the ridges and the lower right side of the pumpkin. Smoothly blend these darker tones outward into the base orange, ensuring the transition from shadow to light is gradual and soft. Inside the carved eyes and mouth, apply a bright yellow or pale orange base to simulate the warm, flickering glow of an internal candle, shading the inner edges with a touch of deeper orange to give the carved walls some thickness.
To finalize the three-dimensional effect, you must ground your pumpkin so it does not appear to be floating in empty space. Draw a subtle, horizontally elongated oval directly beneath the base of the pumpkin to represent its cast shadow. Shade this area darkest where the pumpkin actually touches the ground, and let the shadow gradually fade and soften as it stretches away from the light source. If you are using colored pencils, a mix of dark brown, cool grey, or deep forest green works beautifully for this ground shadow, providing a stark, realistic contrast that makes the bright orange of your pumpkin pop off the page.
How can you fix common mistakes or adjust proportions in your sketch?
It is completely normal for beginners to encounter minor proportion or alignment issues during their first few drawing attempts, but these are easily corrected with a few simple adjustments. If you notice that one side of your pumpkin looks significantly larger or lopsided compared to the other, do not erase the entire drawing. Instead, draw a light vertical line straight down the center of your sketch to act as a balance scale. Compare the outermost curves on the left and right sides against this line, and use your eraser to gently shave off or extend the curves until both halves feel visually balanced and weighted.
Another frequent issue is a flat-looking drawing that lacks depth, which usually happens when the ridge lines are too straight or the shading is too uniform. You can easily fix a flat appearance by deepening the shadows inside the vertical grooves with a soft 4B pencil or a dark brown colored pencil. By making these narrow valleys darker, you instantly push them backward, which makes the orange sections between them appear to bulge forward. To enhance this effect, use a clean eraser to lift some of the color or graphite from the center of each ridge, creating a bright, clean highlight that emphasizes the roundness of each segment.
Finally, if the carved facial features look like they are floating or misaligned with the pumpkin’s body, check how they interact with the vertical ridge lines. Carved features should cut directly through the ridges, meaning the lines of the eyes and mouth should bend slightly as they cross over the bumps and dips of the surface. If a triangle eye looks too flat, erase its outer edges and redraw them with a very slight curve that mimics the underlying roundness of that specific ridge. Taking a moment to step back from your drawing and view it from a distance of a few feet will help you spot these minor distortions quickly, allowing you to make precise, satisfying corrections before finalizing your artwork.
Community discussion
Share your experience or ask a question. Comments are reviewed before publication.