
Felt paper, with its rich, velvety texture and fibrous composition, adds a luxurious tactile dimension to handmade greeting cards. However, its unique blend of paper pulp and textile-like fibers makes it notoriously prone to fraying, tearing, and snagging if cut with improper tools or techniques. Achieving crisp, professional edges requires understanding how these fibers behave under pressure and selecting the right combination of sharp blades, stabilizing backings, and controlled cutting motions.
In tropical climates like the Philippines, high humidity can soften the fibers of felt paper, making it even more susceptible to dragging and tearing. By adjusting your workspace conditions, stabilizing the sheet, and using precise cutting methods, you can cleanly shape intricate card elements—from delicate floral overlays to precise geometric borders—without compromising the material’s structural integrity.
Essential Tools and Materials for Clean Cuts
Selecting the right cutting tools is the most critical step in preventing felt paper from snagging or tearing. Standard household scissors often have slightly dull or misaligned blades that crush rather than slice the fibrous layers. For clean results, invest in dedicated fabric shears or high-carbon steel craft scissors that feature a sharp, fine edge capable of slicing through dense fibers without pushing them aside.
Products mentioned in this guide
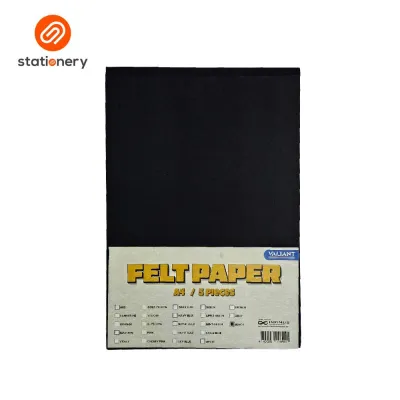
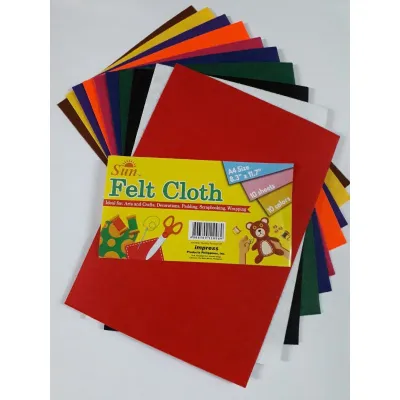
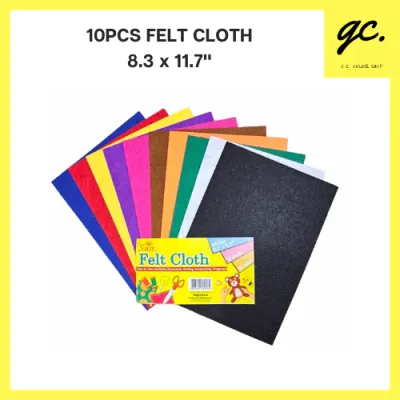

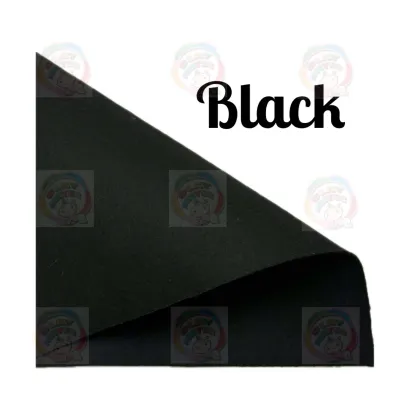

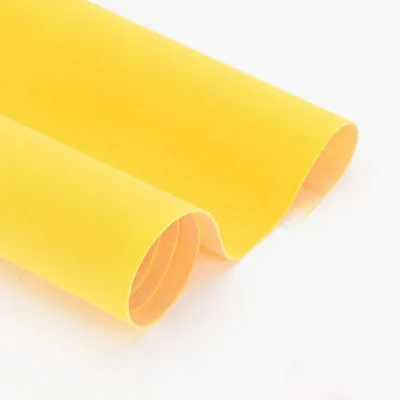
Prices are valid at publication and may change. Please refer to the product page for the latest price.
For detailed interior cuts and complex shapes, a precision craft knife is indispensable. Choose a knife handle with a comfortable, non-slip grip and pair it with a standard fine-point blade, such as a #11 profile. Before starting, inspect the blade tip under a bright light to ensure it is not chipped or rounded; even a microscopic defect at the tip will drag fibers and cause immediate tearing.
A self-healing cutting mat is the required surface for all knife work. The yielding surface of the mat allows the blade to penetrate fully, ensuring a complete cut while protecting the delicate tip from dulling prematurely. Avoid cutting on hard, rigid surfaces like glass, metal, or bare wood, which can cause the blade to skip, slide, or dull instantly.
Because this project involves ultra-sharp blades and strong adhesives, safety must be a priority. Always cut in a direction moving away from your body and keep your non-dominant hand well clear of the blade’s path. Store all craft knives with their protective caps securely in place, and keep replacement blades in a puncture-proof container out of reach of children.
Preparing and Stabilizing Felt Paper Before Cutting
Before making your first cut, take a moment to inspect the felt paper’s thickness, texture, and fiber direction. Gently flex the sheet in both directions; you will notice it bends more easily along one axis, which indicates the grain or fiber alignment. Cutting parallel to this grain is generally smoother, while cutting across it requires slightly more pressure to sever the fibers cleanly.

Environmental factors also play a significant role in how the material behaves. In warm, humid climates, felt paper absorbs moisture from the air, making the fibers limp, pliable, and highly prone to dragging under a blade. If the paper feels soft or damp, store it in an airtight container with silica gel packets for a few hours before cutting, or work in an air-conditioned room to restore its crisp, dry texture.
If the felt paper is thin, lightweight, or prone to stretching, applying a temporary stabilizer is highly effective. You can secure a sheet of low-tack painter’s tape or a temporary spray adhesive paired with a scrap piece of standard copy paper to the back of the felt paper. This temporary backing stiffens the fibers, preventing them from shifting or distorting as the blade passes through.
To transfer your card designs accurately without marking the visible front surface, print or draw your template directly onto the backing paper. Alternatively, you can secure a paper template to the back of the felt paper using low-tack tape. This allows you to cut through both layers simultaneously, ensuring a clean edge on the final element while keeping the front face pristine.
Step-by-Step Cutting Techniques for Clean Edges
Achieving clean edges requires proper body posture and hand positioning to maintain consistent pressure throughout the cut. Sit at a flat, sturdy table with your work at elbow height, ensuring you have a clear, unobstructed view of the cutting line. Hold the felt paper firmly with your non-dominant hand, placing your fingers close to the cutting line to stabilize the fibers without putting yourself in the path of the blade.
When using scissors, execute long, continuous, gliding strokes rather than short, choppy snips. Open the blades fully and slide the paper deep into the crook of the scissors where you have the most leverage. Squeeze the handles slowly and smoothly, stopping just before the tips close completely; closing the scissors entirely can create a small notch or tear at the end of each cut.
To cut smooth curves with scissors, keep your cutting hand relatively stationary and aligned with your forearm. Use your non-dominant hand to slowly rotate the felt paper into the blades as you squeeze. This fluid, coordinated movement prevents the jagged transition points that often occur when you try to turn the scissors themselves.
When using a craft knife, never attempt to cut through the felt paper in a single, heavy pass. Instead, use a light scoring stroke to establish the line and sever the top layer of fibers. Follow this initial groove with one or two additional light passes, maintaining a consistent 45-degree blade angle to the cutting mat to ensure a clean, vertical edge.
Shaping Intricate Card Elements Without Tearing
Intricate card elements, such as delicate lace borders, small leaves, or complex lettering, require specialized techniques to prevent the paper from tearing under the pressure of the blade. When cutting tight inner corners or sharp star points, always use relief cuts. Make straight cuts from the outer edge of the scrap paper directly to the corners of your design, allowing the waste pieces to fall away in small sections and preventing the blade from binding.
For sharp angles and tight curves, use a pivoting technique. Press the tip of your craft knife firmly into the corner point, lift the rear of the blade slightly, and rotate the felt paper around the blade tip. This keeps the cut continuous and prevents the corner from becoming rounded, frayed, or torn.
Small, delicate pieces are highly vulnerable to stretching or warping. Keep your stabilizing backing paper attached to these delicate elements until the very last moment. When it is time to remove the backing, peel it back slowly at a sharp, 180-degree angle while supporting the felt paper with a flat ruler to prevent the fibers from pulling or distorting.
Your choice of tool should depend on the scale and complexity of the shape. For large, sweeping curves and straight borders, scissors offer the best control and speed. For internal cutouts, tight radii, and details smaller than a ₱5 coin, switch entirely to a precision craft knife on a self-healing mat to maintain clean, unfrayed edges.
Troubleshooting Frayed or Torn Edges
If you notice fuzzy, frayed edges or small tears developing during your project, stop cutting immediately to diagnose the issue. The most common cause of fraying is a dull blade or scissors that are clogged with paper dust and adhesive residue. High humidity can also soften the paper fibers, making them too pliable to resist the blade’s edge cleanly.
For minor fraying, do not pull or rip the loose fibers, as this will unravel the paper structure and ruin the shape. Instead, use a pair of ultra-sharp embroidery scissors or curved cuticle scissors to snip the stray fibers flush with the edge. Alternatively, you can gently swipe a very fine-grit sanding block (such as 400-grit) in a single direction along the edge to smooth out minor fuzziness.
If a piece tears significantly or the edges become heavily distorted, it is best to discard it and adjust your setup. Continuing to work on a damaged piece will only compromise the quality of your greeting card. Take this opportunity to replace your knife blade, clean your scissors with isopropyl alcohol to remove any adhesive residue, and verify that your stabilizing backing is securely bonded before starting fresh.
Frequently Asked Questions (FAQ)
Can I use a digital cutting machine for felt paper?
Yes, digital cutting machines can cut felt paper, provided the material is properly stabilized. Because felt paper is fibrous and can easily lift, you must secure it to a high-tack or standard-grip cutting mat. Use a clean, sharp blade—preferably a deep-point or rotary blade if recommended by your machine’s manufacturer—to prevent dragging. Always perform a small test cut on a scrap piece first to adjust the pressure and blade depth, ensuring the machine slices completely through the paper without tearing the delicate fibers or leaving uncut threads.
How do I store leftover felt paper scraps for future cards?
To keep your felt paper scraps in pristine condition, sort them by size and color, then store them flat in clear, resealable plastic sleeves or folders. This protects the delicate fibers from dust, dirt, and moisture, which is especially important in humid tropical climates. Avoid folding or creasing the scraps, as permanent creases are difficult to remove and can cause the paper to catch or tear during future cutting projects. Keep the storage folders in a cool, dry drawer away from direct sunlight to prevent the vibrant colors from fading.

Community discussion
Share your experience or ask a question. Comments are reviewed before publication.