
Cutting glitter paper for school projects, holiday decorations, or DIY invitations often feels like a trade-off between beautiful, sparkling results and an absolute mess of micro-plastic fallout. The secret to achieving clean, crisp edges without sending a cloud of glitter across your room lies in choosing the right blade, securing the material properly, and controlling static electricity. By understanding how the abrasive glitter layer interacts with different cutting edges, you can complete your crafts efficiently and keep your workspace pristine.
With the right preparation and techniques, you can master this specialty material. Whether you are creating intricate cake toppers or simple card borders, handling glitter paper does not have to result in endless cleanup.
Choosing the Right Cutting Tools for Glitter Paper
Glitter paper is essentially a standard paper or cardstock backing topped with a layer of adhesive and textured glitter particles. Because these particles are highly abrasive, they can dull standard steel blades almost instantly. A fresh, heavy-duty utility knife or a dedicated craft knife with replaceable carbon steel blades is ideal for straight lines. The sharpness of the blade is critical; a dull edge will drag the glitter particles through the backing, resulting in a jagged, frayed edge rather than a clean slice.
Products mentioned in this guide

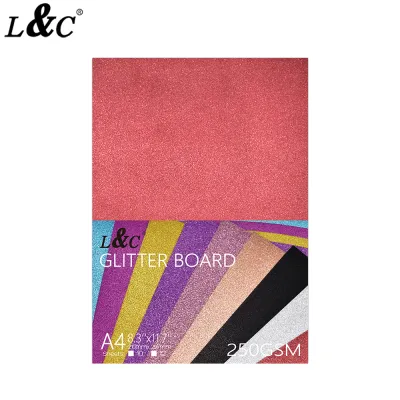
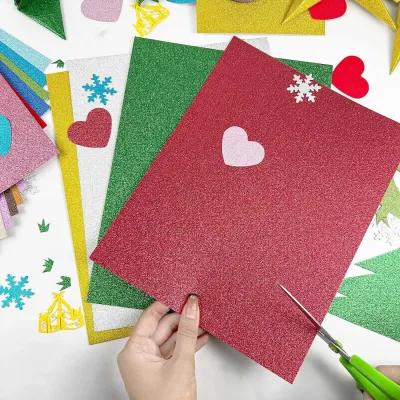
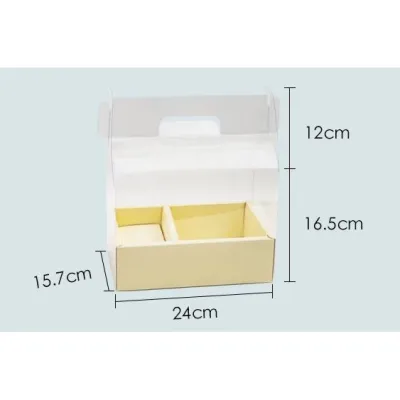
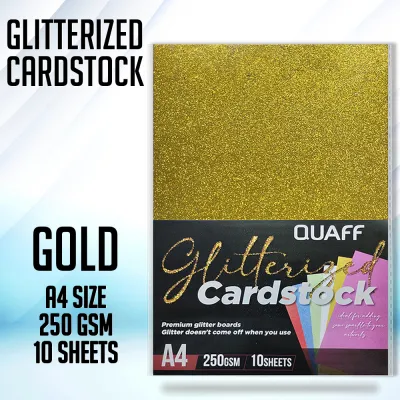
Prices are valid at publication and may change. Please refer to the product page for the latest price.
For curved designs or intricate shapes, a rotary cutter or a specialized detail craft knife offers better maneuverability. Rotary cutters roll over the surface, applying downward pressure that pinches and cuts the paper against the mat, which significantly reduces the friction that causes shedding. When selecting a cutting surface, a self-healing mat provides the necessary grip to keep the paper from sliding, but a smooth tempered glass mat is much easier to wipe clean afterward.
The weight of your glitter paper also dictates your tool choice. Heavy cardstock-backed glitter paper requires a deeper, more stable blade depth and firmer pressure, whereas thin, adhesive-backed glitter sheets can be sliced with a lighter touch. Always match the blade’s exposure to the thickness of the paper to avoid gouging your work surface or tearing the delicate backing material.
Preparing Your Workspace and Materials
Before making your first cut, setting up a controlled environment will save you hours of cleanup. High tropical humidity, common in local craft spaces, can make the adhesive layer on some glitter papers slightly tacky, which actually helps retain loose particles but makes clean cuts more challenging. Work on a flat, stable table away from electric fans or open windows, as even a gentle breeze can scatter loose glitter across the room.

Using a shallow plastic craft tray or lining your immediate work area with a large sheet of inexpensive butcher paper or newspaper creates an effective containment zone. This sacrificial layer catches the initial fallout and can be easily folded and discarded once your project is complete. To combat static electricity—which causes tiny glitter particles to cling stubbornly to plastic mats and hands—you can lightly wipe your tools and hands with a dryer sheet or a slightly damp cloth.
Take a moment to inspect the glitter paper itself before cutting. Examine the backing to determine the grain direction, as cutting parallel to the grain often requires less pressure and produces fewer loose fibers. Gently run your finger over the glittered surface to assess the adhesive quality; if a simple touch releases a shower of particles, you will need to use a lighter touch and plan for extra containment.
Step-by-Step Cutting Techniques for Clean Edges
To begin, secure your glitter paper face down on your cutting surface whenever possible. Cutting from the back allows the blade to slice through the clean paper backing first before hitting the abrasive glitter layer, which preserves your blade’s sharpness and prevents the glitter from being pushed into the paper fibers. Use low-tack painter’s tape or masking tape along the edges to hold the sheet firmly in place, ensuring the tape does not tear the backing when removed.
When executing the cut, hold your metal ruler or straightedge down with firm, even pressure. Position your craft knife at a 45-degree angle to the paper and pull it toward you in a single, continuous motion. Avoid using a sawing or hacking motion, as this back-and-forth action tears the backing and dislodges a massive amount of glitter. It is far better to make two or three light, steady passes along the same line than to force the blade through in one heavy, uncontrolled stroke.
Safety is paramount when working with sharp blades. Always cut away from your body and keep your free hand well behind the cutting edge of the ruler. When a blade becomes dull, do not attempt to force it; instead, carefully snap off the dull segment or replace the blade entirely, disposing of the old blade in a designated, puncture-proof container to prevent accidental cuts.
For curved cuts, the technique shifts from moving the knife to rotating the paper. Keep your blade hand steady and slowly pivot the glitter paper with your other hand to maintain a smooth, unbroken line. If you are using a rotary cutter for curves, select a smaller blade diameter, which handles tight radiuses much better than larger blades and minimizes the risk of slipping off course.
Managing and Cleaning Up Glitter Fallout
Even with the best techniques, some glitter shedding is inevitable. To clean up the remaining particles without spreading them further, keep a standard lint roller or a roll of wide masking tape nearby. Pressing the sticky side of the tape gently onto your cutting mat, tools, and the freshly cut edges of your paper will lift away loose glitter instantly without damaging your project.
A slightly damp paper towel is also highly effective for wiping down smooth surfaces like glass mats or plastic trays. However, avoid using standard household vacuum cleaners to clean up fine glitter. Without a high-efficiency particulate air (HEPA) filter, the vacuum’s exhaust can blow the lightweight glitter particles back into the air, settling on furniture and clothing throughout your home.
Once your crafting session is complete, store any leftover scraps and offcuts immediately. Placing them in sealed plastic zip bags or folding them inside a protective cardstock sleeve prevents them from rubbing against other papers in your storage drawers. This simple habit keeps your entire stationery collection clean and ready for your next creative project.
Troubleshooting Common Cutting Issues
If you notice your paper edges look frayed or fuzzy, the culprit is almost always a dull or nicked blade. Glitter paper wears down steel incredibly fast, so you should establish a low threshold for replacing blades—often after only a few long cuts. Keep a pack of budget-friendly replacement blades on hand, which often cost only a few ₱ per pack, so you can swap them out the moment you feel the knife dragging or snagging.
Slipping paper is another common issue that ruins clean lines. If your straightedge or paper moves mid-cut, check the underside of your ruler; metal rulers with a cork backing provide excellent slip resistance on glitter surfaces. You can also place heavy pattern weights or clean household objects on the corners of the paper to keep it perfectly stationary.
Torn backing usually happens when the underlying cutting mat is deeply grooved or uneven, causing the blade to catch and rip the paper. Ensure your cutting mat is clean and flat, and adjust your cutting pressure so the blade barely scores the mat. If the backing continues to tear, try placing a sheet of thin, sacrificial cardstock directly underneath your glitter paper to provide a smooth, uniform resistance.
Frequently Asked Questions (FAQ)
Can I use regular scissors to cut glitter paper?
Regular household scissors are generally not recommended for precision cuts on glitter paper. The shearing action of scissor blades pinches the paper, which crushes the backing and forces the abrasive glitter particles to rub against each other, leading to severe shedding and frayed edges. However, scissors can be used for rough trimming or cutting very thin, low-density glitter sheets where edge quality is not critical. For clean, professional results on detailed designs, a sharp craft knife or a rotary cutter remains the superior choice.
How do I prevent glitter from sticking to my cutting mat?
To keep your cutting mat clean, place a sacrificial sheet of thin scrap paper or newsprint directly between the glitter paper and the mat. This layer acts as a barrier, catching the loose particles before they can settle into the self-healing grooves of your mat. If glitter does get stuck on the mat, avoid scraping it with sharp tools, which can ruin the surface. Instead, use a soft-bristled brush or a piece of sticky tape to gently lift the particles, then wipe the mat down with a damp, lint-free cloth.
Community discussion
Share your experience or ask a question. Comments are reviewed before publication.