
Working with flexible magnetic sheets is an excellent way to elevate your DIY craft projects, allowing you to create custom refrigerator magnets, educational games, and organized labels. These versatile materials combine strontium ferrite magnetic powder with a flexible synthetic rubber binder, making them easy to cut and shape with standard household tools. Achieving clean, professional edges and a secure hold requires understanding the material’s thickness, using the correct cutting techniques, and preparing your surfaces properly. By following a few systematic steps, you can easily transform plain magnetic sheets into durable, custom-shaped creations without damaging the material or your tools.
Choosing the Right Magnetic Sheet or Paper for Your Project
Selecting the correct material is the first step toward a successful craft project, as magnetic sheets come in various thicknesses and configurations. Standard magnetic sheets typically range from 0.3 mm to 1.5 mm in thickness. Thicker sheets offer a stronger magnetic pull but are stiffer and require more effort to cut, making them ideal for heavy-duty signs or structural crafts. Printable magnetic paper is much thinner, usually around 0.2 mm to 0.3 mm, which allows it to feed smoothly through standard home printers for detailed graphic designs.
The surface coating of the sheet determines how it interacts with inks and other decorative mediums. Printable magnetic paper is topped with either a matte or glossy paper laminate on the non-magnetic side. Matte coatings are highly receptive to standard dye-based and pigment-based inks, while glossy coatings offer a vibrant, high-contrast finish. Because drying speed and water resistance depend on the exact combination of your printer’s ink and the sheet’s coating, always perform a small test print and allow it to dry for at least 24 hours to verify smudge resistance, especially in humid tropical climates.
Products mentioned in this guide
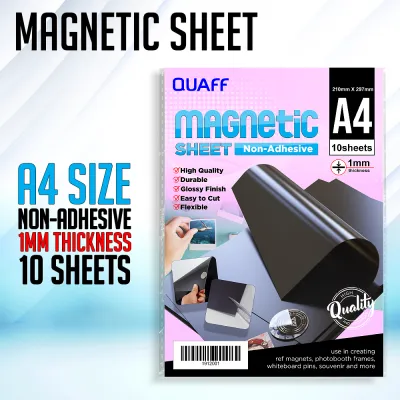
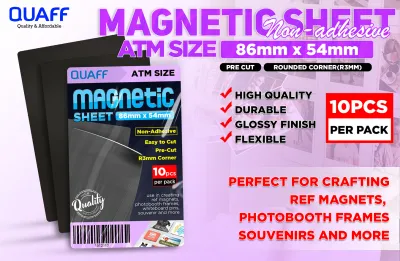
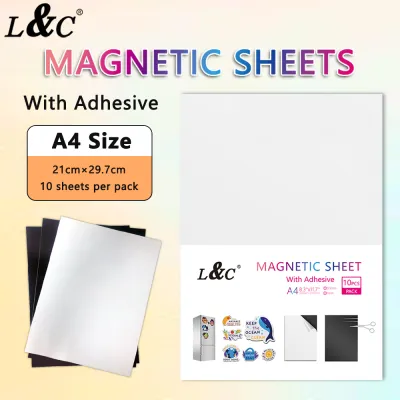
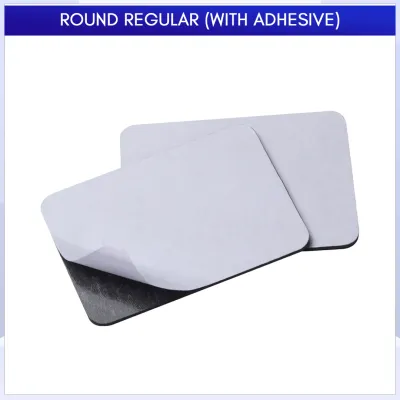
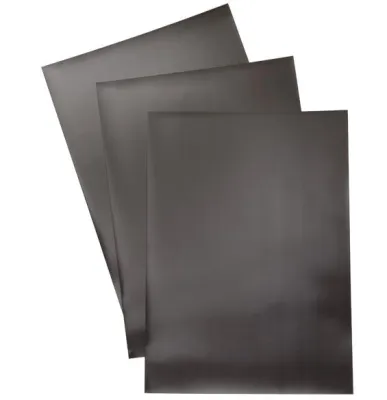
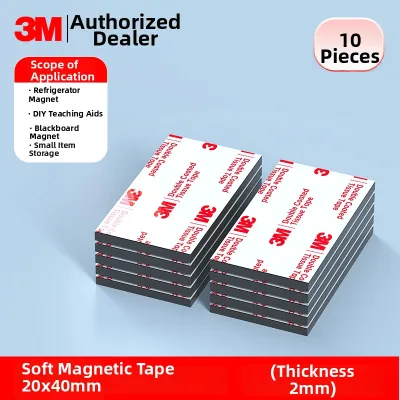
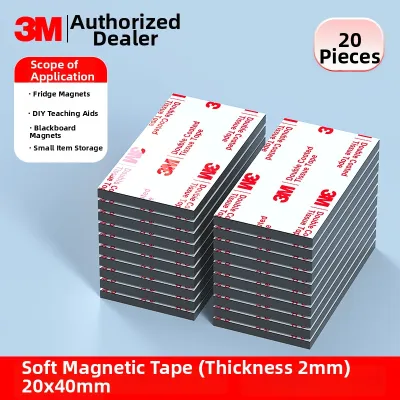
Prices are valid at publication and may change. Please refer to the product page for the latest price.
Adhesive backings also play a major role in your material choice. Self-adhesive magnetic sheets feature a peel-and-stick pressure-sensitive adhesive layer that bonds well to smooth, non-porous substrates like laminated paper, acrylic, and smooth plastics. However, these pre-applied adhesives may struggle to adhere to textured fabrics, raw wood, or highly porous cardboard. Non-adhesive sheets are plain rubber on both sides, giving you the freedom to choose a specialized glue that matches your specific backing material and project requirements. For budget-conscious crafters, buying bulk non-adhesive sheets can cost around ₱150 to ₱300, saving you money compared to pre-cut shapes.
Essential Tools and Workspace Setup for Clean Cuts
Achieving clean, professional edges on magnetic sheets requires a dedicated set of tools and a well-prepared workspace. A heavy-duty utility knife or a fresh craft knife is indispensable for straight lines, while sharp, heavy-duty shears or titanium-coated scissors work best for organic curves. Always use a metal ruler or a steel straightedge as a guide; plastic rulers can easily be nicked or shaved by a sharp blade, ruining both the ruler and your cut line.

A self-healing cutting mat is essential to protect your work surface and keep your blade from slipping. Before starting your project, perform a quick test cut on a scrap piece of magnetic sheet to check the condition of your blade. If the blade drags, tears the paper backing, or leaves a frayed rubber edge, replace the blade immediately. Dull blades require excessive downward pressure, which increases the risk of slipping and causing injury.
Managing your workspace is particularly important when working with magnetic materials. Small magnetic offcuts and iron dust can cling to steel rulers, scissors, and craft knife blades, which can scratch the surface of your project during subsequent cuts. Keep a small non-magnetic container nearby to collect scraps immediately, and wipe down your metal tools periodically with a dry microfiber cloth to keep them free of magnetic debris.
Step-by-Step Techniques for Cutting and Shaping
To begin, measure your design carefully and mark the cutting lines. Use a non-permanent water-soluble pen or a soft pencil on the paper or vinyl side of the sheet. Alternatively, you can score your cutting lines directly onto the dark rubber backing using a light pass of your craft knife. Avoid using permanent markers that can bleed through paper laminates or ruin the printable surface.
When executing straight cuts, align your metal ruler with the marked line and hold it down firmly with your non-dominant hand. Position your craft knife at a 45-degree angle to the sheet. Instead of trying to cut through the entire thickness of the magnetic sheet in a single stroke, make three or four light, consistent passes. The first pass scores the surface, guiding the blade for subsequent passes until the material separates cleanly. This technique prevents the rubber from stretching or warping along the cut line.
Cutting curves and complex shapes requires a different approach. When using scissors, keep the blades open and steady, and rotate the magnetic sheet itself with your off-hand as you cut. This technique ensures a smooth, continuous curve without the jagged edges that occur when you repeatedly open and close the scissors while moving forward. For intricate internal cutouts, use a craft knife on a cutting mat, slowly turning the mat as you work to maintain a comfortable cutting angle.
Once the shape is cut, inspect the edges for minor burrs, loose paper fibers, or curling. If you notice any rough spots, use a fine-grit sandpaper (around 400-grit) wrapped around a small wooden block to gently smooth the edges. Always sand in a downward motion away from the decorative face to prevent lifting the paper or vinyl laminate from the rubber backing.
Applying and Mounting Magnetic Materials Securely
Proper surface preparation is the key to a long-lasting bond. The target surface must be completely clean, dry, and free of dust, grease, or oils. In warm, humid climates like the Philippines, moisture can easily trap itself under the adhesive, leading to premature peeling. Wipe the surface with a lint-free cloth dampened with isopropyl alcohol, and allow it to dry completely before applying the magnetic sheet.
To apply a self-adhesive magnetic sheet, do not peel off the entire backing paper at once. Instead, peel back about one inch of the liner and align the exposed adhesive edge with your target surface. Press it down firmly, then slowly peel away the remaining backing paper with one hand while using a plastic squeegee, a hard card, or a soft cloth in the other hand to smooth the sheet down from the center outward. This technique pushes out trapped air and prevents unsightly bubbles or wrinkles.
If you are using non-adhesive magnetic sheets, you must select a compatible glue. Contact cement, polyurethane-based adhesives, or heavy-duty double-sided acrylic foam tapes work well for bonding rubber to wood, metal, or plastic. Avoid using standard hot glue guns, as the high temperature can temporarily demagnetize the rubber or warp the thin sheet. Always test a small amount of adhesive on a scrap piece of the magnetic sheet to ensure it does not chemically dissolve or distort the rubber.
Be aware of stop conditions where standard application methods should be halted. If the target surface is highly porous, unsealed, or prone to flaking (such as raw plaster, chalky paint, or untreated concrete), do not apply self-adhesive sheets directly. The adhesive will fail to form a secure bond and may pull away paint or plaster when removed. In these cases, seal the surface with an appropriate primer or varnish first, or consult the manufacturer’s guidelines for alternative mounting solutions.
Troubleshooting Common Cutting and Adhesion Issues
Edge tearing or fraying is a common issue that usually points to a dull blade or incorrect cutting pressure. If you notice the paper laminate lifting or the rubber crumbling, change your blade immediately. Ensure you are cutting on a hard, flat surface and keeping your knife perpendicular to the horizontal plane to avoid creating beveled, weak edges.
If air bubbles or wrinkles appear after application, do not try to pull the entire sheet up if the adhesive is strong, as this can stretch and permanently deform the magnetic material. Instead, use a fine sewing pin to puncture the center of the bubble. Gently press the air out through the tiny hole using your thumb or a squeegee, working from the edges of the bubble toward the puncture point.
A weak magnetic hold or complete detachment is often caused by a mismatch between the sheet’s thickness and the weight of the item it is holding. Thin magnetic sheets (0.3 mm) are only suitable for lightweight paper crafts. If your craft keeps sliding down, verify that the target surface is actually ferromagnetic; some modern stainless steel appliances contain high levels of nickel or manganese, which significantly reduces their magnetic attraction. Additionally, ensure the magnetic sheet is completely flat, as any gap or curve reduces the contact area and drastically lowers the holding power.
Storage, Maintenance, and Safety Best Practices
To maintain the flat profile of your magnetic sheets and finished crafts, always store them flat in a cool, dry place. Storing them in rolls or leaning them vertically against a wall can cause them to take on a permanent curl, making future application difficult. If a sheet does become curled, place it between two heavy, flat boards for 24 to 48 hours to restore its flat shape.
Environmental factors can rapidly degrade magnetic materials. Avoid exposing your crafts to prolonged direct sunlight or temperatures exceeding 50°C, which can dry out the synthetic rubber binder, causing it to crack, crumble, or lose its magnetic properties. This is especially important in tropical regions where closed vehicles or unventilated storage sheds can reach extreme temperatures.
Safety must always be a priority, particularly when crafts are intended for households with young children. While flexible magnetic sheets are generally safe to handle, small cut pieces can pose a serious choking hazard. If swallowed, multiple magnets can attract each other through intestinal walls, causing severe internal injuries. Keep all small magnetic offcuts, craft knives, and heavy-duty adhesives securely out of reach of children, and ensure any magnetic toys or educational aids you create are large enough to prevent accidental swallowing.
Frequently Asked Questions (FAQ)
Can I use a standard inkjet or laser printer on magnetic paper?
Yes, but you must verify your printer’s specifications first. Standard inkjet printers are generally compatible with matte or glossy magnetic paper, provided the paper thickness does not exceed the printer’s maximum media weight limit (often listed in gsm or millimeters in the manual). Avoid using laser printers unless the magnetic paper is explicitly labeled as laser-compatible; the high heat of a laser printer’s fuser can melt the rubber backing, causing severe and costly damage to the printer’s internal drums and rollers.
How do I safely remove adhesive residue left by magnetic sheets?
To remove leftover adhesive residue without damaging the underlying surface, start with the mildest method. Apply a small amount of cooking oil or a mild, citrus-based adhesive remover to a soft cloth and rub the residue gently. Always perform an inconspicuous spot test first to ensure the solvent does not dull or dissolve the surface finish. If the surface is non-porous, such as glass or metal, you can use isopropyl alcohol, but avoid harsh solvents like acetone on plastics or painted surfaces as they can cause permanent melting or discoloration.
Why is my magnetic sheet not sticking to the refrigerator?
If your magnetic sheet fails to stick to a refrigerator, the issue is usually the composition of the refrigerator door. Many modern stainless steel appliances are made with austenitic stainless steel alloys, which contain nickel and are non-magnetic. You can verify this by testing a standard ceramic kitchen magnet on the surface; if the kitchen magnet does not stick, a flexible magnetic sheet will not stick either. If the surface is magnetic but the hold is weak, check if the sheet has curled or if there is a thick layer of dust or grease preventing flat, direct contact.
Community discussion
Share your experience or ask a question. Comments are reviewed before publication.