
Elevating a simple paper bag into an elegant gift presentation relies on selecting the right ribbon texture, securing it with appropriate adhesives, and tying a balanced bow. This process transforms plain packaging into a personalized statement suitable for birthdays, weddings, or corporate events. In humid tropical climates like the Philippines, choosing materials that resist moisture and selecting adhesives that do not lose their grip in warm weather are essential steps for a lasting presentation. By mastering a few basic wrapping techniques, you can create beautiful gift bags using everyday stationery supplies.
Whether you are preparing a small token of appreciation or a large festive package, decorating the bag yourself allows you to customize the colors and styles to match the recipient’s taste. This guide provides a clear, practical approach to measuring, attaching, and styling ribbons on various paper bags, ensuring your gifts look polished and professional every time.
Materials and Tools You Will Need
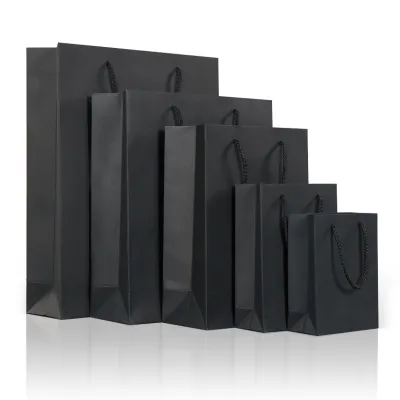
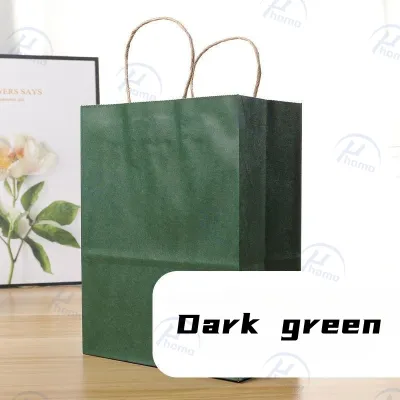
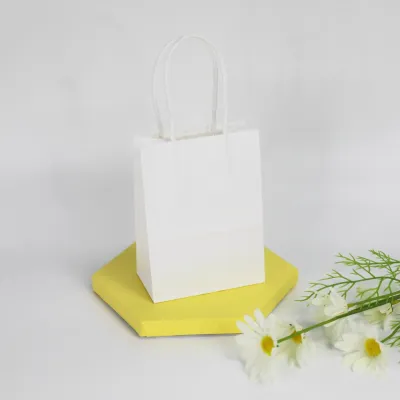
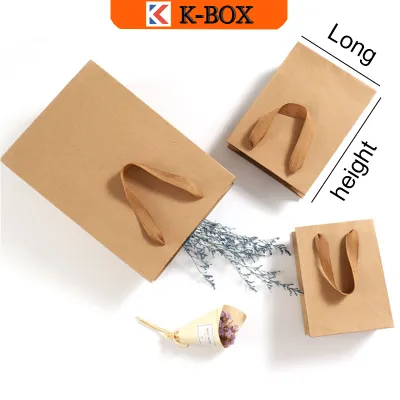
Before beginning your project, gather the necessary supplies to ensure a smooth and efficient decorating process. The choice of paper bag serves as the foundation for your design. Flat-bottom kraft paper bags offer a sturdy, rustic canvas that pairs exceptionally well with textured ribbons, while gusseted shopping bags with built-in handles provide a more traditional structure. For a sleek, modern look, glossy laminated gift bags are excellent, though they require stronger adhesives due to their slick surfaces. Ensure your bag has a paper weight of at least 120 gsm to support the weight of the ribbons and embellishments without sagging.
Products mentioned in this guide

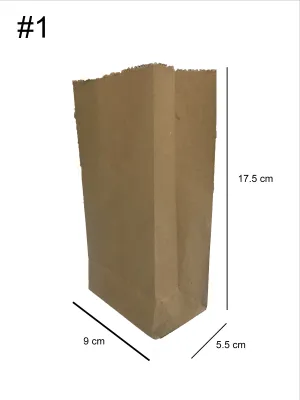


Prices are valid at publication and may change. Please refer to the product page for the latest price.
Selecting the right ribbon material is equally important for achieving the desired aesthetic. Satin ribbons provide a classic, high-gloss finish that drapes beautifully, though they can be slippery to tie. Grosgrain ribbons feature a ribbed texture that offers excellent friction, making them highly reliable for holding tight knots and structured bows, especially in humid conditions. Organza ribbons are sheer and lightweight, adding a delicate, airy layer that works well for bridal showers or baptism gifts. Keep a variety of widths on hand, ranging from narrow 1/4-inch (6mm) ribbons for delicate accents to wide 1.5-inch (38mm) ribbons for bold focal points.
To assemble your decorated bag, you will need a few essential stationery tools. A pair of sharp fabric scissors is crucial for making clean cuts without fraying the ribbon ends. For adhesives, high-tack double-sided tape and glue dots are preferred over liquid school glues, which contain high water content and can warp or wrinkle the paper. A standard single-hole punch is useful if you plan to thread ribbons directly through the bag’s collar. Finally, keep a ruler or measuring tape nearby to ensure symmetrical placement and accurate cuts.
When working with sharp scissors or craft blades, always cut away from your body on a flat, stable surface. If you are crafting with children, ensure adult supervision during the cutting and adhesive application steps to maintain a safe creative environment.
Step-by-Step Guide to Attaching the Ribbon
To achieve a clean, professional look, start by measuring and cutting your ribbon to the correct length. Lay your paper bag flat on a clean work surface. If you plan to wrap the ribbon horizontally around the body of the bag, measure the entire circumference of the bag and add an extra 2 inches (5 cm) for a flat, taped overlap, or add an extra 12 to 15 inches (30 to 38 cm) if you intend to tie the ends into a bow. For a vertical band, measure from the front collar, down the front face, under the bottom gusset, and up the back face to the rear collar, adding the same allowance based on your finishing preference. Cut the ribbon ends at a sharp 45-degree angle to prevent the fabric from unraveling.

There are three primary techniques for attaching ribbon to a paper bag, depending on your design goals:
- Horizontal Band: Wrap the ribbon around the lower third or the exact center of the bag. This creates a classic belly-band effect that frames the gift beautifully.
- Vertical Band: Run a single strip of ribbon down the center of the bag, wrapping it under the bottom fold. This style elongates the presentation and works well for tall, narrow bags.
- Cross-Band: Combine both horizontal and vertical bands, intersecting them at the center-front of the bag. This traditional style mimics a classic wrapped gift box.
- Handle Threading: Punch two holes spaced 2 inches (5 cm) apart near the top collar of the bag, thread the ribbon through from the inside, and tie it on the outside to secure the bag shut.
Applying your adhesives correctly is vital to prevent the paper from wrinkling or buckling. Avoid liquid glues, as they can saturate the paper fibers and leave unsightly wet spots. Instead, apply a strip of high-tack double-sided tape directly to the paper bag along the path where the ribbon will sit. Peel off the protective backing, then carefully align the ribbon over the tape. Press down firmly starting from the center and smoothing outward toward the edges to maintain even tension and eliminate air bubbles. For glossy or laminated bags, test a small piece of tape on an inconspicuous area, such as the inside fold of the bag, to ensure it adheres securely without peeling away the laminate coating.
How to Tie and Style a Polished Bow
A beautifully tied bow serves as the centerpiece of your gift presentation. To tie a classic looped bow, start by creating two equal loops with your ribbon, often referred to as “bunny ears.” Cross the left loop over the right loop to form a central circle at the base. Feed the left loop through this circle from the back, then pull both loops outward in opposite directions. To adjust the size of the bow, hold the central knot firmly with one hand while gently pulling the individual tails or loops with the other. This prevents the knot from loosening while you balance the proportions.
For a simpler, more modern look, you can opt for a flat knot bow. Cross the two ribbon ends, tuck one under the other, and pull tight to form a neat, flat knot. Trim the tails at a sharp angle or cut a V-shape (swallowtail) into the ends. To cut a swallowtail, fold the ribbon tail in half vertically and cut diagonally from the folded edge upward to the outer edge.
Once your bow is tied, spend a moment fluffing and shaping the loops. Slide your fingers inside the loops of satin or grosgrain ribbons to expand them and create a rounded, three-dimensional shape. If you are using wired ribbon, you can gently bend the edges to hold a specific curve or wave. Adjust the tails so they hang downward at a natural, symmetrical angle, framing the front of the paper bag.
If you prefer to tie your bow separately before attaching it to the bag, you can secure it easily using stationery adhesives. Apply a high-tack glue dot directly to the back of the bow’s central knot, then press it firmly onto the ribbon intersection or the base of the bag’s handles. Alternatively, thread a thin piece of craft wire or a narrow ribbon through the back of the pre-tied bow and tie it securely around the handle attachment points.
Advanced Styling Tips and Variations
Once you have mastered the basic attachment and tying techniques, you can experiment with advanced styling variations to elevate your gift presentation. Layering multiple ribbons of contrasting widths and textures is an excellent way to add visual depth. For example, place a 1.5-inch wide rustic jute or burlap ribbon as your base layer on a brown kraft paper bag, then layer a 1/2-inch cream-colored satin ribbon directly over it. This combination of rough and smooth textures creates a beautiful, organic aesthetic that is highly popular for modern weddings and artisanal gifts. Secure the top ribbon to the bottom ribbon using tiny dots of double-sided tape spaced every few inches to keep them aligned.
Adding small embellishments can further personalize your paper bag. Before tightening your bow’s central knot, slide a custom gift tag onto the ribbon. You can also tuck a small sprig of dried lavender, a eucalyptus leaf, or a paper flower under the knot for a natural touch. For holiday gifts, threading a small bell or a miniature ornament onto the ribbon adds a festive, tactile element that recipients will appreciate.
Adjusting your color palettes to suit specific events helps convey the right mood. For weddings or formal anniversaries, opt for classic white, cream, or champagne satin ribbons paired with subtle metallic gold or silver accents. For birthdays and vibrant celebrations, bright colors like royal blue, emerald green, or coral stand out beautifully against neutral kraft paper. If you are preparing corporate gifts, matching the ribbon colors to your brand’s identity creates a cohesive and professional impression.
Common Mistakes to Avoid
To ensure your decorated paper bag looks pristine, be mindful of a few common pitfalls during the assembly process. One frequent issue is paper tearing, which often occurs when punching holes or applying overly strong adhesives to thin paper. To prevent this, always place punched holes at least half an inch (1.3 cm) away from the bag’s top edge, and consider reinforcing the inside of the collar with a small strip of cardstock before punching. When using strong adhesives, apply them gently without pulling or dragging the tape, which can tear the delicate surface fibers of the paper.
Wrinkled or buckled ribbon is another common problem that detracts from a polished look. This usually happens when the ribbon is pulled too tightly during application, causing the underlying paper bag to warp. To avoid this, maintain a firm but relaxed tension as you smooth the ribbon onto the adhesive. Work slowly, pressing the ribbon down in small sections rather than trying to apply the entire length at once. If you notice a wrinkle, gently peel the ribbon back immediately and re-smooth it; waiting too long can cause the adhesive to set permanently, making adjustments difficult without damaging the bag.
Finally, address uneven bow loops and frayed ribbon edges before presenting your gift. If your bow loops look asymmetrical, take the time to untie and adjust them rather than leaving them uneven. Frayed edges can be trimmed cleanly with sharp fabric shears. For synthetic ribbons like polyester satin or grosgrain, you can carefully seal the cut edges to prevent future unraveling. Hold the cut edge of the ribbon about an inch away from a small flame for a split second; the heat will melt the synthetic fibers slightly, creating a thin, sealed bead along the edge. Always perform this step over a non-flammable surface in a well-ventilated area, and keep a glass of water nearby for safety.
Frequently Asked Questions (FAQ)
Can I use hot glue to attach the ribbon to a paper bag?
While hot glue provides a fast bond, it is generally not recommended for thin or coated paper bags. The high temperature of the glue can melt or warp glossy plastic laminates and cause thin paper to buckle, leaving unsightly lumpy ridges beneath the ribbon. If you must use hot glue, select a low-temperature glue gun, apply it very sparingly, and test it on a scrap piece of paper first. For most paper bags, double-sided tape or glue dots offer a much cleaner, flatter, and safer bond without the risk of heat damage.
How do I keep the ribbon from slipping off the bag handles?
Ribbons tied around smooth, glossy rope or plastic handles tend to slide around during transport. To prevent this, apply a small glue dot or a tiny piece of double-sided tape to the underside of the handle where the ribbon knot will sit. This holds the ribbon firmly in place without damaging the handle material. Alternatively, you can loop the ribbon through the handle attachment holes on the inside of the bag before tying it on the outside, which mechanically anchors the decoration in place.
How do I choose the right ribbon width for a standard gift paper bag?
To maintain visual balance, match the ribbon width to the scale of your paper bag. For small favor bags under 6 inches tall, a narrow ribbon of 1/4 inch to 1/2 inch (6mm to 12mm) works best. For medium gift bags between 6 and 10 inches tall, a ribbon width of 3/4 inch to 1 inch (19mm to 25mm) provides an elegant proportion. Large shopping bags over 10 inches tall can easily accommodate wide ribbons of 1.5 inches (38mm) or more. When layering ribbons, ensure the top ribbon is at least half the width of the base ribbon so both layers remain clearly visible.
Community discussion
Share your experience or ask a question. Comments are reviewed before publication.